Viewing entries in
entree

Pork Posole Rojo

Comment

Pork Posole Rojo

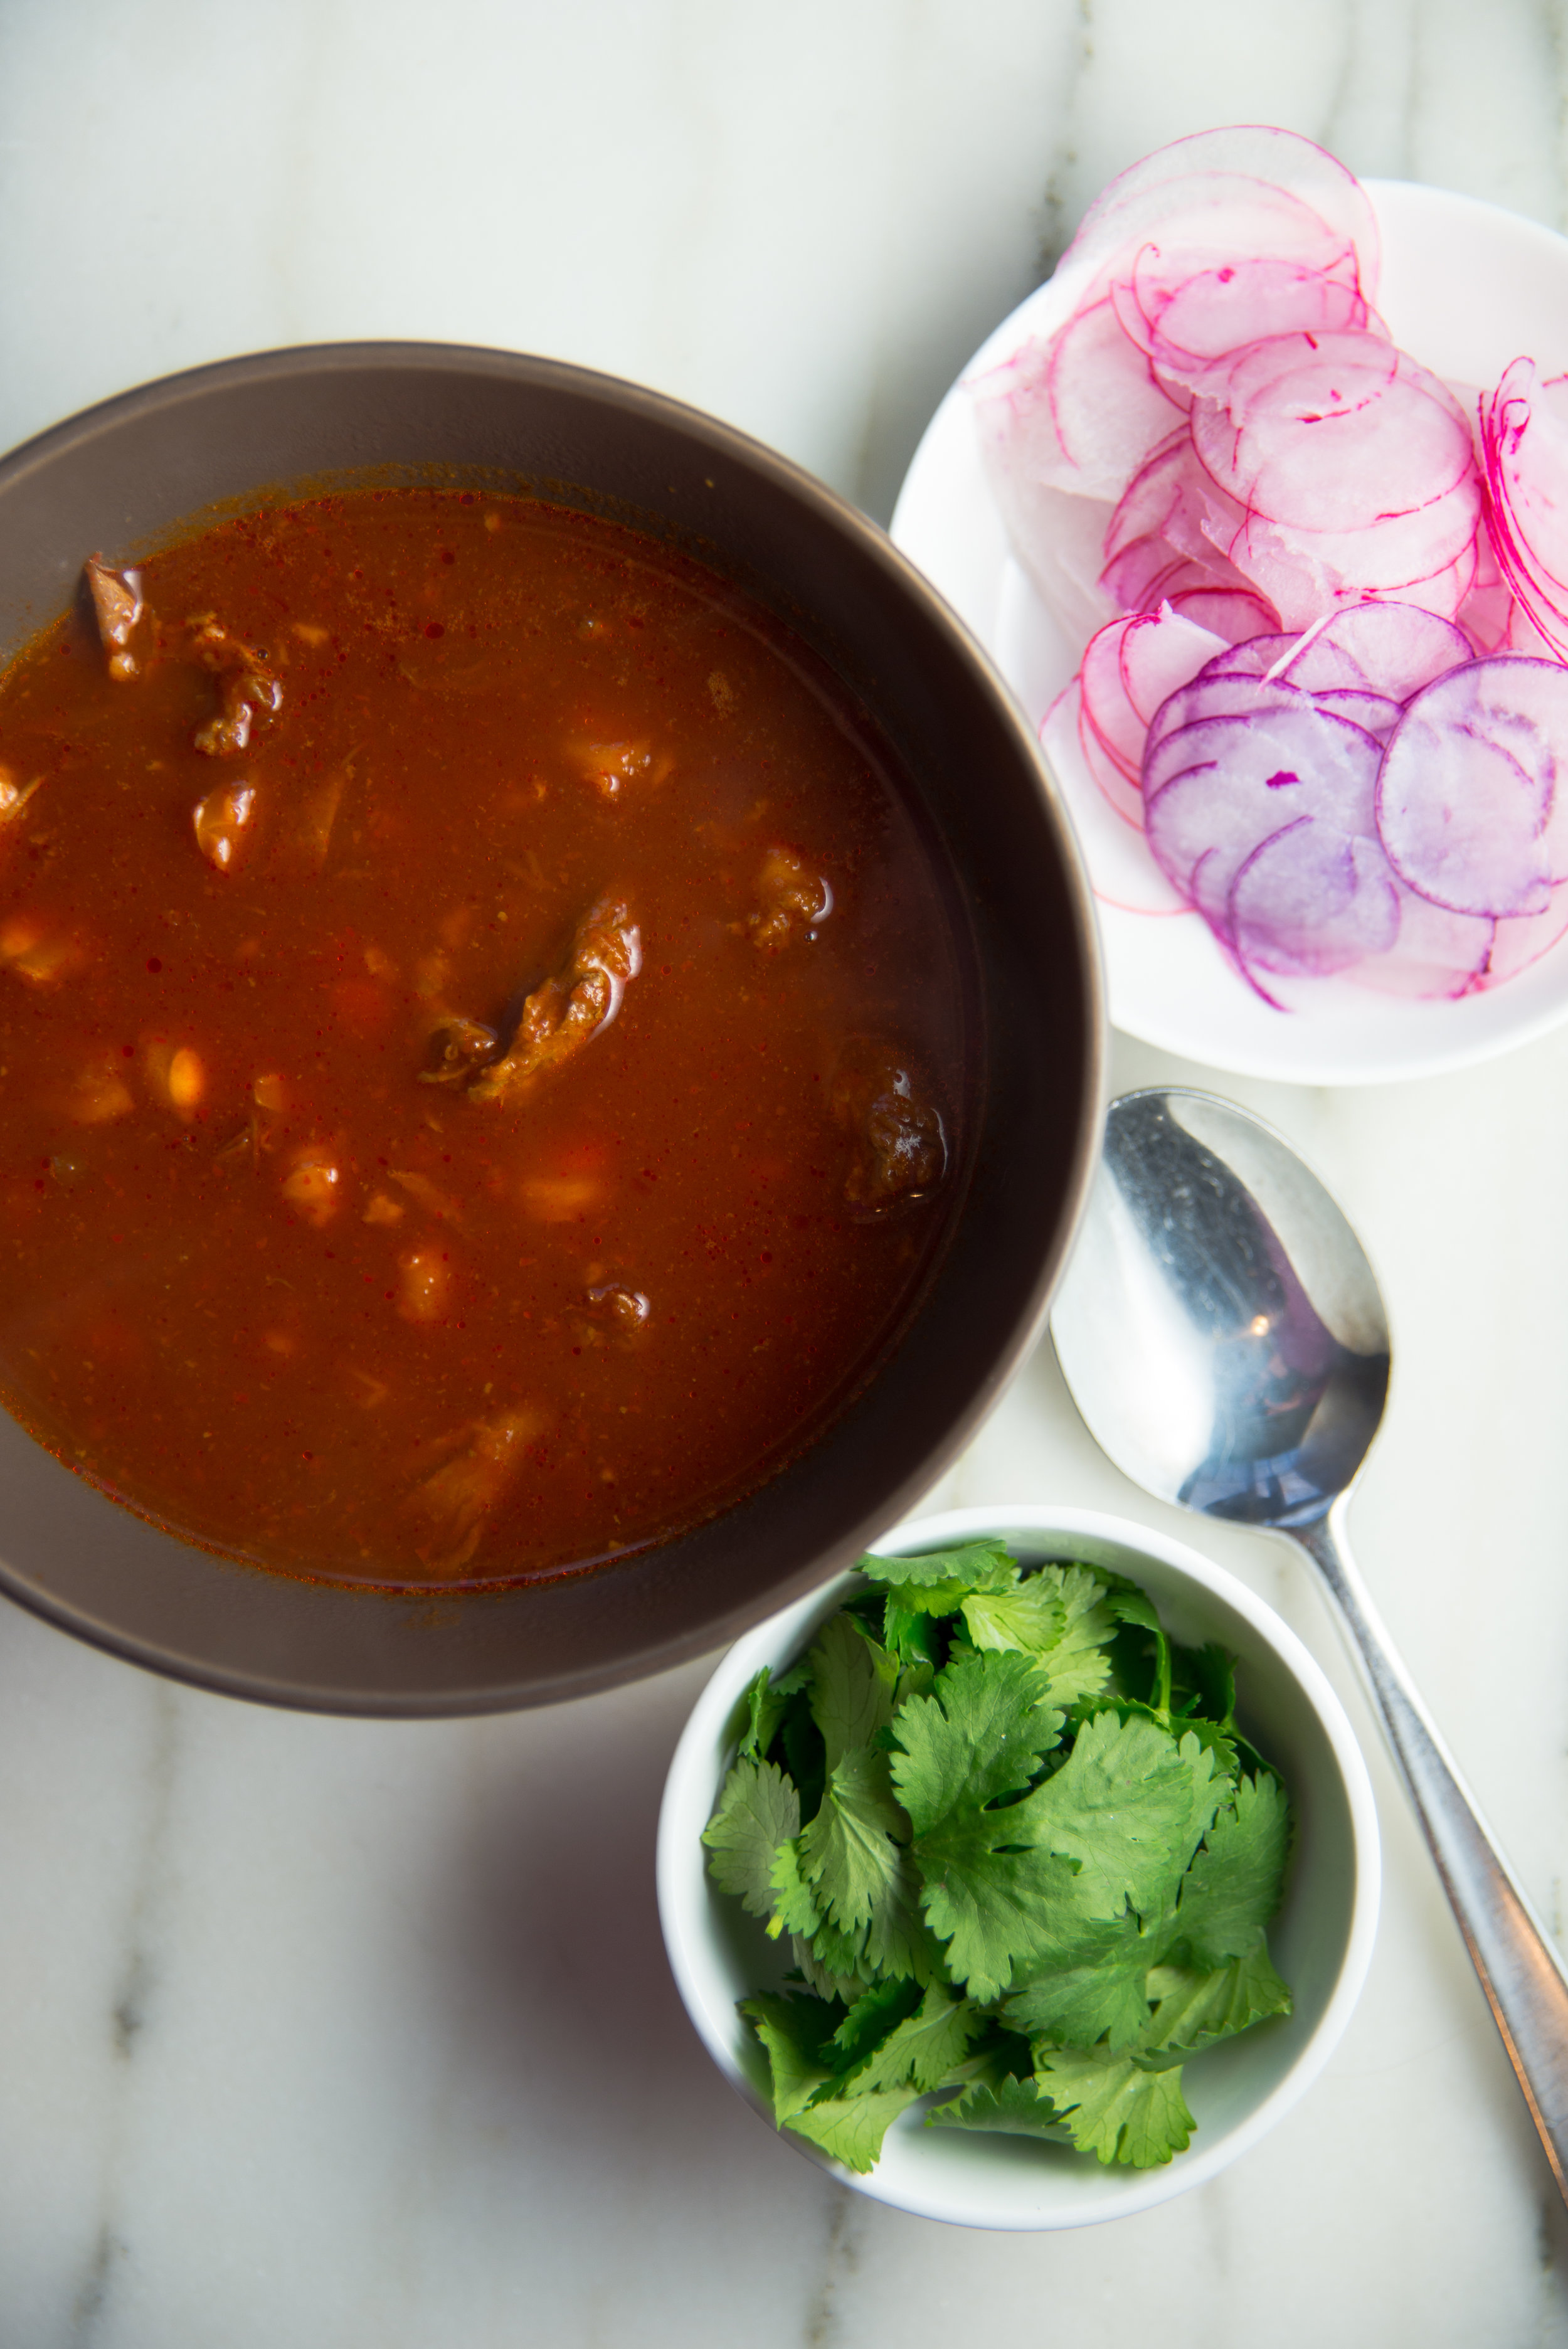
Posole is one of my favorite comfort foods, and this posole rojo has become a standard in our household. Unless you're feeding a crowd, this recipe makes enough for a hearty supply of leftovers to tuck into the freezer for a day when you need a quick and satisfying meal. 

The simplicity of dried chilies, onions, and garlic pureed to spice up a pork broth is absolutely magical. Every time I make this I'm impressed by the complex flavors brought to life from such a short list of ingredients. This is the type of cooking that creates a bounty of food from just a few things - proving that classic simple dishes of the people are the workhorses of our dinner tables. 

I mentioned this dish being a great option for stashing leftovers in the freezer. Life is rather hectic around our home right now, with our move back to Michigan just one short week away and plenty of things left on the to do list! As the dreaded process of packing up the kitchen looms, I couldn't be happier to have a freezer stocked with meals like this one for our final week in town. While I'll be sad to see our favorite kitchen tools packed up into boxes, I am SO glad that we'll be able to eat well this final week simply heating up leftovers. 

Sometimes, my planning amazes me! 

It's a bittersweet time, as moving always seems to be. We couldn't be more excited to return to northern Michigan, the place that brings so much joy to our life together. To buy a home and settle into a space in a way that just doesn't happen when you're renting. To be reunited with my other true love, Lake Michigan. But of course, we're leaving behind some pretty amazing things here in Portland - incredible people we've gotten to know, so much amazing food, and the ever-impressing wilderness of the Pacific Northwest. This is a pretty darn special corner of the world! 

So here you are, the very last recipe from my tiny Portland kitchen. It's been real living with a mini stove/oven/fridge in a small but powerful space... but I sure am excited for life in a bigger kitchen! 

Posole Rojo 

1 rack pork ribs (spare ribs or baby back will work great) 

1 1/2 cups dry hominy OR 2 cans canned hominy 

2 quarts pork broth (chicken or vegetable broth will also work) 

5 dried ancho chiles, seeds and stem removed

5 dried guajillo chiles, seeds and stem removed

3 Tbsp vegetable oil

1 large onion, diced 

8 cloves garlic, roughly chopped 

1 Tbsp oregano, finely chopped

salt to taste 

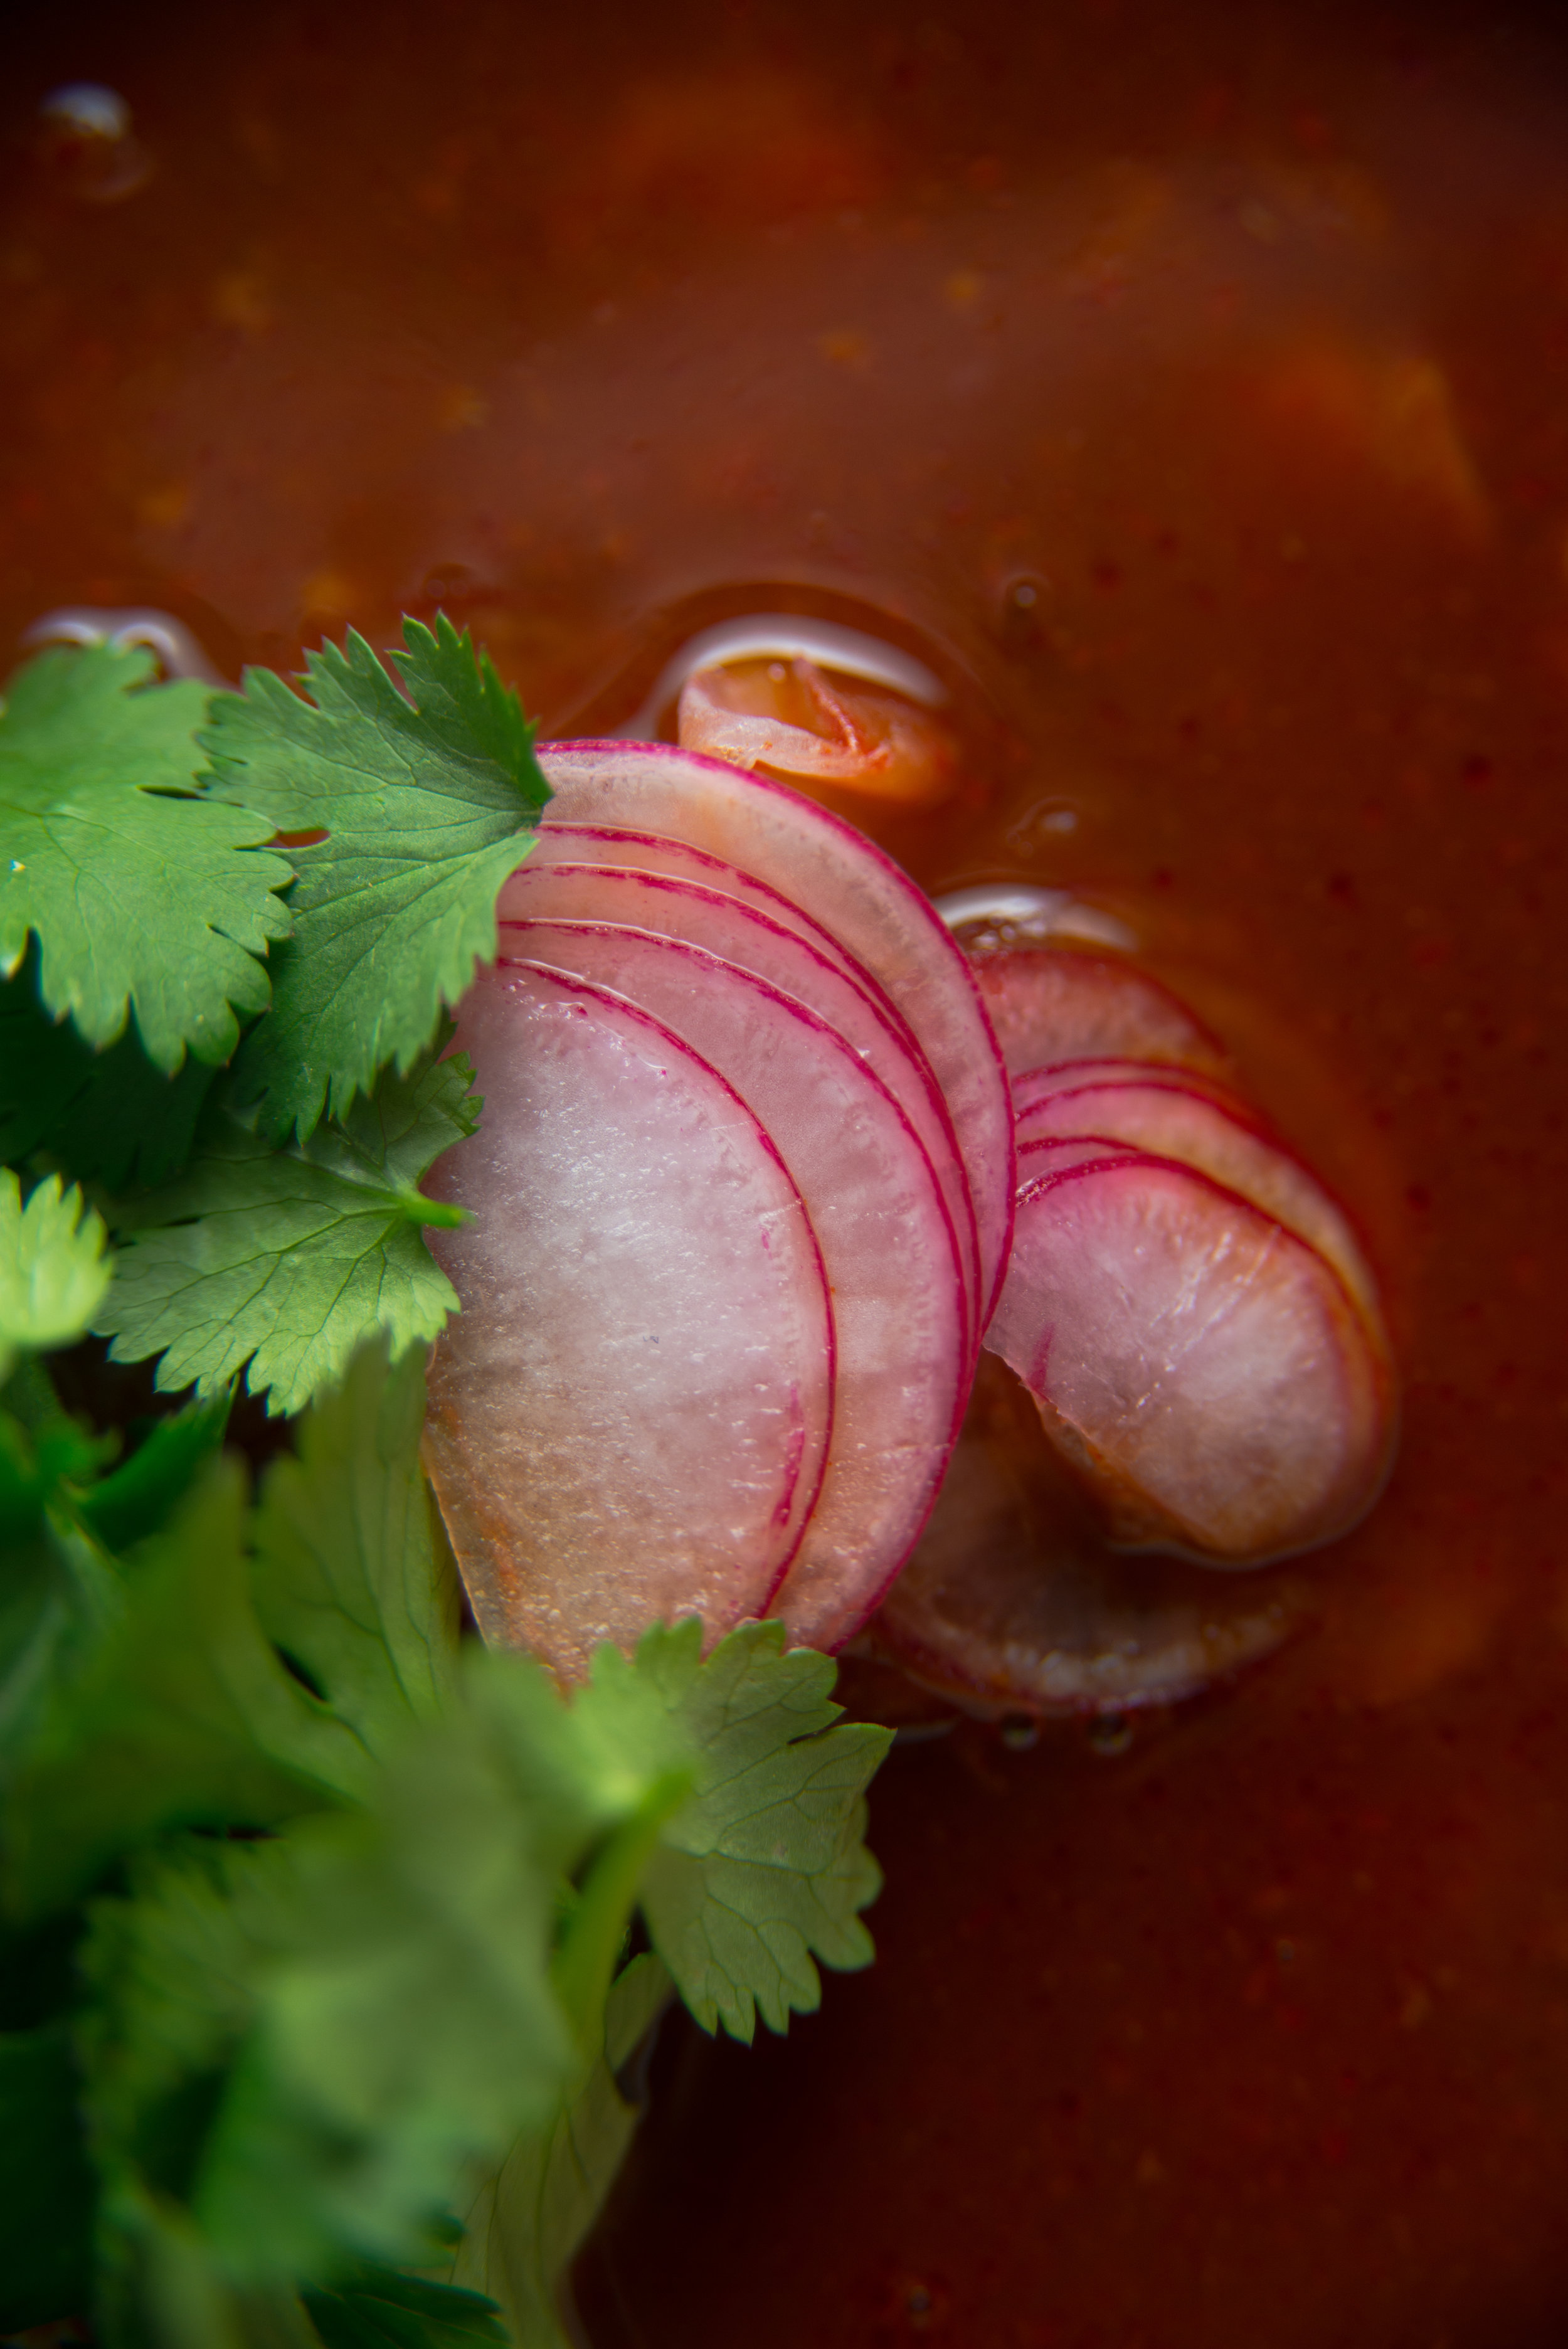
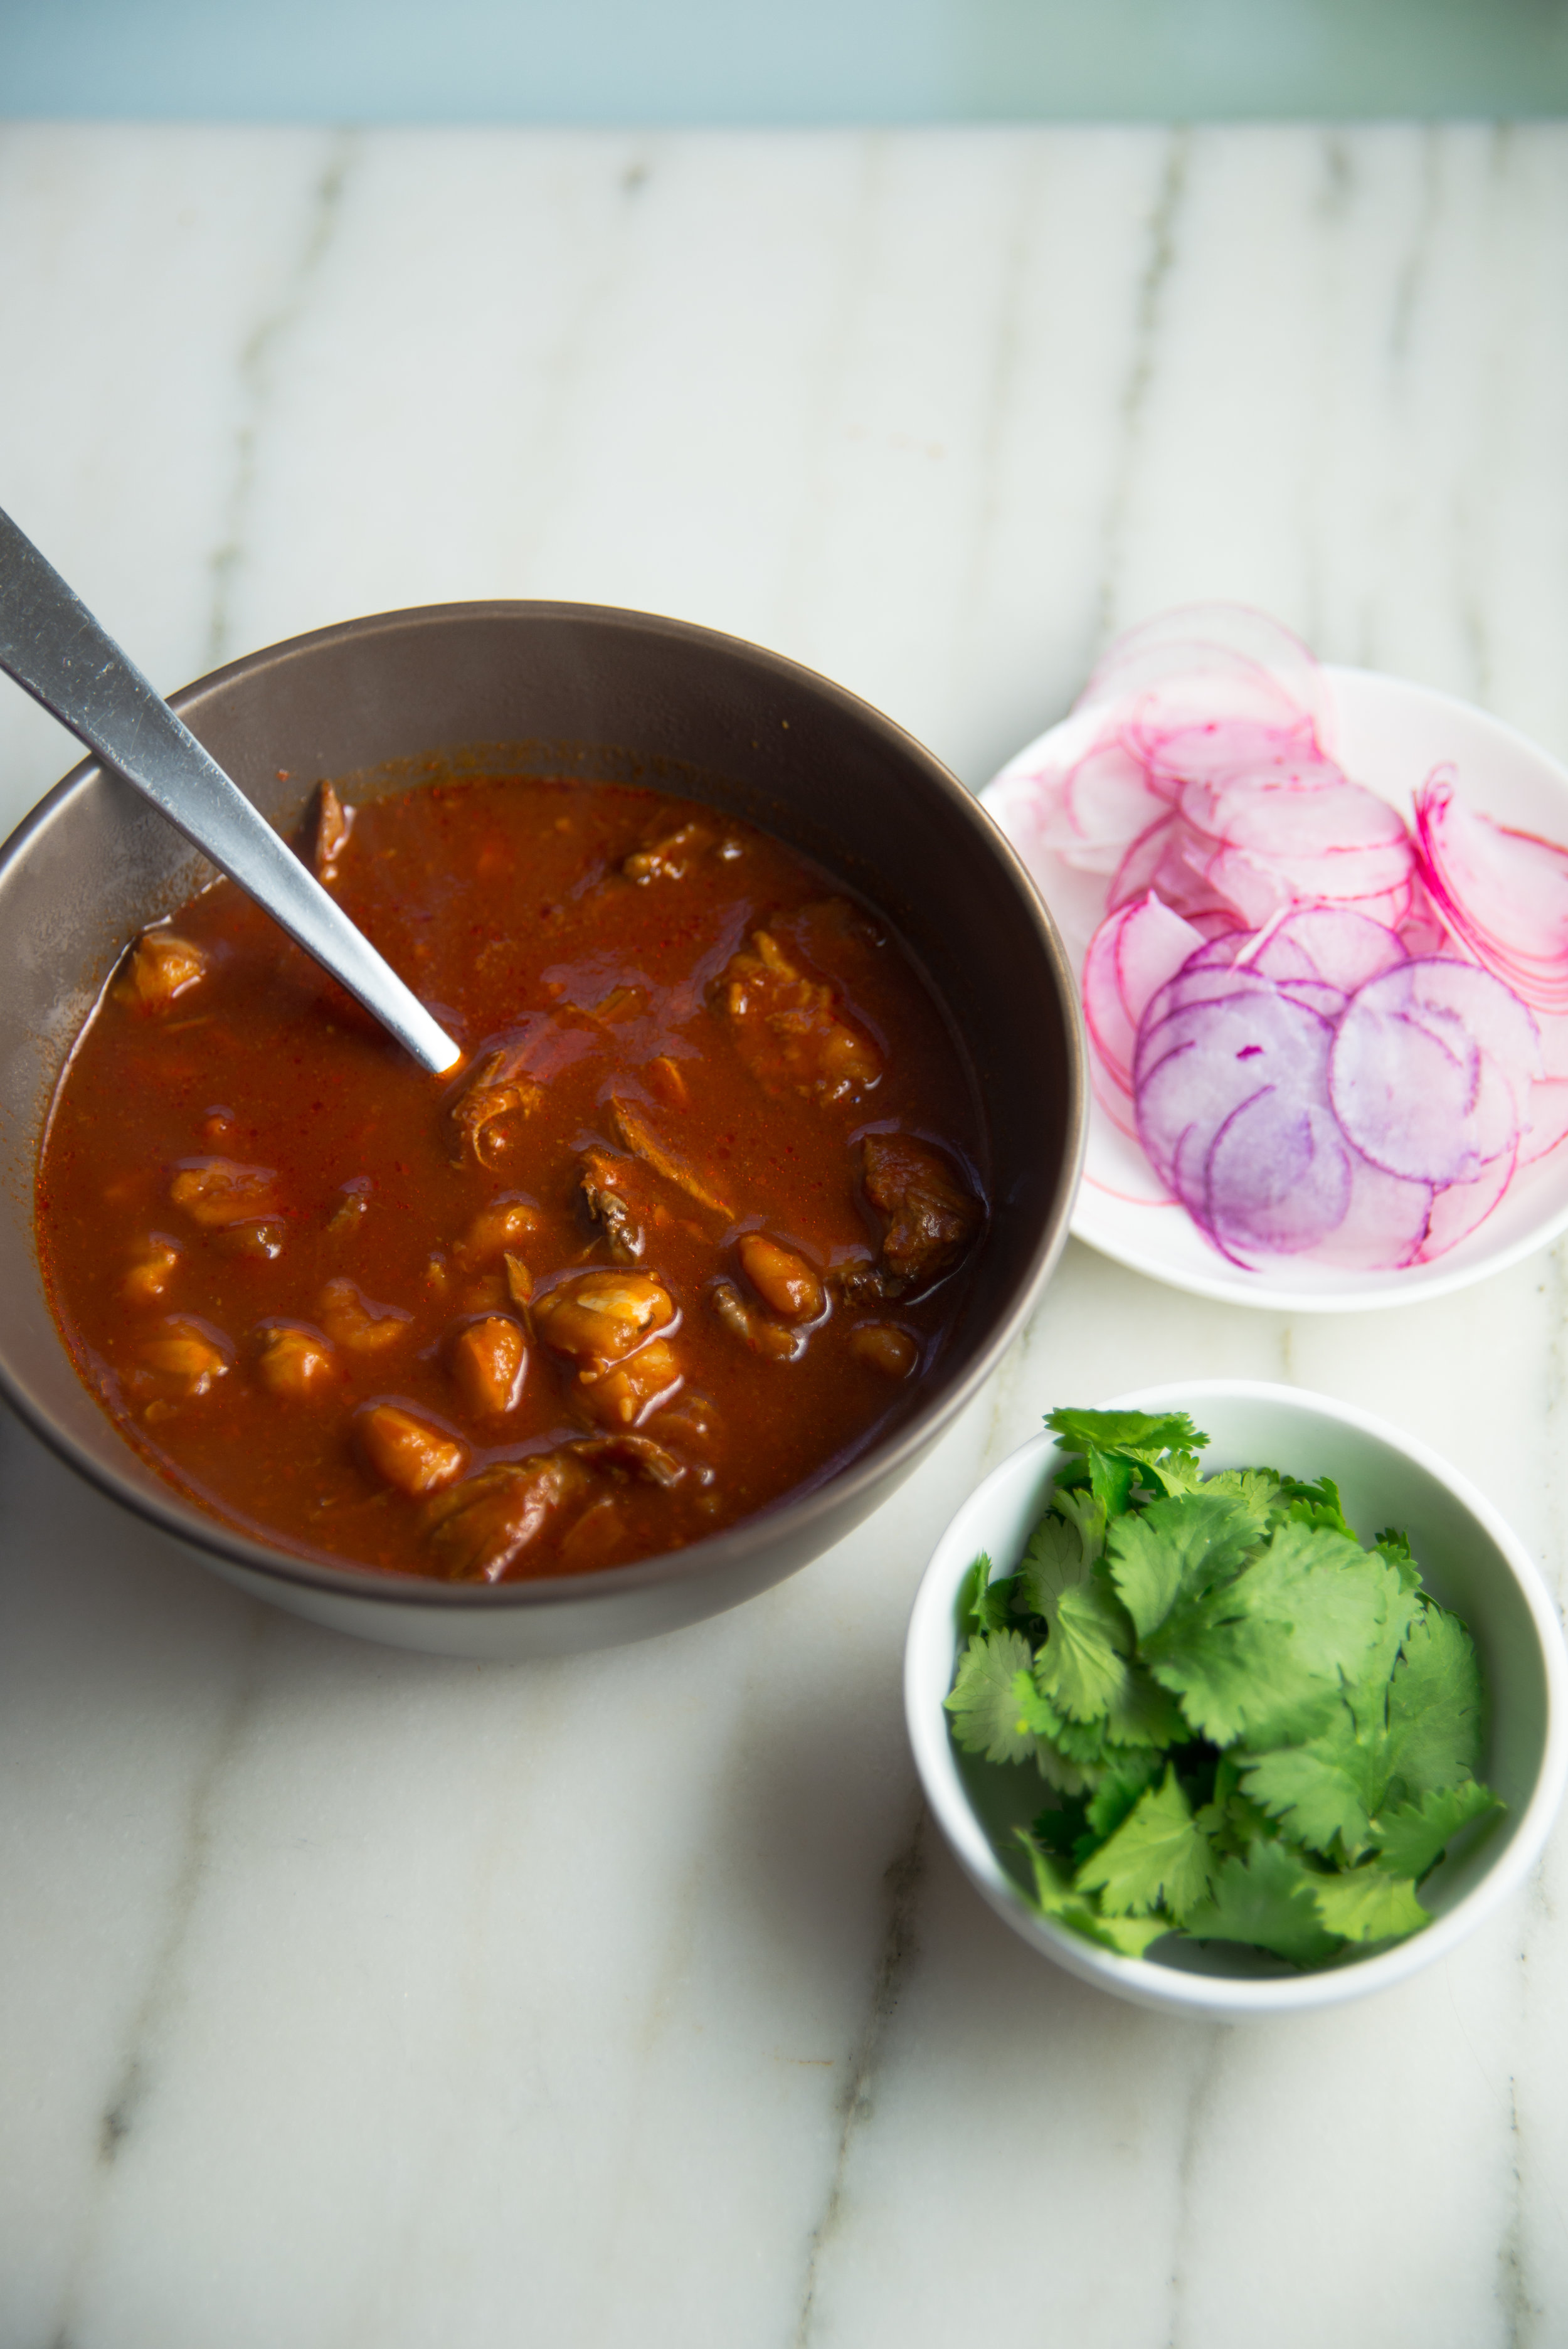
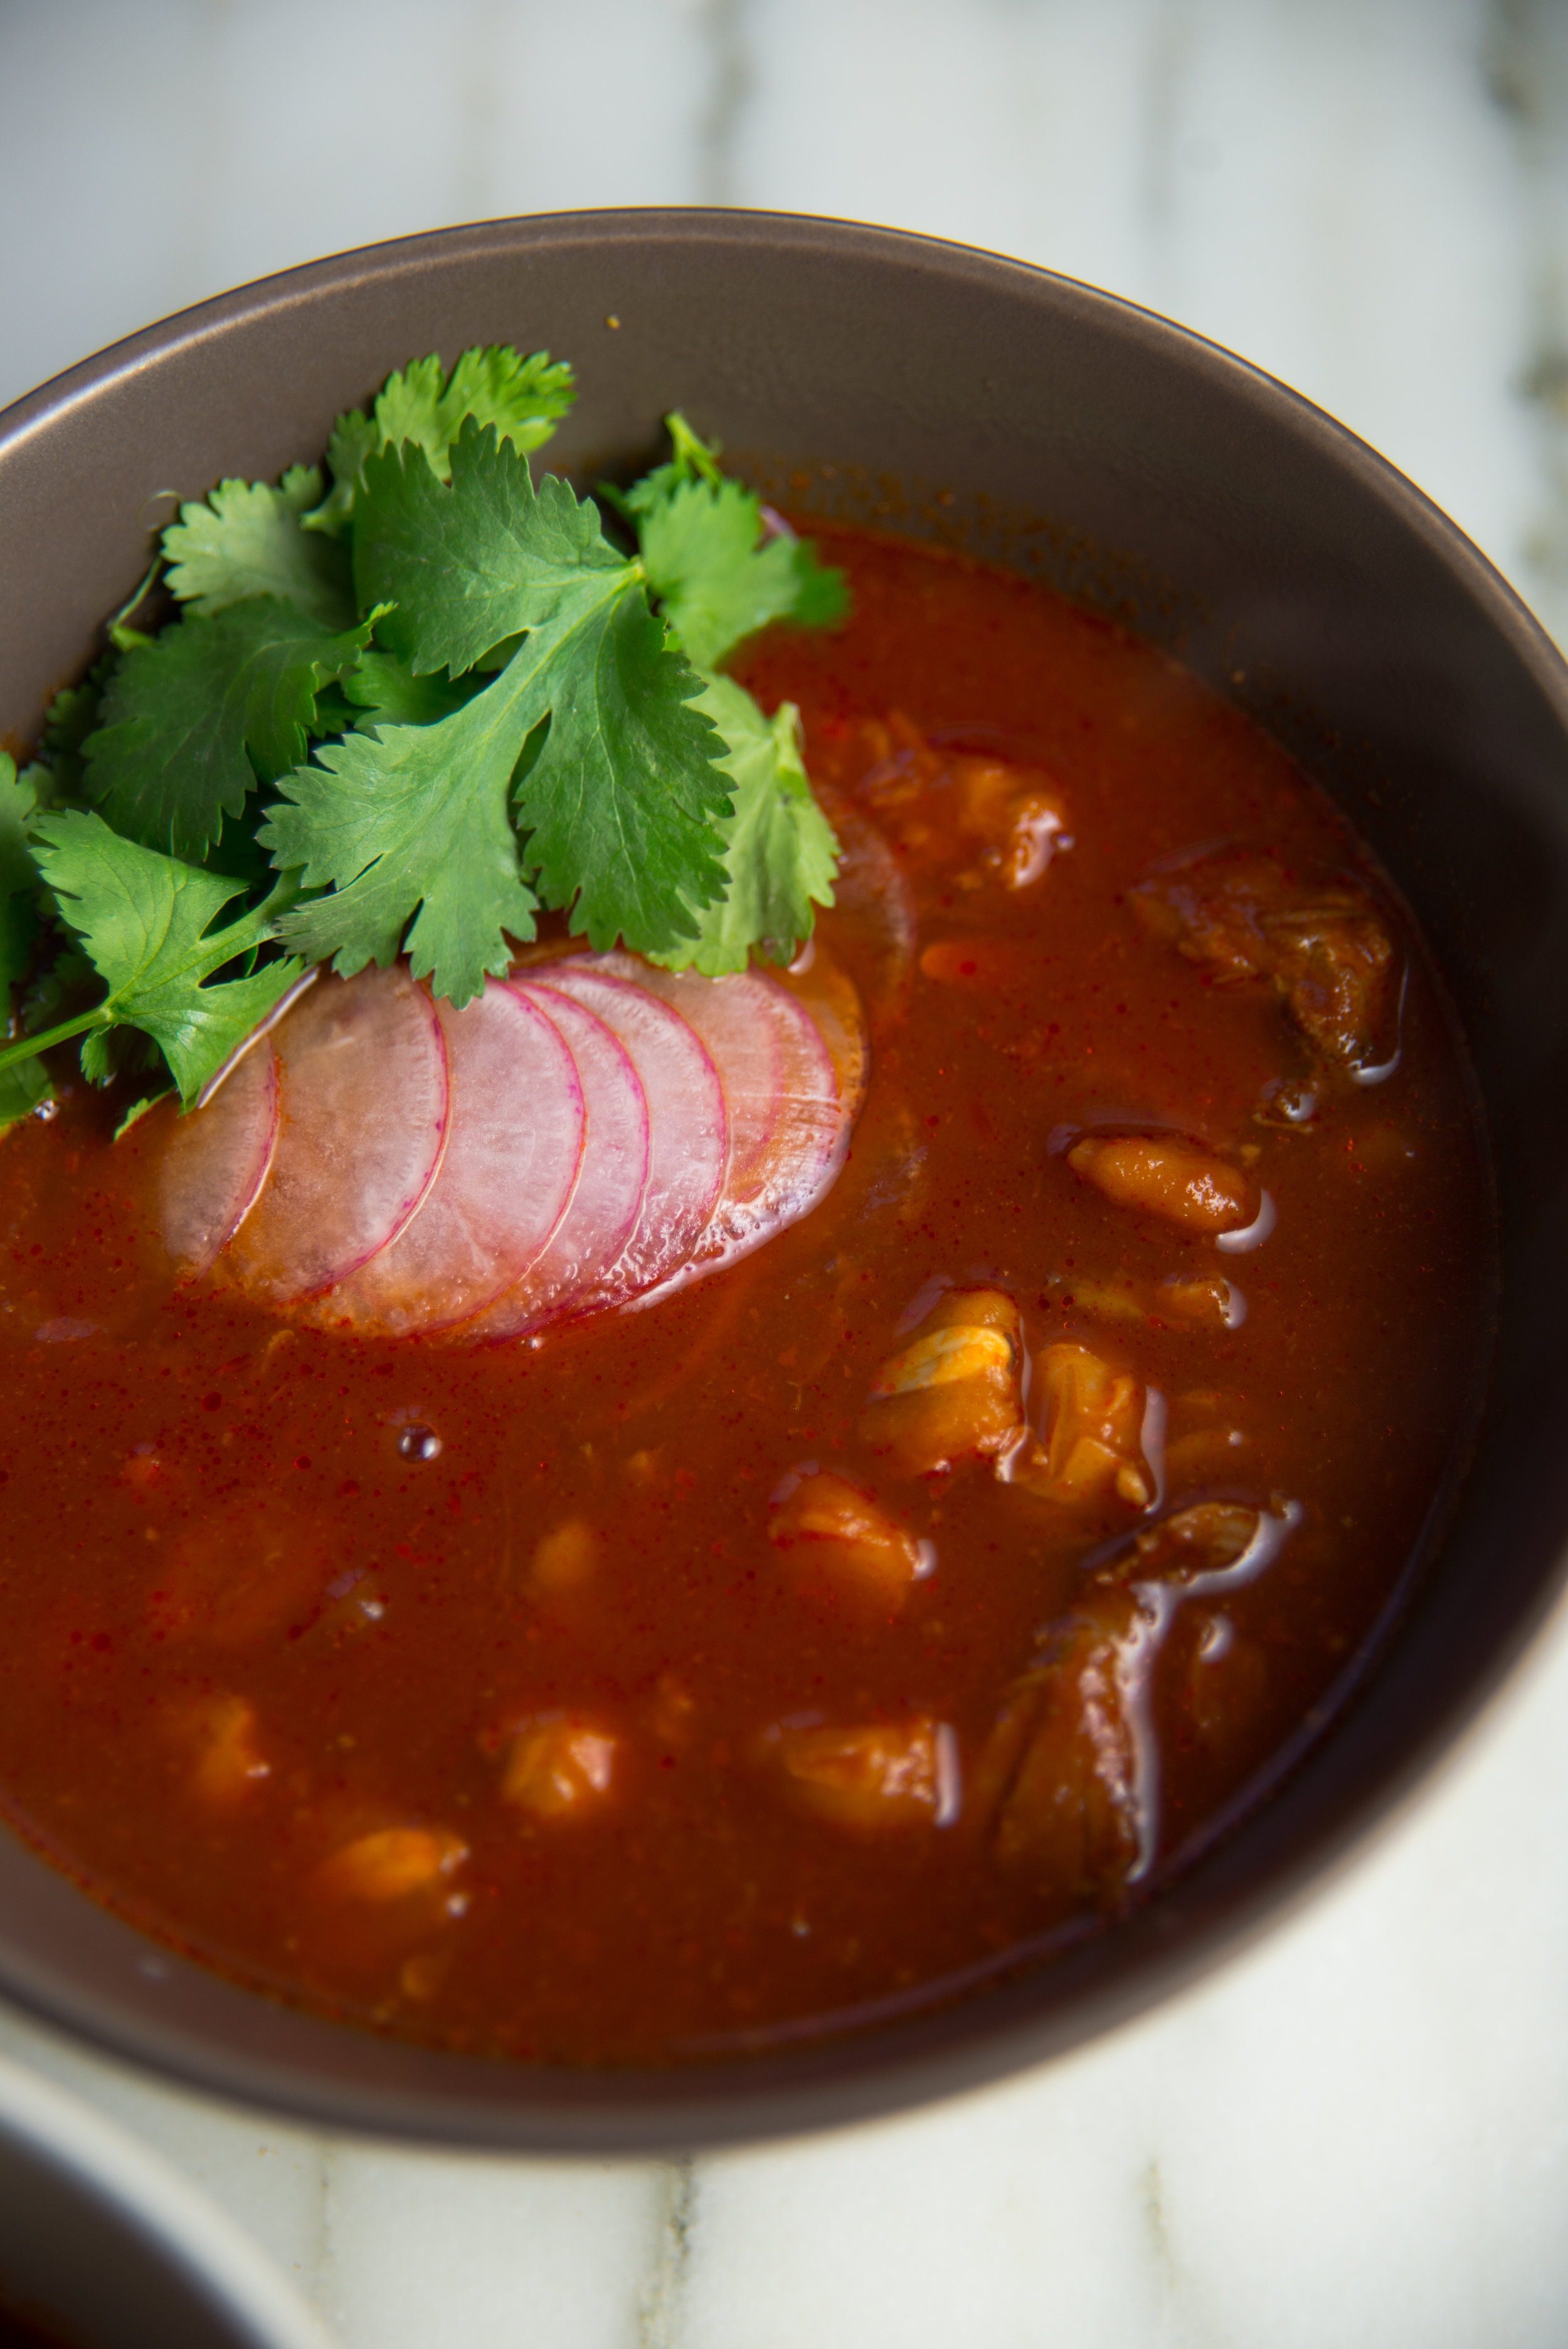
cilantro, radish, and lime to garnish

  • If using dry hominy, soak overnight before beginning. 
  • Place ribs, dry hominy (hold off if you're using canned), and broth in a large pot.  Gently simmer for 2-3 hours, until a rich broth has formed, the pork is tender, and the hominy is cooked. 
  • As the broth nears finishing, soak the chiles in boiling water for 30 minutes. While they're soaking, sauté the onions and garlic in 1 Tbsp of oil until lightly browned. In a blender or food processor, puree the chiles, onions, and garlic with just as much of the chili liquid as needed for it to be smooth. 
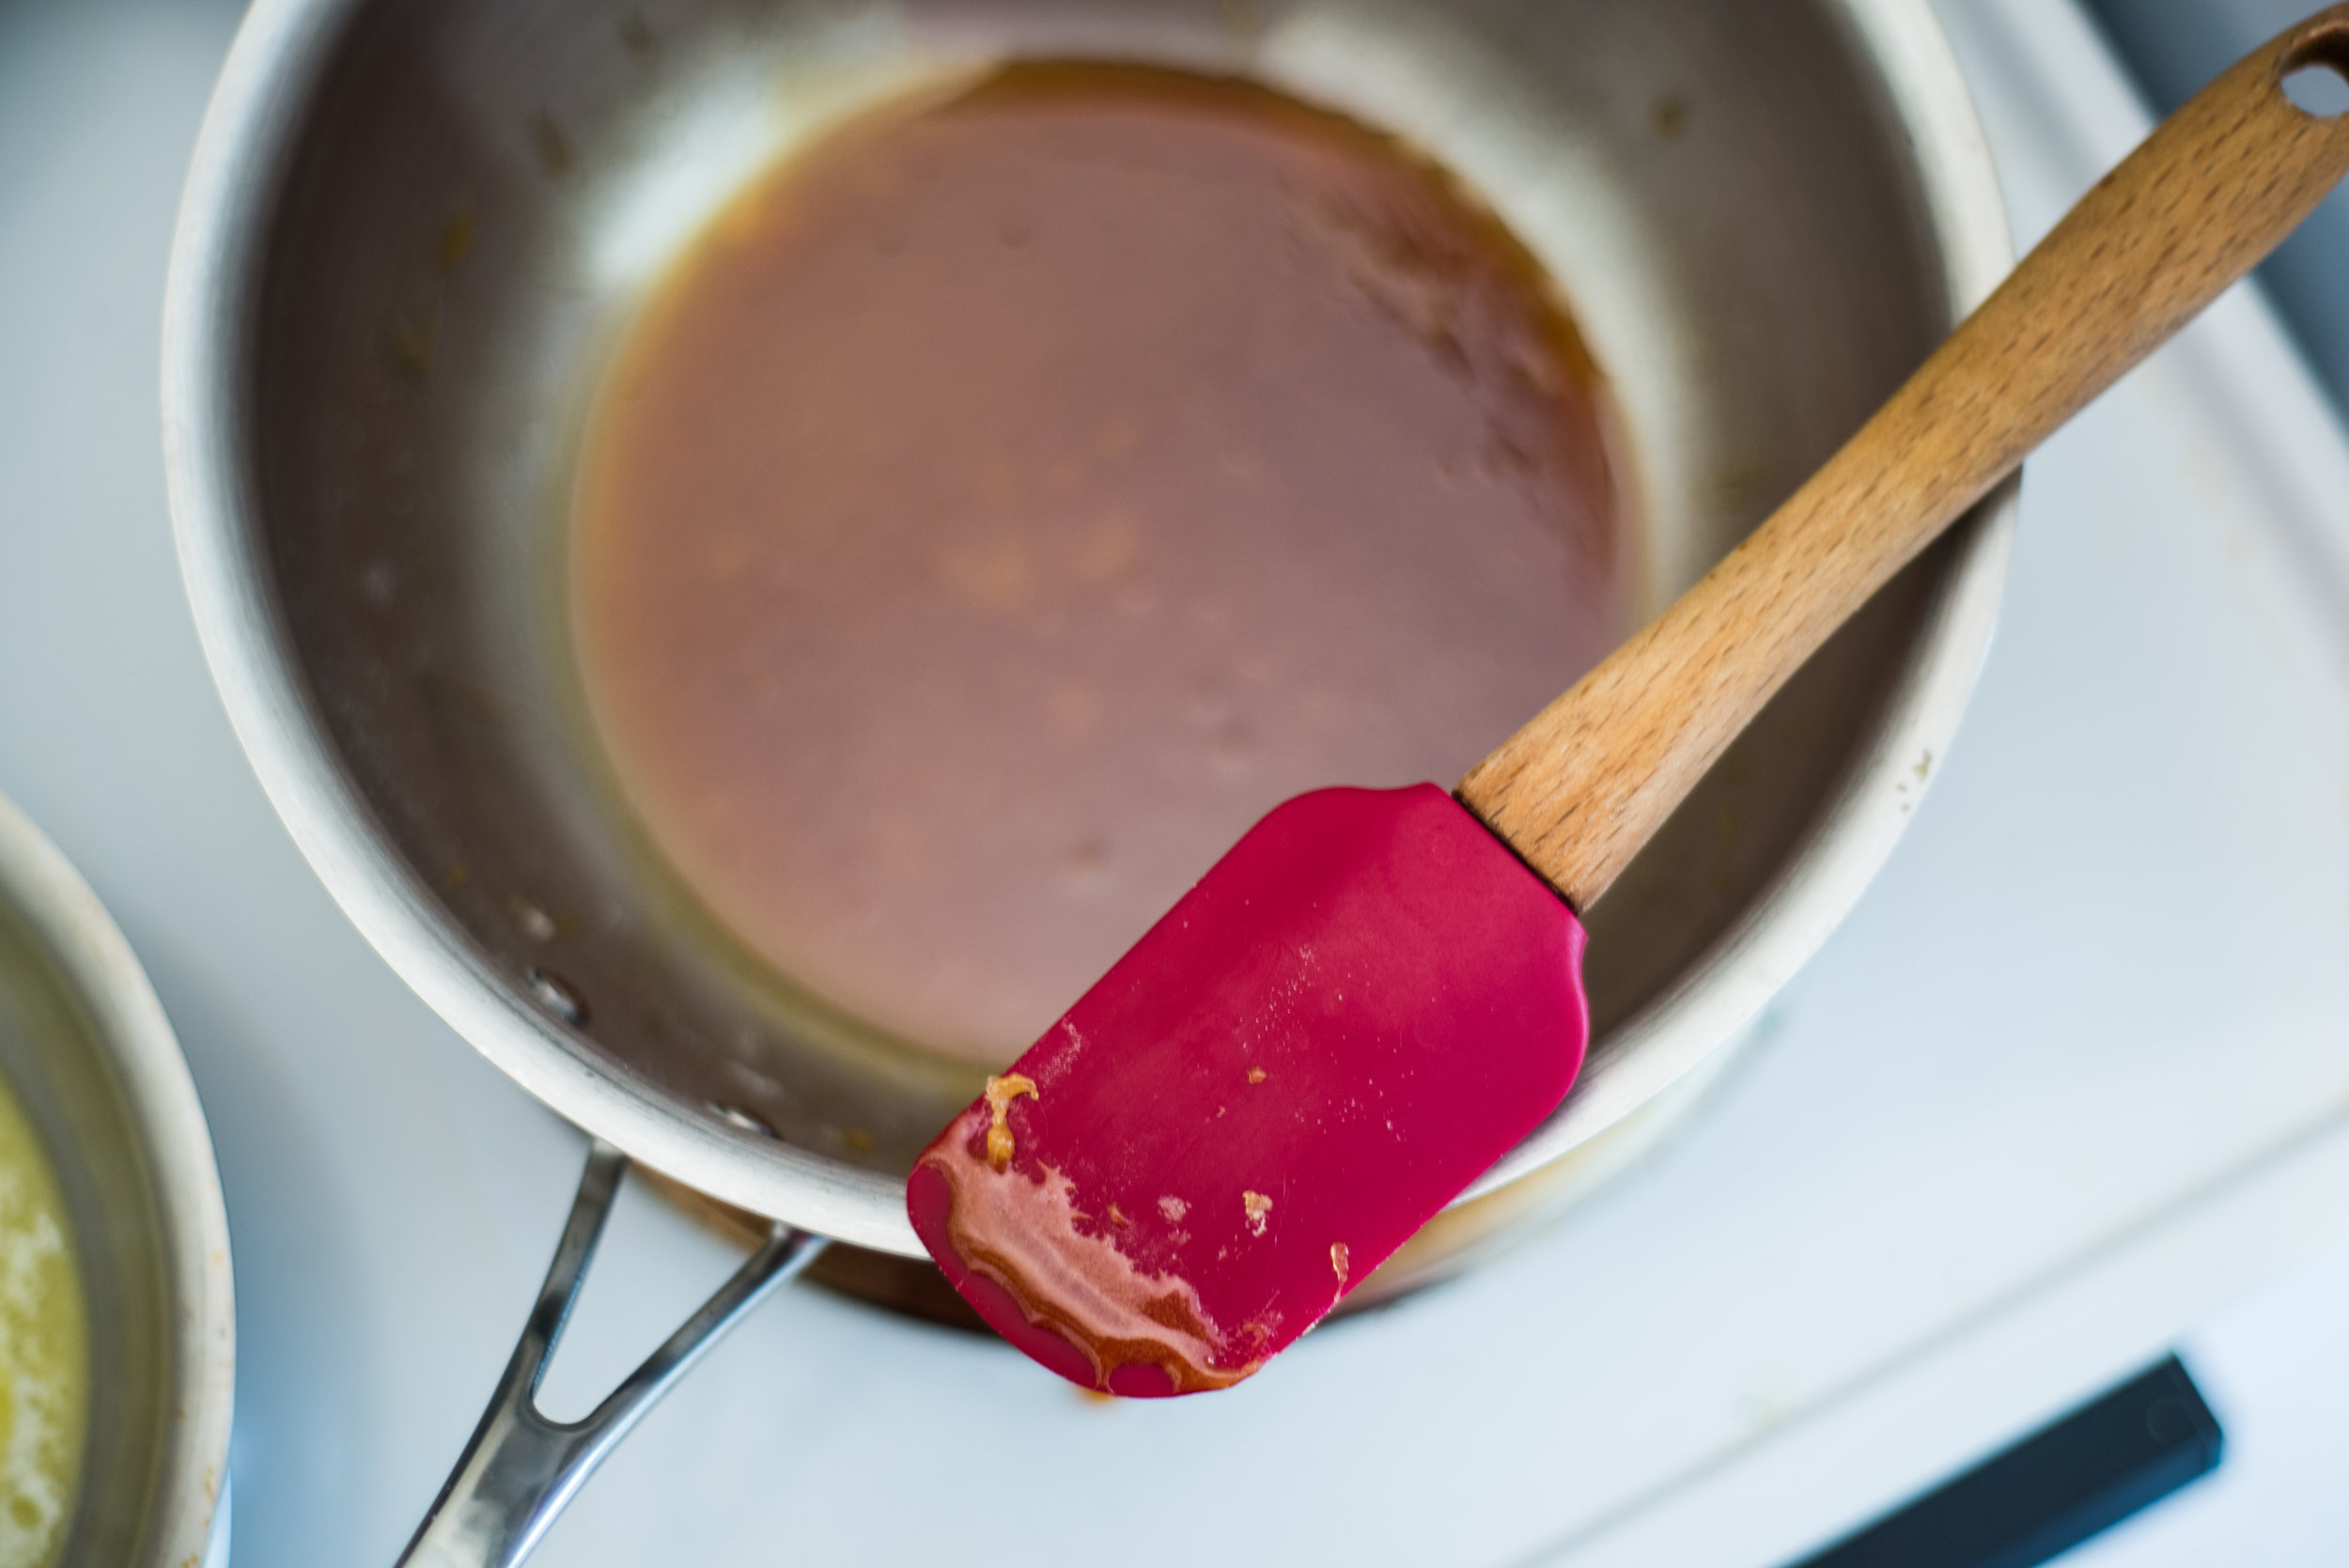
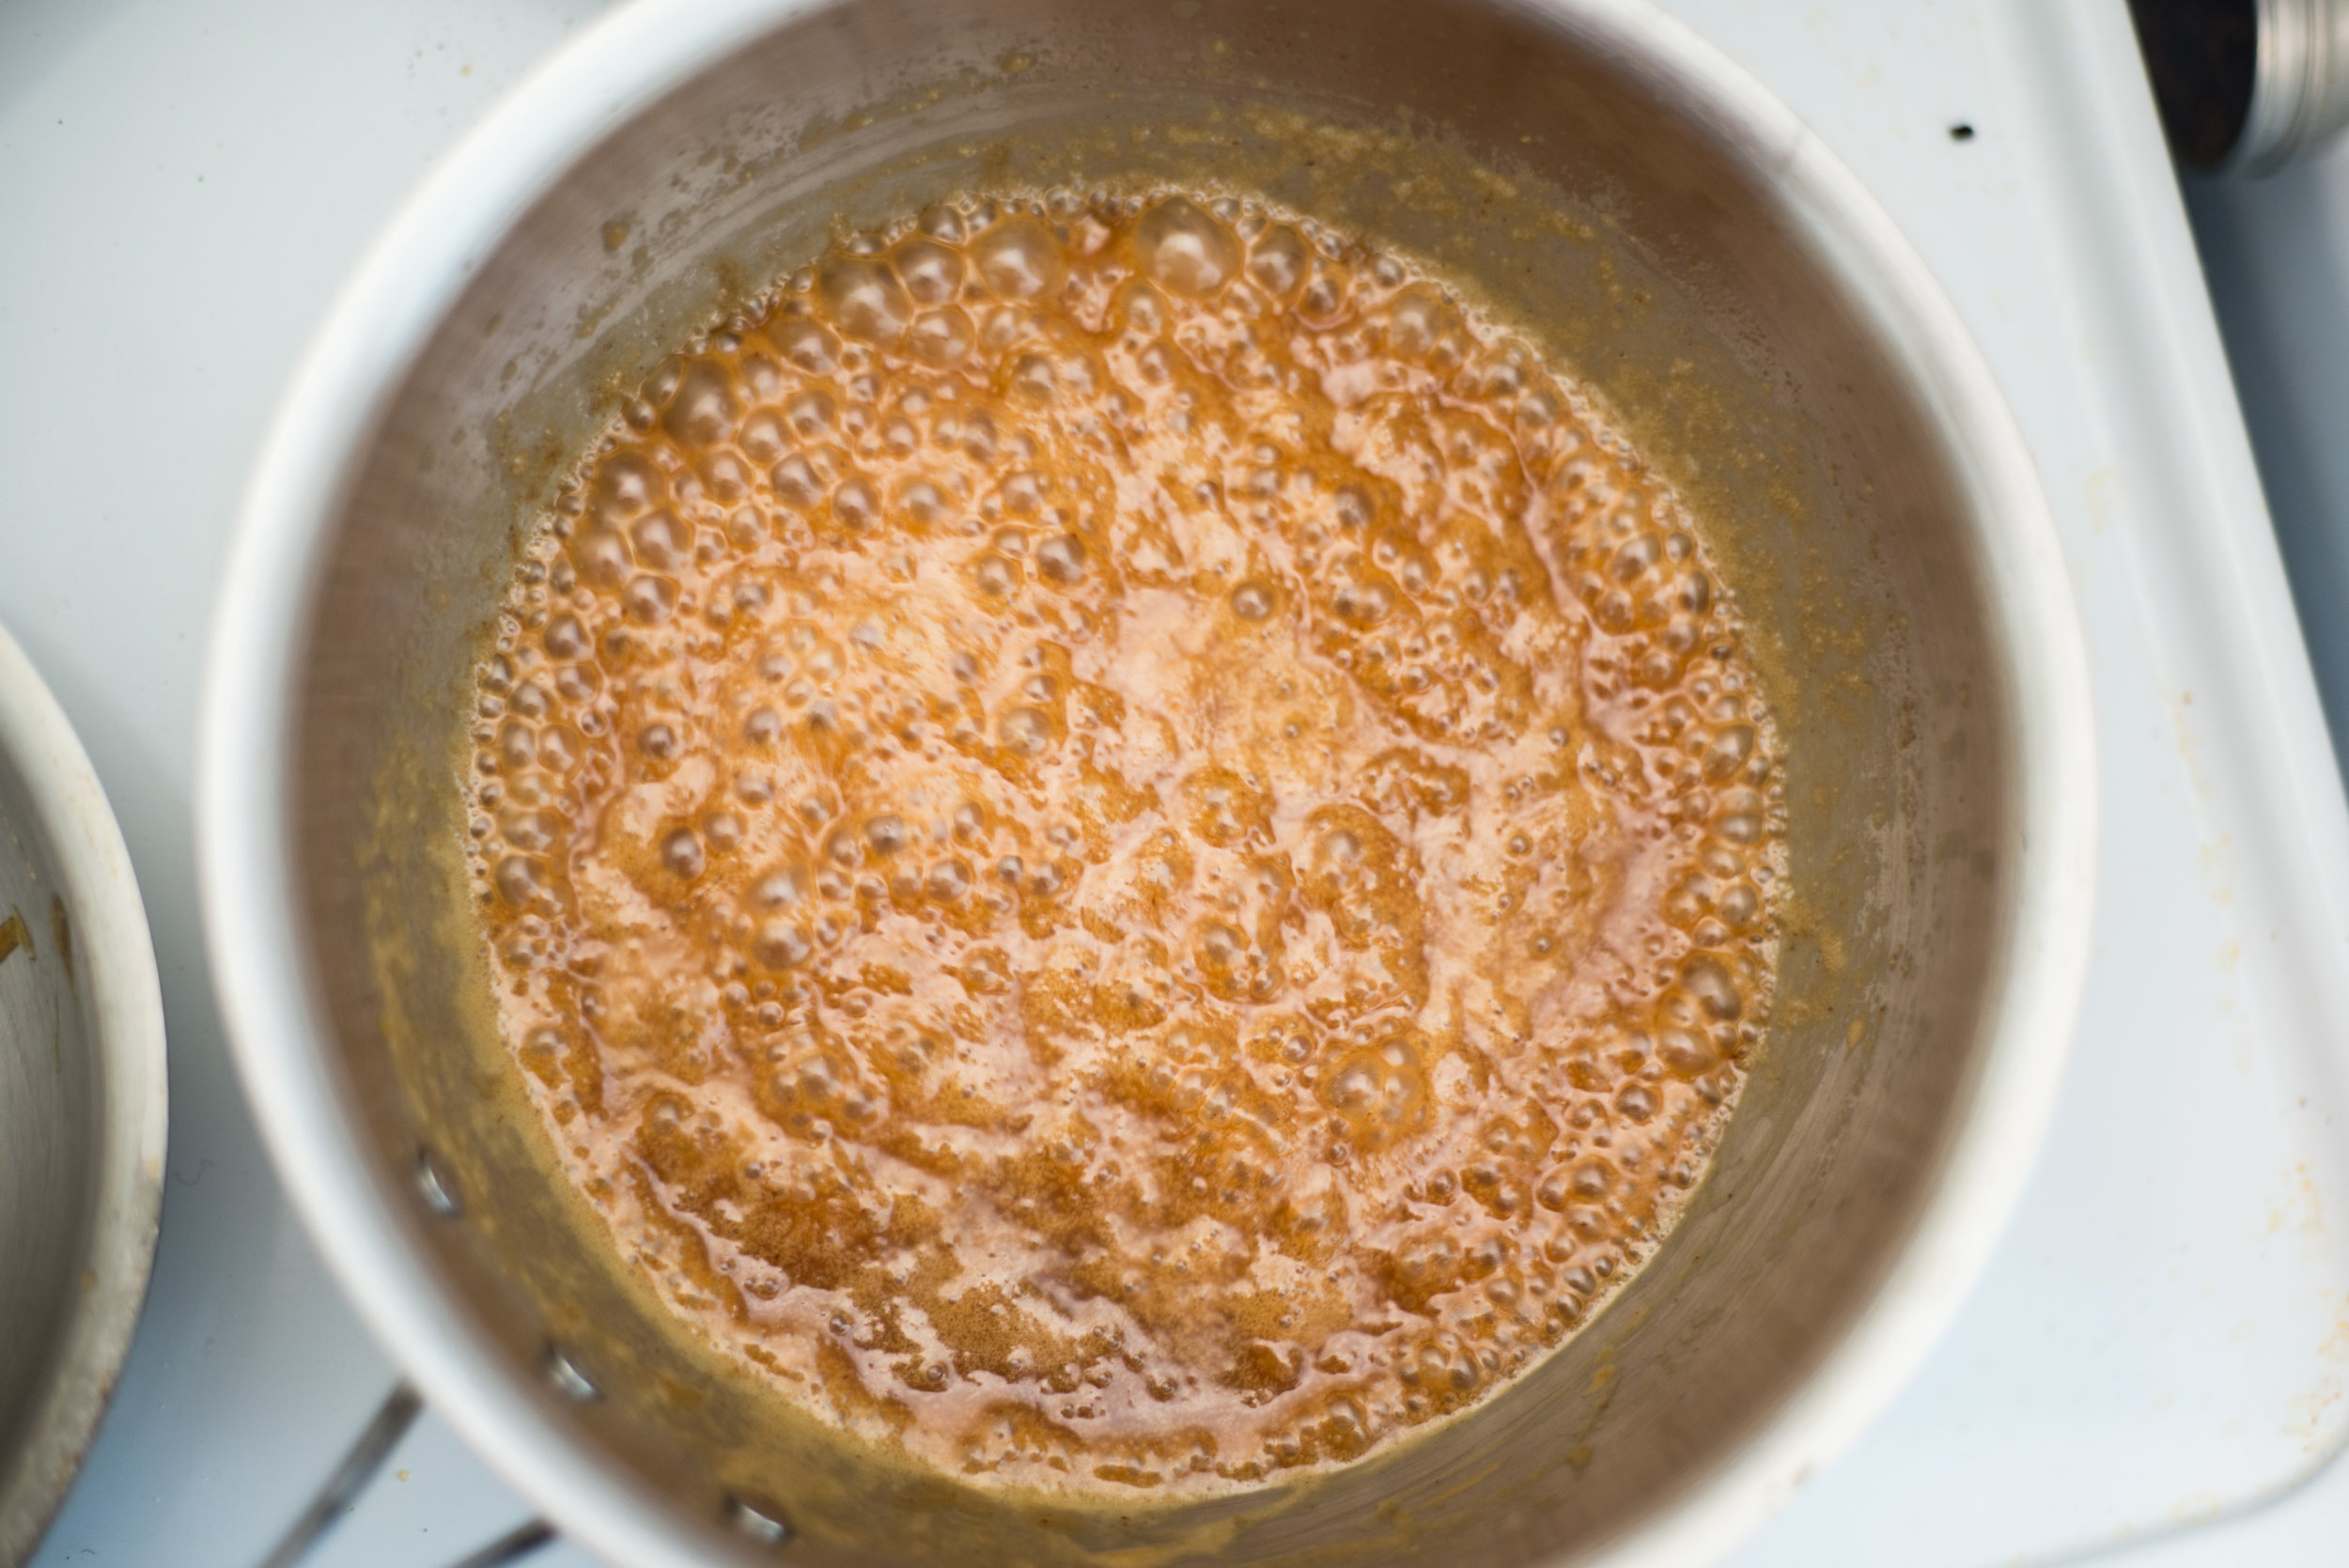
  • Heat the remaining 2 Tbsp of oil in a pan, then add the pureed pepper mixture. Simmer for about 20 minutes, stirring regularly. 
  • Remove the ribs from the broth and strain the broth through a fine mesh sieve or a coffee filter if needed. Cut the meat off the bone and into small pieces. 
  • Combine broth, pepper mixture, hominy (add the canned hominy now if using!), pork, and oregano in a large pot and let simmer for about 5 minutes until everything is hot. Salt to taste. 
  • Serve topped with cilantro, radish slices, and a squeeze of lime. 

Comment

Salted Caramel Dip, two ways

Comment

Salted Caramel Dip, two ways

As a self-proclaimed sugar-fiend, caramel is one of my biggest downfalls. Something about that nutty creamy perfection makes it very hard for me to stop myself... despite knowing full well the amount of sugar, butter, and cream that went into making it. Once the jar is out of the fridge, I can eat it by the spoonful. To make matters worse, I've perfected not one, but two ways to make this goodness!

The first is a classic method that starts by melting and caramelizing white sugar (I like to use baker's sugar which is finer, making the sugar less likely to burn before it's all fully melted). It really isn't very hard, but it can be intimidating and burns quickly if not carefully watched.

The second method uses brown sugar to imitate the nutty flavor of caramelized sugar, and is 100% foolproof. While the classic method definitely makes a superior caramel, this one is still completely crave-worthy and has that added benefit of being easier than easy. 

You may have seen my caramel recipes before as I love to incorporate this favorite of mine into recipes (drizzled on apple cake or tucked into brownie ice cream sandwiches), but today we're focusing on caramel as a dip for fall's fresh crisp apples. 

This is definitely my favorite season for caramel! 

When I was a kid, I always begged my mom to buy the caramel dip grocery stores so geniusly placed alongside the apples in the produce section. It was my favorite treat in the fall. So when I first learned to make my own caramel at home, I knew countless batches would find themselves atop apple slices. Caramel and apples just go, ya know. While there is something magical about caramel apples, I'll never get over my love for the simplicity of dipping. 

Plus... doing a photo shoot for this recipe basically meant sitting around all morning eating caramel dipped apples. Thank you food blogger life! 

Classic Caramel Dip 

1 cup cane sugar (I like to use baker's sugar)

3oz / 6 Tbsp unsalted butter, cut into cubes 

1/2 cup plus 2 Tbsp heavy cream 

2 tsp coarse sea salt 

  • First, put your sugar in a heavy bottomed saucepan. I love to use my calphalon chef's pan for this, the even heating is really helpful. Heat the sugar over medium heat until it has fully melted, being careful not to burn it. the trickiest part here is not over or under stirring it. Stirring too much causes the sugar to clump and makes it hard to melt it fully, stirring to little causes it to burn. I like to swirl the pan occasionally to keep the sugar moving. if you're nervous, you're better off over-stirring as you can strain out any clumps at the end of the process. 
  • you're ready for the next step when the sugar is completely melted (or melted with a few clumps remaining from your stirring), and smells a little nutty, but not burnt. if it does burn slightly, it isn't a big deal. burnt caramel is a popular flavor for a reason, and it's all great practice!
  • Add the butter and whisk constantly until it starts to combine, keeping the heat on while you do this. Once it starts to combine with the sugar, pour in the cream and continue whisking until totally combined. Let the caramel bubble for about 30 seconds once combined, then remove from heat. 
  • Strain the caramel through a fine mesh sieve to remove any sugar clumps. I usually do this directly into a glass jar for storage. Stir in the salt, and let cool completely before using. 


Foolproof Brown Sugar Caramel

1 cup brown sugar

4 Tbsp unsalted butter

1/2 cup heavy cream

a few pinches of sea salt  

  • Combine sugar, butter, and cream in a small saucepan over medium heat and whisk to combine as the butter melts. 
  • Continue stirring and cooking until the mixture starts to boil lightly. Let it boil for a few minutes, stirring constantly. 
  • Remove from heat and stir in the salt. Pour into a glass container, and let cool completely before using. 


Comment

Ancho pork & sweet potato enchiladas

Comment

Ancho pork & sweet potato enchiladas

I'm back in action! Golly it's been a long time since I've been here writing for you fine folks. As most of you should know by now, I was rather busy the month of September getting married and spending a blissful month in my heart place, northwest Michigan. I'll write more about the wedding when I share the lengthy details of making my own wedding desserts but for now, I couldn't be happier to be back in my own kitchen. 

A month away from home in the place my babes and I love the most was an incredible treat, but it was near impossible to keep up with recipe developing and photographing while staying with friends and family.  So in coming home, it was straight to the kitchen (and straight to the oven since cooler weather has finally arrived!) - which pleasantly resulted in meals like these incredible enchiladas. No complaints here : ) 

I'm a full convert to Cookie and Kate's killer enchilada sauce recipe, with just one real update in using ancho chile powder for a perfectly smokey sauce. The sauce is made in under 15 minutes, and will totally rock your world. After a long life of my dad's beloved mole enchiladas meaning the process of making this meal had to start the day before we wanted to eat... I'm thankful to have settled on a satisfying and quick version. We'll save those special enchiladas for special occasions.  

DSC_2415.jpg

I had leftover pulled pork on hand from a previously slow cooked pork shoulder, so the process of making these really was a fast one. I couldn't recommend pulled pork enough as a meat to cook a lot of and use in a variety of ways throughout the week. We sliced some of the shoulder before pulling it to use in babes' killer homemade ramen, made this whole pan of enchiladas which served us for a few meals (plus a few in the freezer for a future lazy dinner), and made some soba noodles with pork, carrots, and a miso sauce. 

DSC_2420.jpg

Look at that! It all comes together to this beautiful saucy goodness. This is comfort food at it's finest, folks, perfect for cozying up to these chilly fall evenings. Swoon! 

Ancho Enchiladas with pork, sweet potatoes, and kale

1/4 cup + 1tsp vegetable oil

1/4 cup + 1tsp flour

2 Tbsp ancho chile powder (see notes) 

2 tsp ground cumin

1/2 tsp oregano 

1 tsp salt 

1/4 tsp pepper

3 Tbsp tomato paste 

3 cups stock (see notes)

1tsp apple cider vinegar 

2 medium sweet potatoes, diced and cooked (see notes) 

1 pound pulled pork, cooked (see notes) 

2 tortillas (i used a corn/flour blend) 

1 lb pepper jack cheese, shredded 

about 1/2 bunch kale, roughly chopped 

  • First, we make the sauce. This can be done ahead of time and stored in the fridge or freezer (or you can double the recipe and freeze half for later!). Heat oil in a saucepan over medium heat. While it's heating, measure flour and spices into a small bowl. Add the flour and spices to the hot oil and cook while whisking constantly for about 1 minute. Whisk in the tomato paste, then slowly pour in the broth, whisking while you do to prevent any clumps from forming. Let cook, stirring occasionally, for about 5 minutes until the sauce has thickened a bit. 
  • Cover the bottom of a 9x13 baking dish with a little sauce. 
  • Form your enchiladas by piling some pork, sweet potatoes, kale, cheese, and a little sauce in each tortilla. Be sure to set aside some cheese to sprinkle on top! Roll them up and set them in the baking dish as you go. 
  • Pour the remaining sauce over top of the enchiladas, and sprinkle with the rest of the cheese. 
  • Bake at 375 F for about 30 minutes, until the sauce is bubbling and the cheese on top has browned slightly. Finish with a minute of broiling if you want to further brown the top! 
  • Enjoy! 

Notes: A few notes on the ingredient list! 

Ancho Chile Powder: You can buy this in the spice section, but I like buying a bag of dried ancho chiles from the Mexican market and grinding them into a powder in the blender or spice grinder. 

Stock: You can use veggie stock or a meat stock in this recipe. I used a stock made with a mixture of chicken and pork (I'll be honest... it was ramen broth) because it's what we had on hand. 

Sweet Potatoes: I roasted my sweet potatoes at 375 for about 20 minutes in the 9x13 baking dish, then transferred them into a bowl and used the baking dish for the enchiladas - super simple! You could also steam them, which would only take about 5 minutes. 

Pulled Pork:  Anytime we buy and slow cook pork shoulder, there is always enough left over for a few additional meals. Cooking it in a slow cooker with some broth and minimal spices allows for meat that can be used in any number of ways! 


Comment