
As a self-proclaimed sugar-fiend, caramel is one of my biggest downfalls. Something about that nutty creamy perfection makes it very hard for me to stop myself... despite knowing full well the amount of sugar, butter, and cream that went into making it. Once the jar is out of the fridge, I can eat it by the spoonful. To make matters worse, I've perfected not one, but two ways to make this goodness!

The first is a classic method that starts by melting and caramelizing white sugar (I like to use baker's sugar which is finer, making the sugar less likely to burn before it's all fully melted). It really isn't very hard, but it can be intimidating and burns quickly if not carefully watched.
The second method uses brown sugar to imitate the nutty flavor of caramelized sugar, and is 100% foolproof. While the classic method definitely makes a superior caramel, this one is still completely crave-worthy and has that added benefit of being easier than easy.

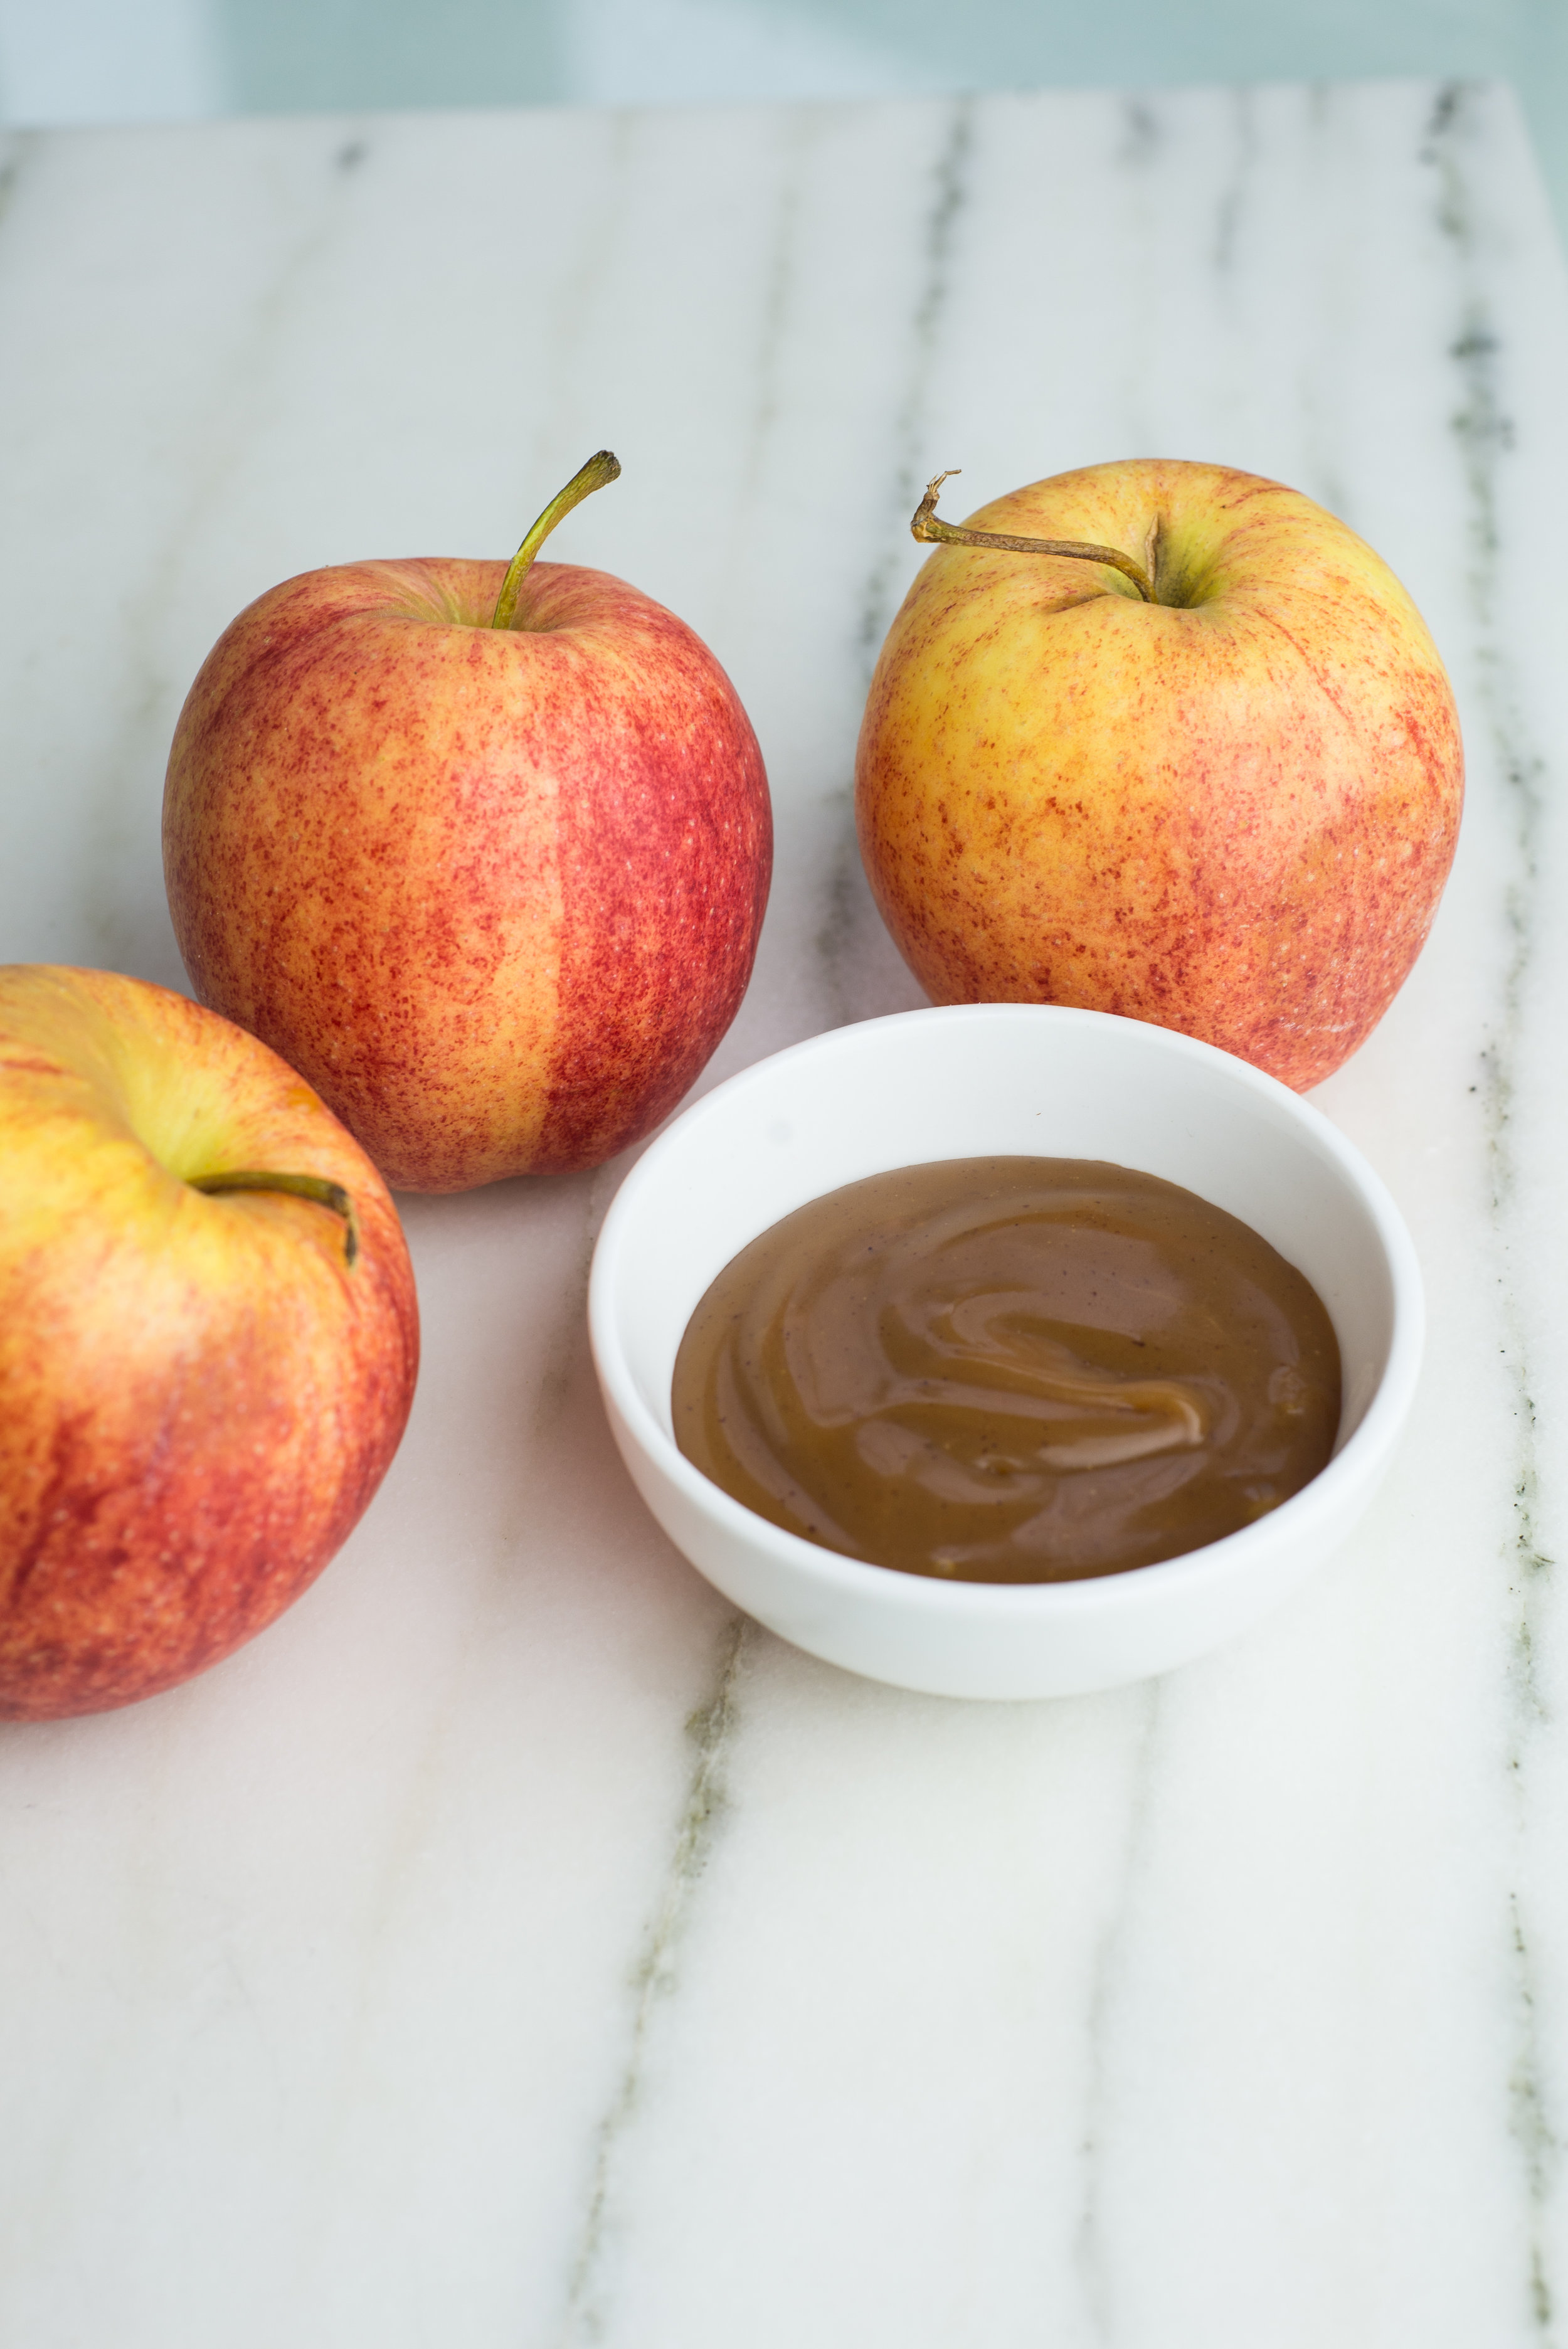
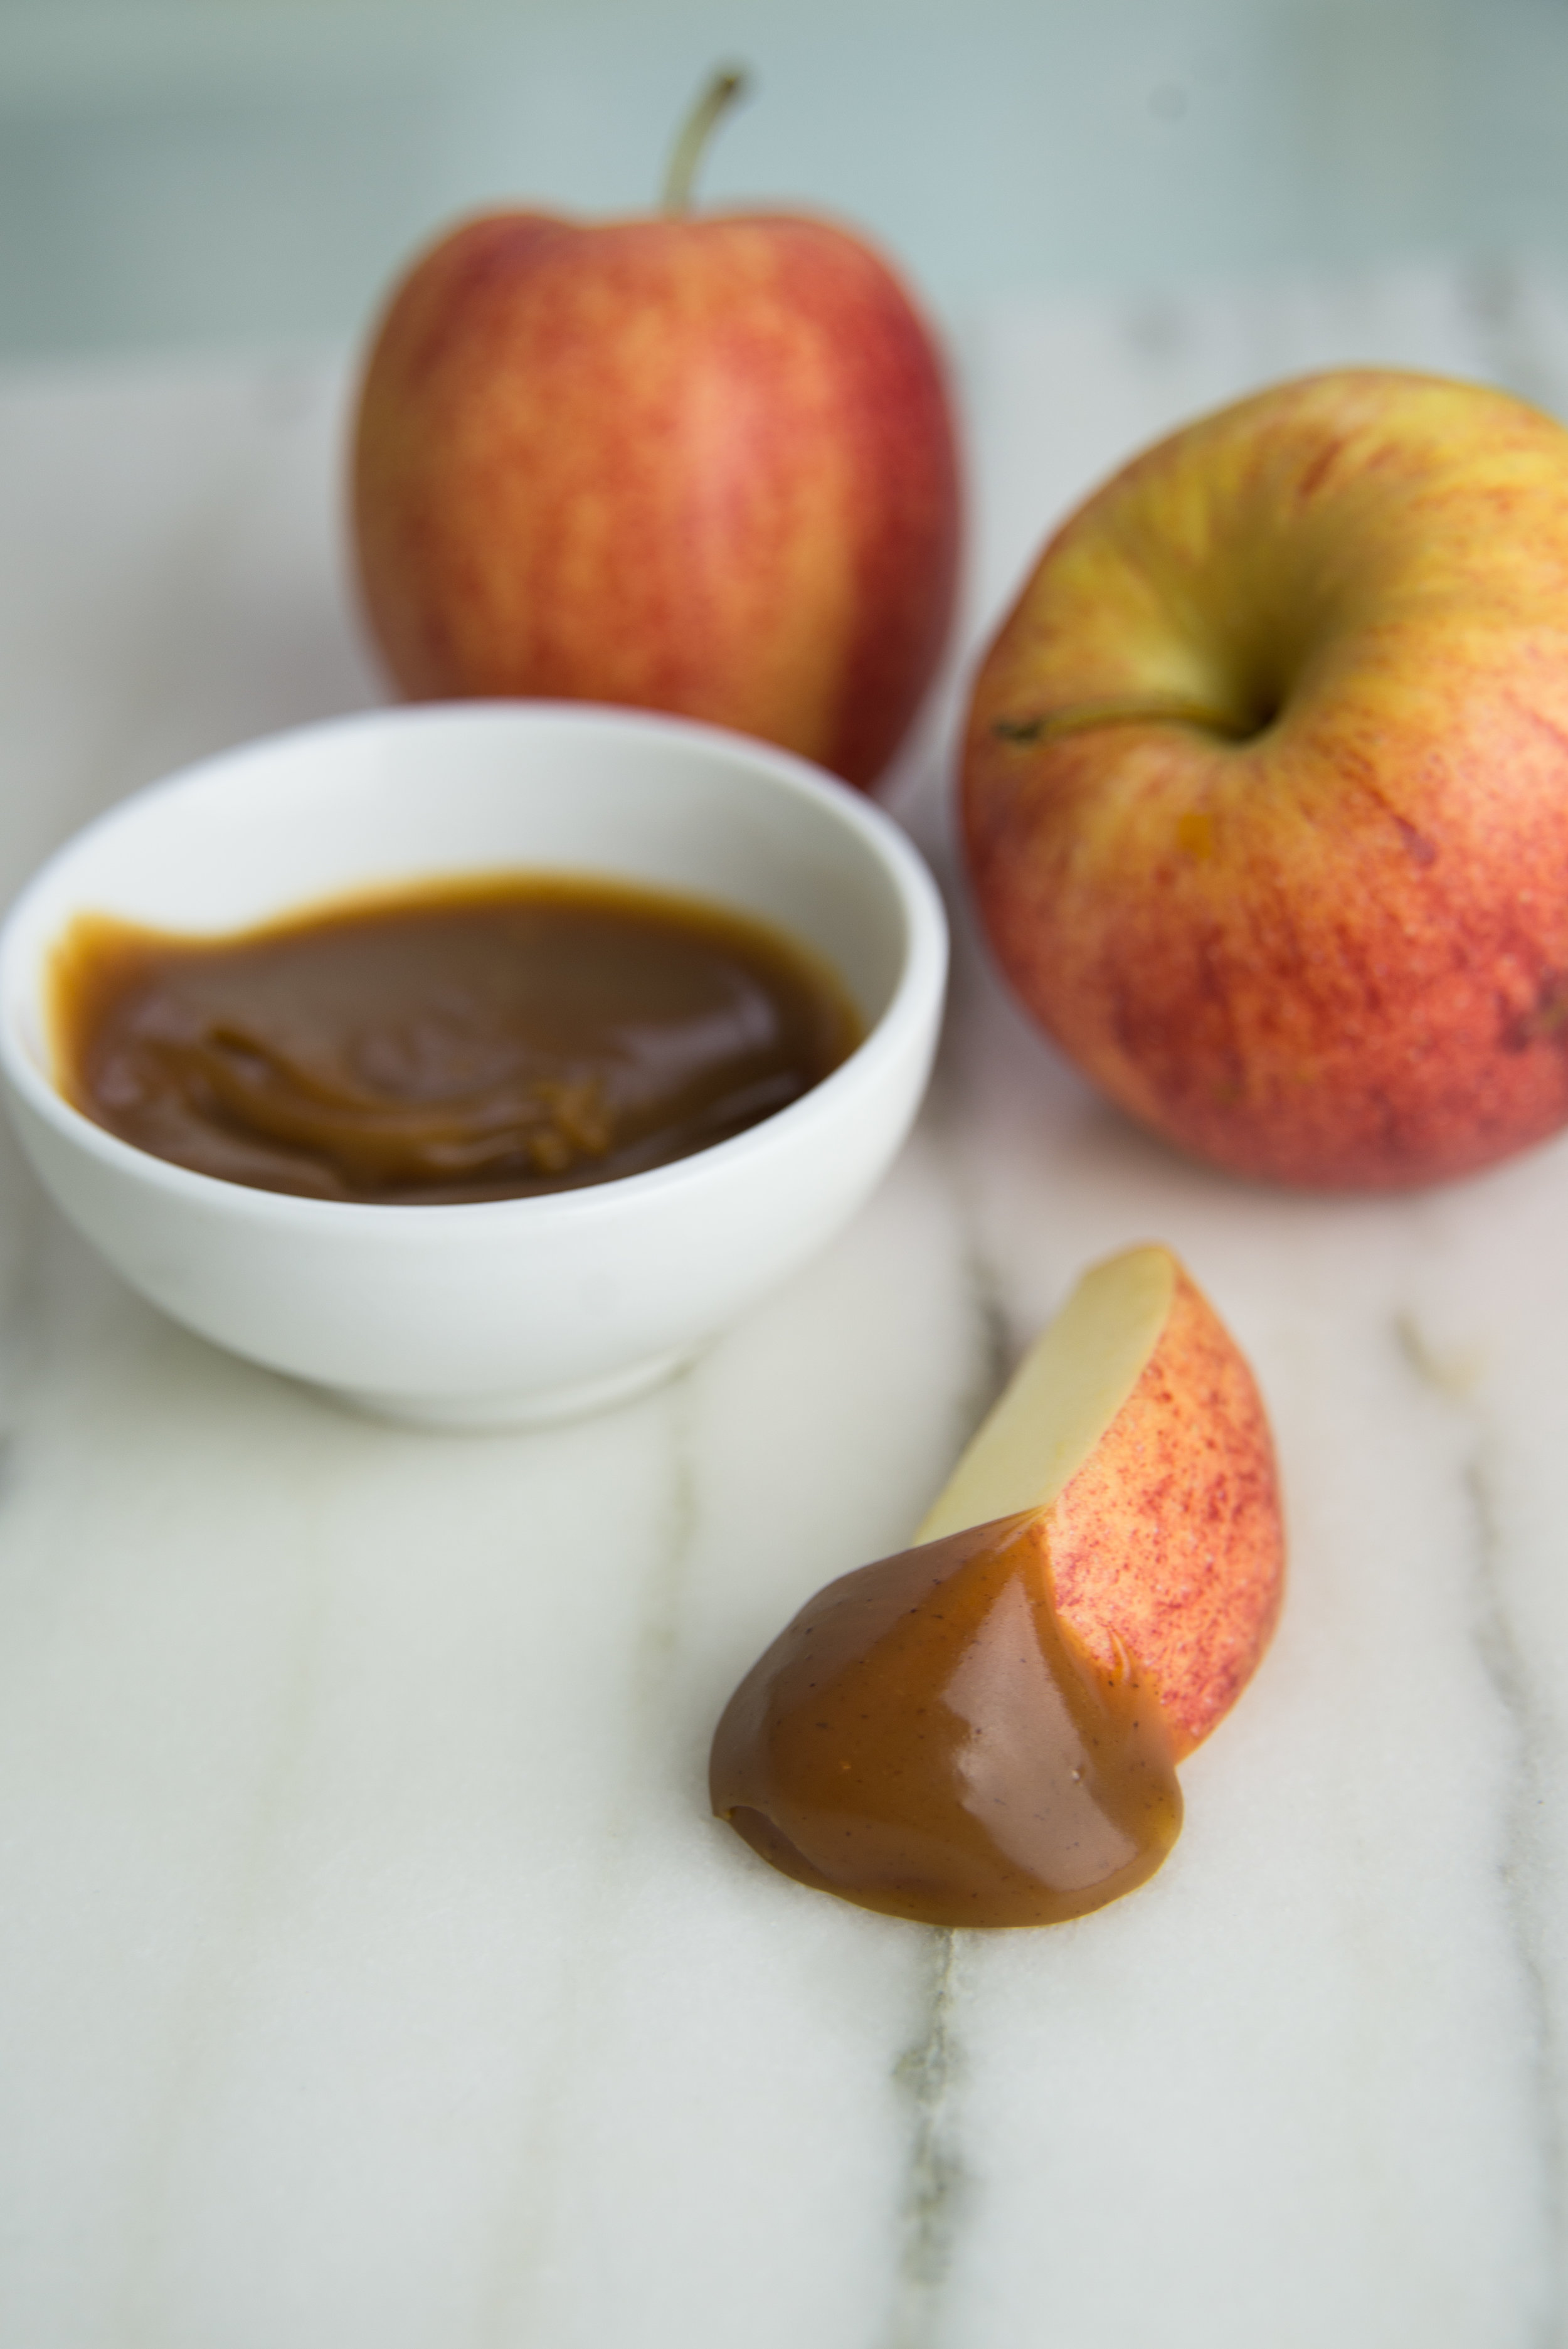
You may have seen my caramel recipes before as I love to incorporate this favorite of mine into recipes (drizzled on apple cake or tucked into brownie ice cream sandwiches), but today we're focusing on caramel as a dip for fall's fresh crisp apples.
This is definitely my favorite season for caramel!

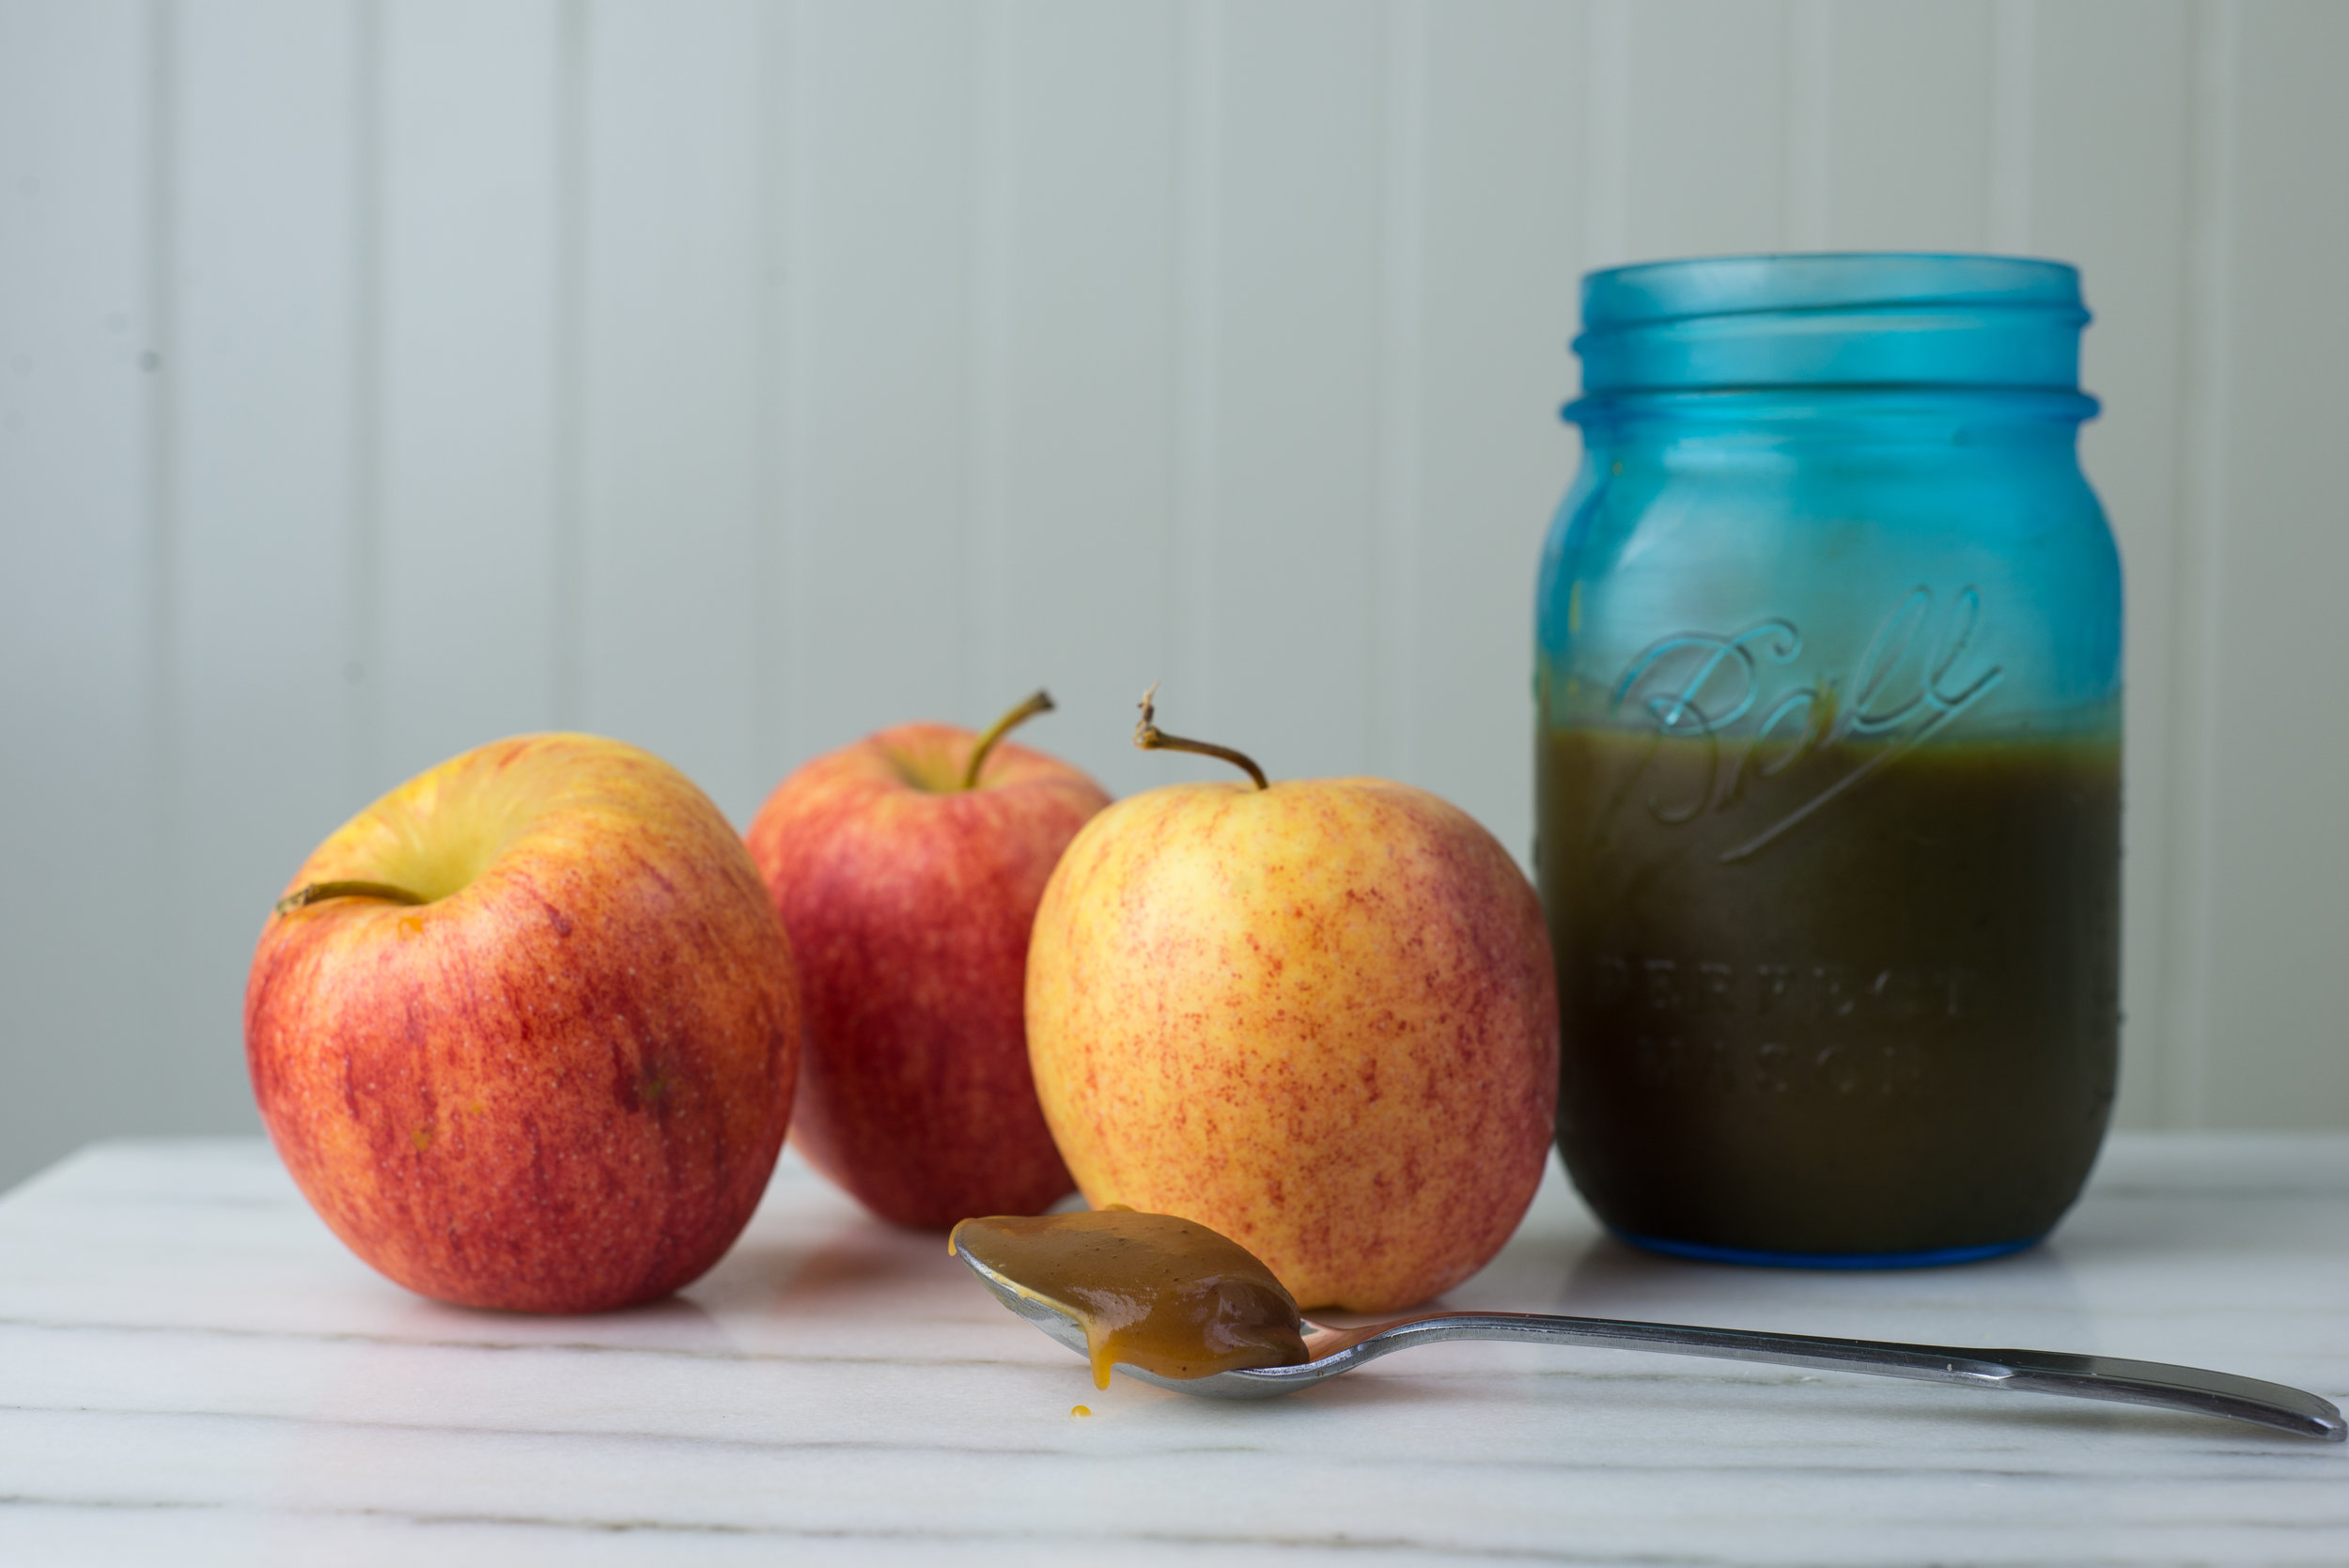
When I was a kid, I always begged my mom to buy the caramel dip grocery stores so geniusly placed alongside the apples in the produce section. It was my favorite treat in the fall. So when I first learned to make my own caramel at home, I knew countless batches would find themselves atop apple slices. Caramel and apples just go, ya know. While there is something magical about caramel apples, I'll never get over my love for the simplicity of dipping.

Plus... doing a photo shoot for this recipe basically meant sitting around all morning eating caramel dipped apples. Thank you food blogger life!
Classic Caramel Dip
1 cup cane sugar (I like to use baker's sugar)
3oz / 6 Tbsp unsalted butter, cut into cubes
1/2 cup plus 2 Tbsp heavy cream
2 tsp coarse sea salt
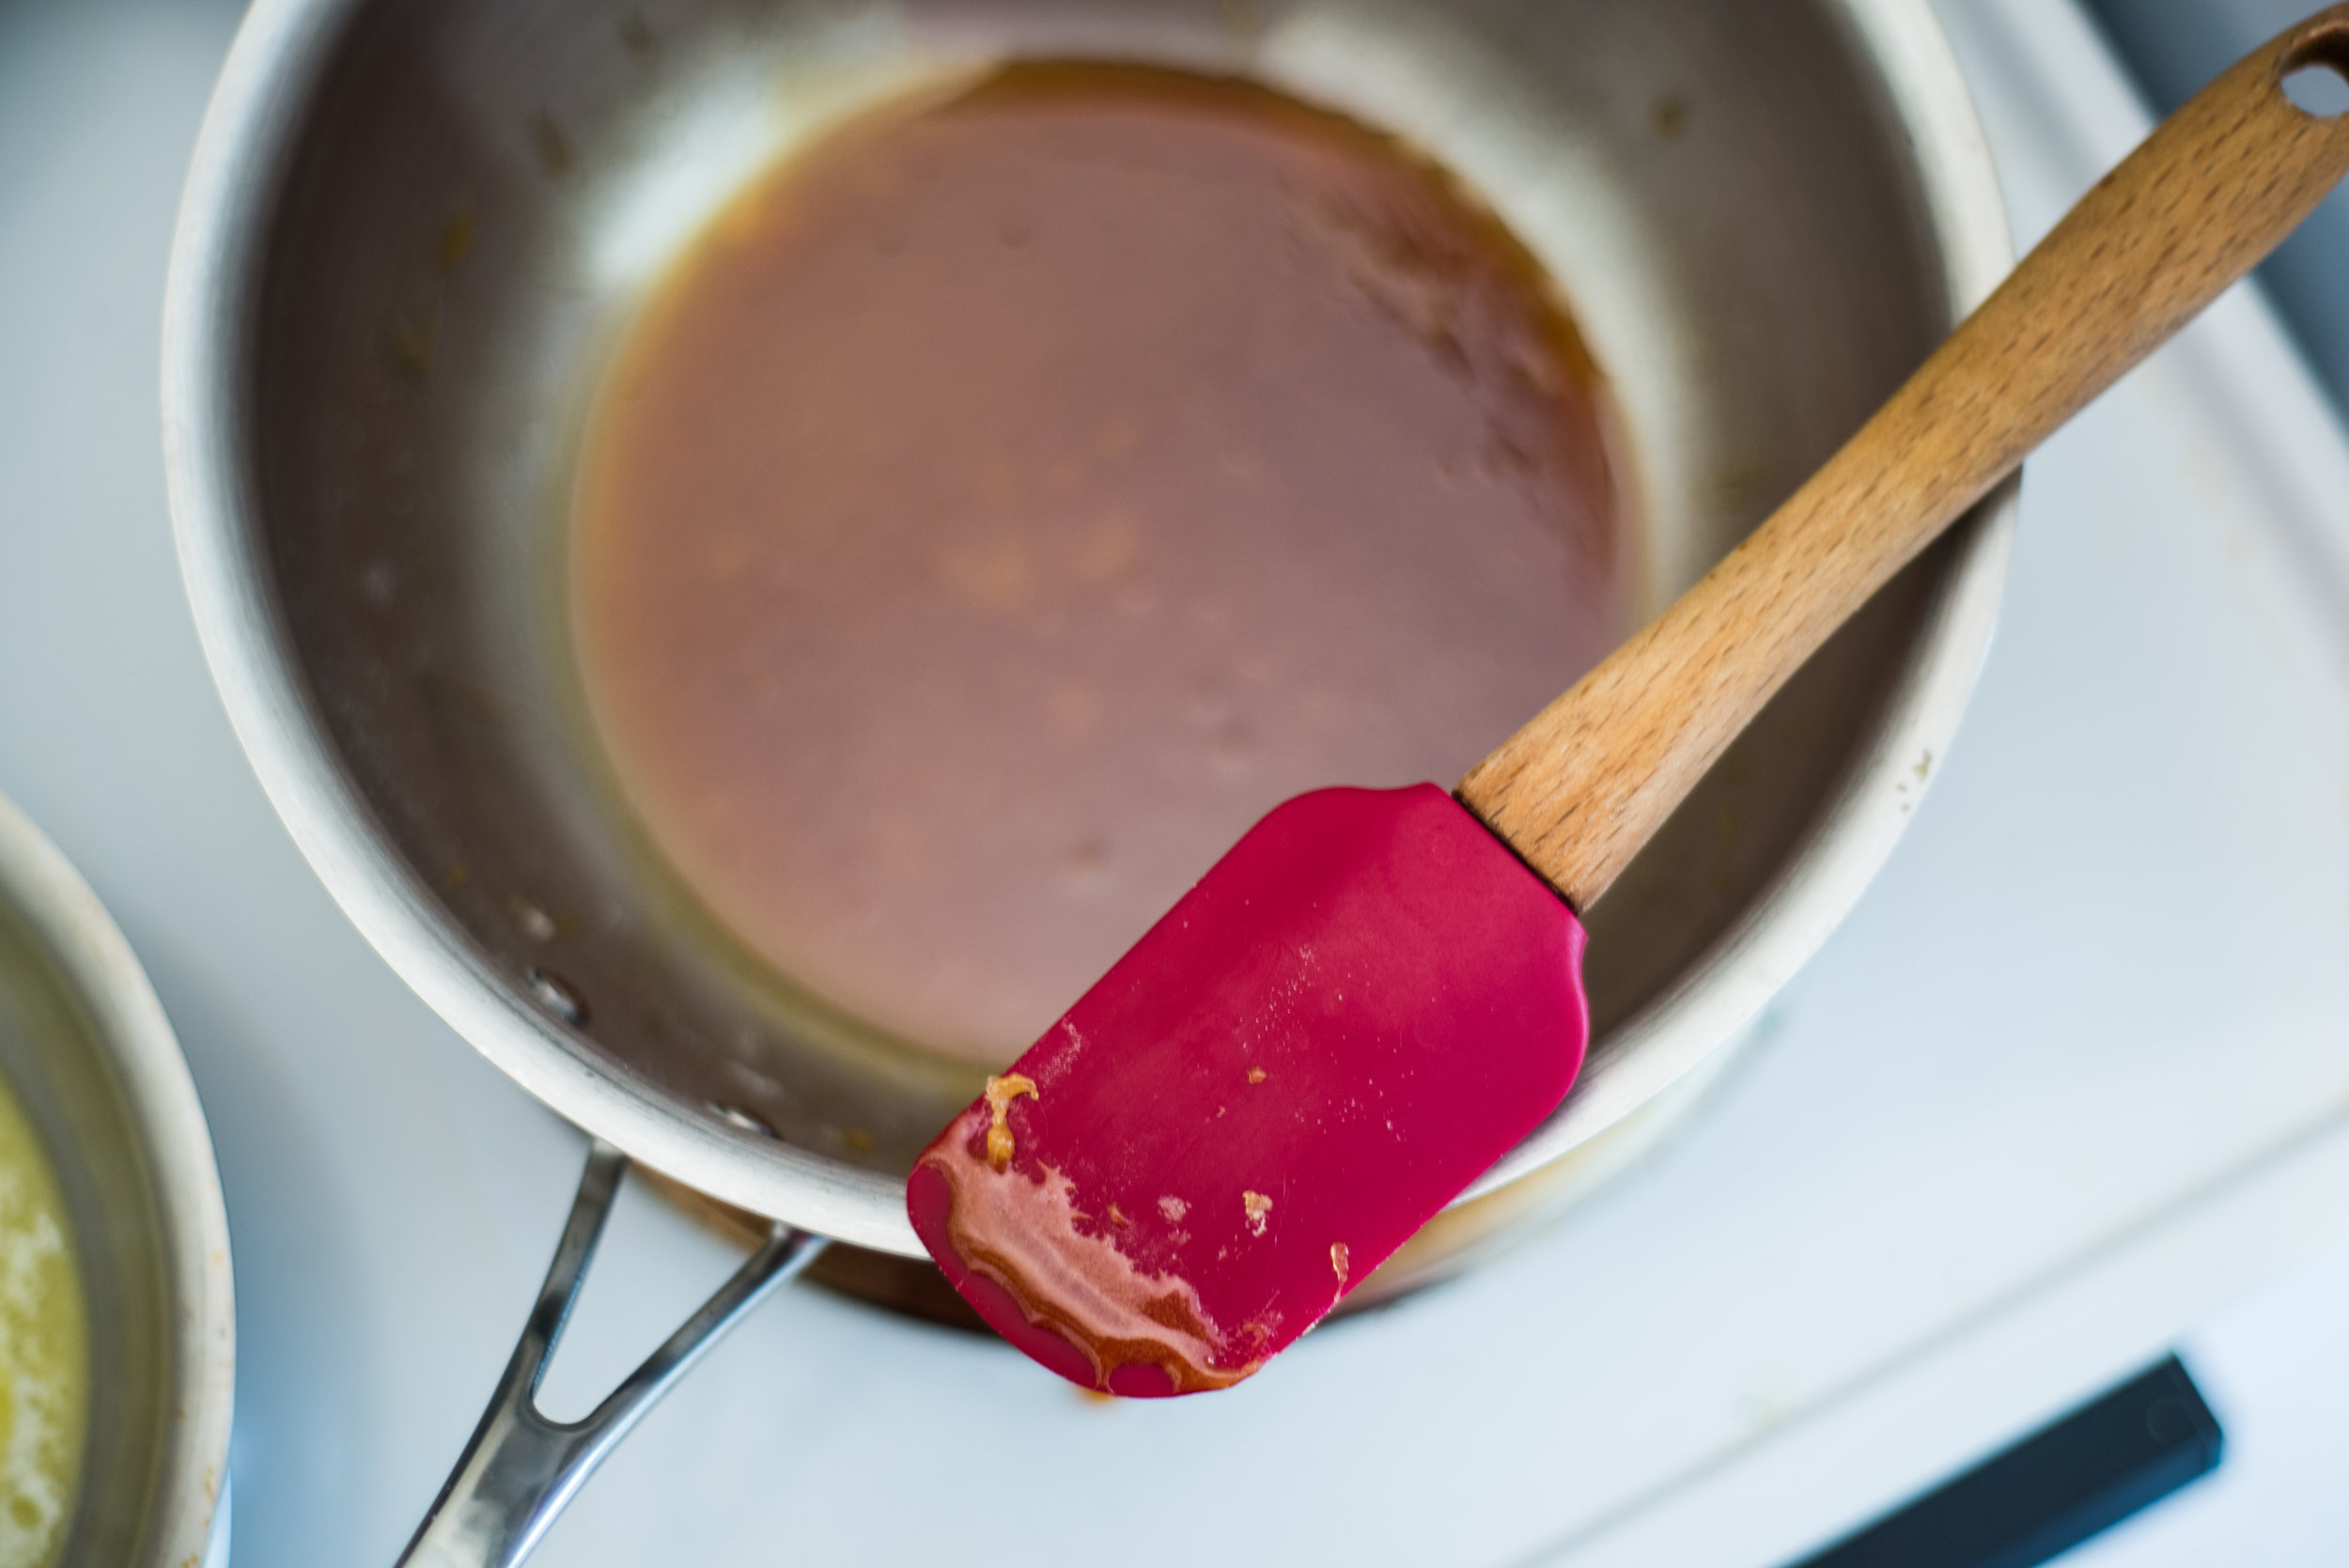
- First, put your sugar in a heavy bottomed saucepan. I love to use my calphalon chef's pan for this, the even heating is really helpful. Heat the sugar over medium heat until it has fully melted, being careful not to burn it. the trickiest part here is not over or under stirring it. Stirring too much causes the sugar to clump and makes it hard to melt it fully, stirring to little causes it to burn. I like to swirl the pan occasionally to keep the sugar moving. if you're nervous, you're better off over-stirring as you can strain out any clumps at the end of the process.
- you're ready for the next step when the sugar is completely melted (or melted with a few clumps remaining from your stirring), and smells a little nutty, but not burnt. if it does burn slightly, it isn't a big deal. burnt caramel is a popular flavor for a reason, and it's all great practice!
- Add the butter and whisk constantly until it starts to combine, keeping the heat on while you do this. Once it starts to combine with the sugar, pour in the cream and continue whisking until totally combined. Let the caramel bubble for about 30 seconds once combined, then remove from heat.
- Strain the caramel through a fine mesh sieve to remove any sugar clumps. I usually do this directly into a glass jar for storage. Stir in the salt, and let cool completely before using.
Foolproof Brown Sugar Caramel
1 cup brown sugar
4 Tbsp unsalted butter
1/2 cup heavy cream
a few pinches of sea salt
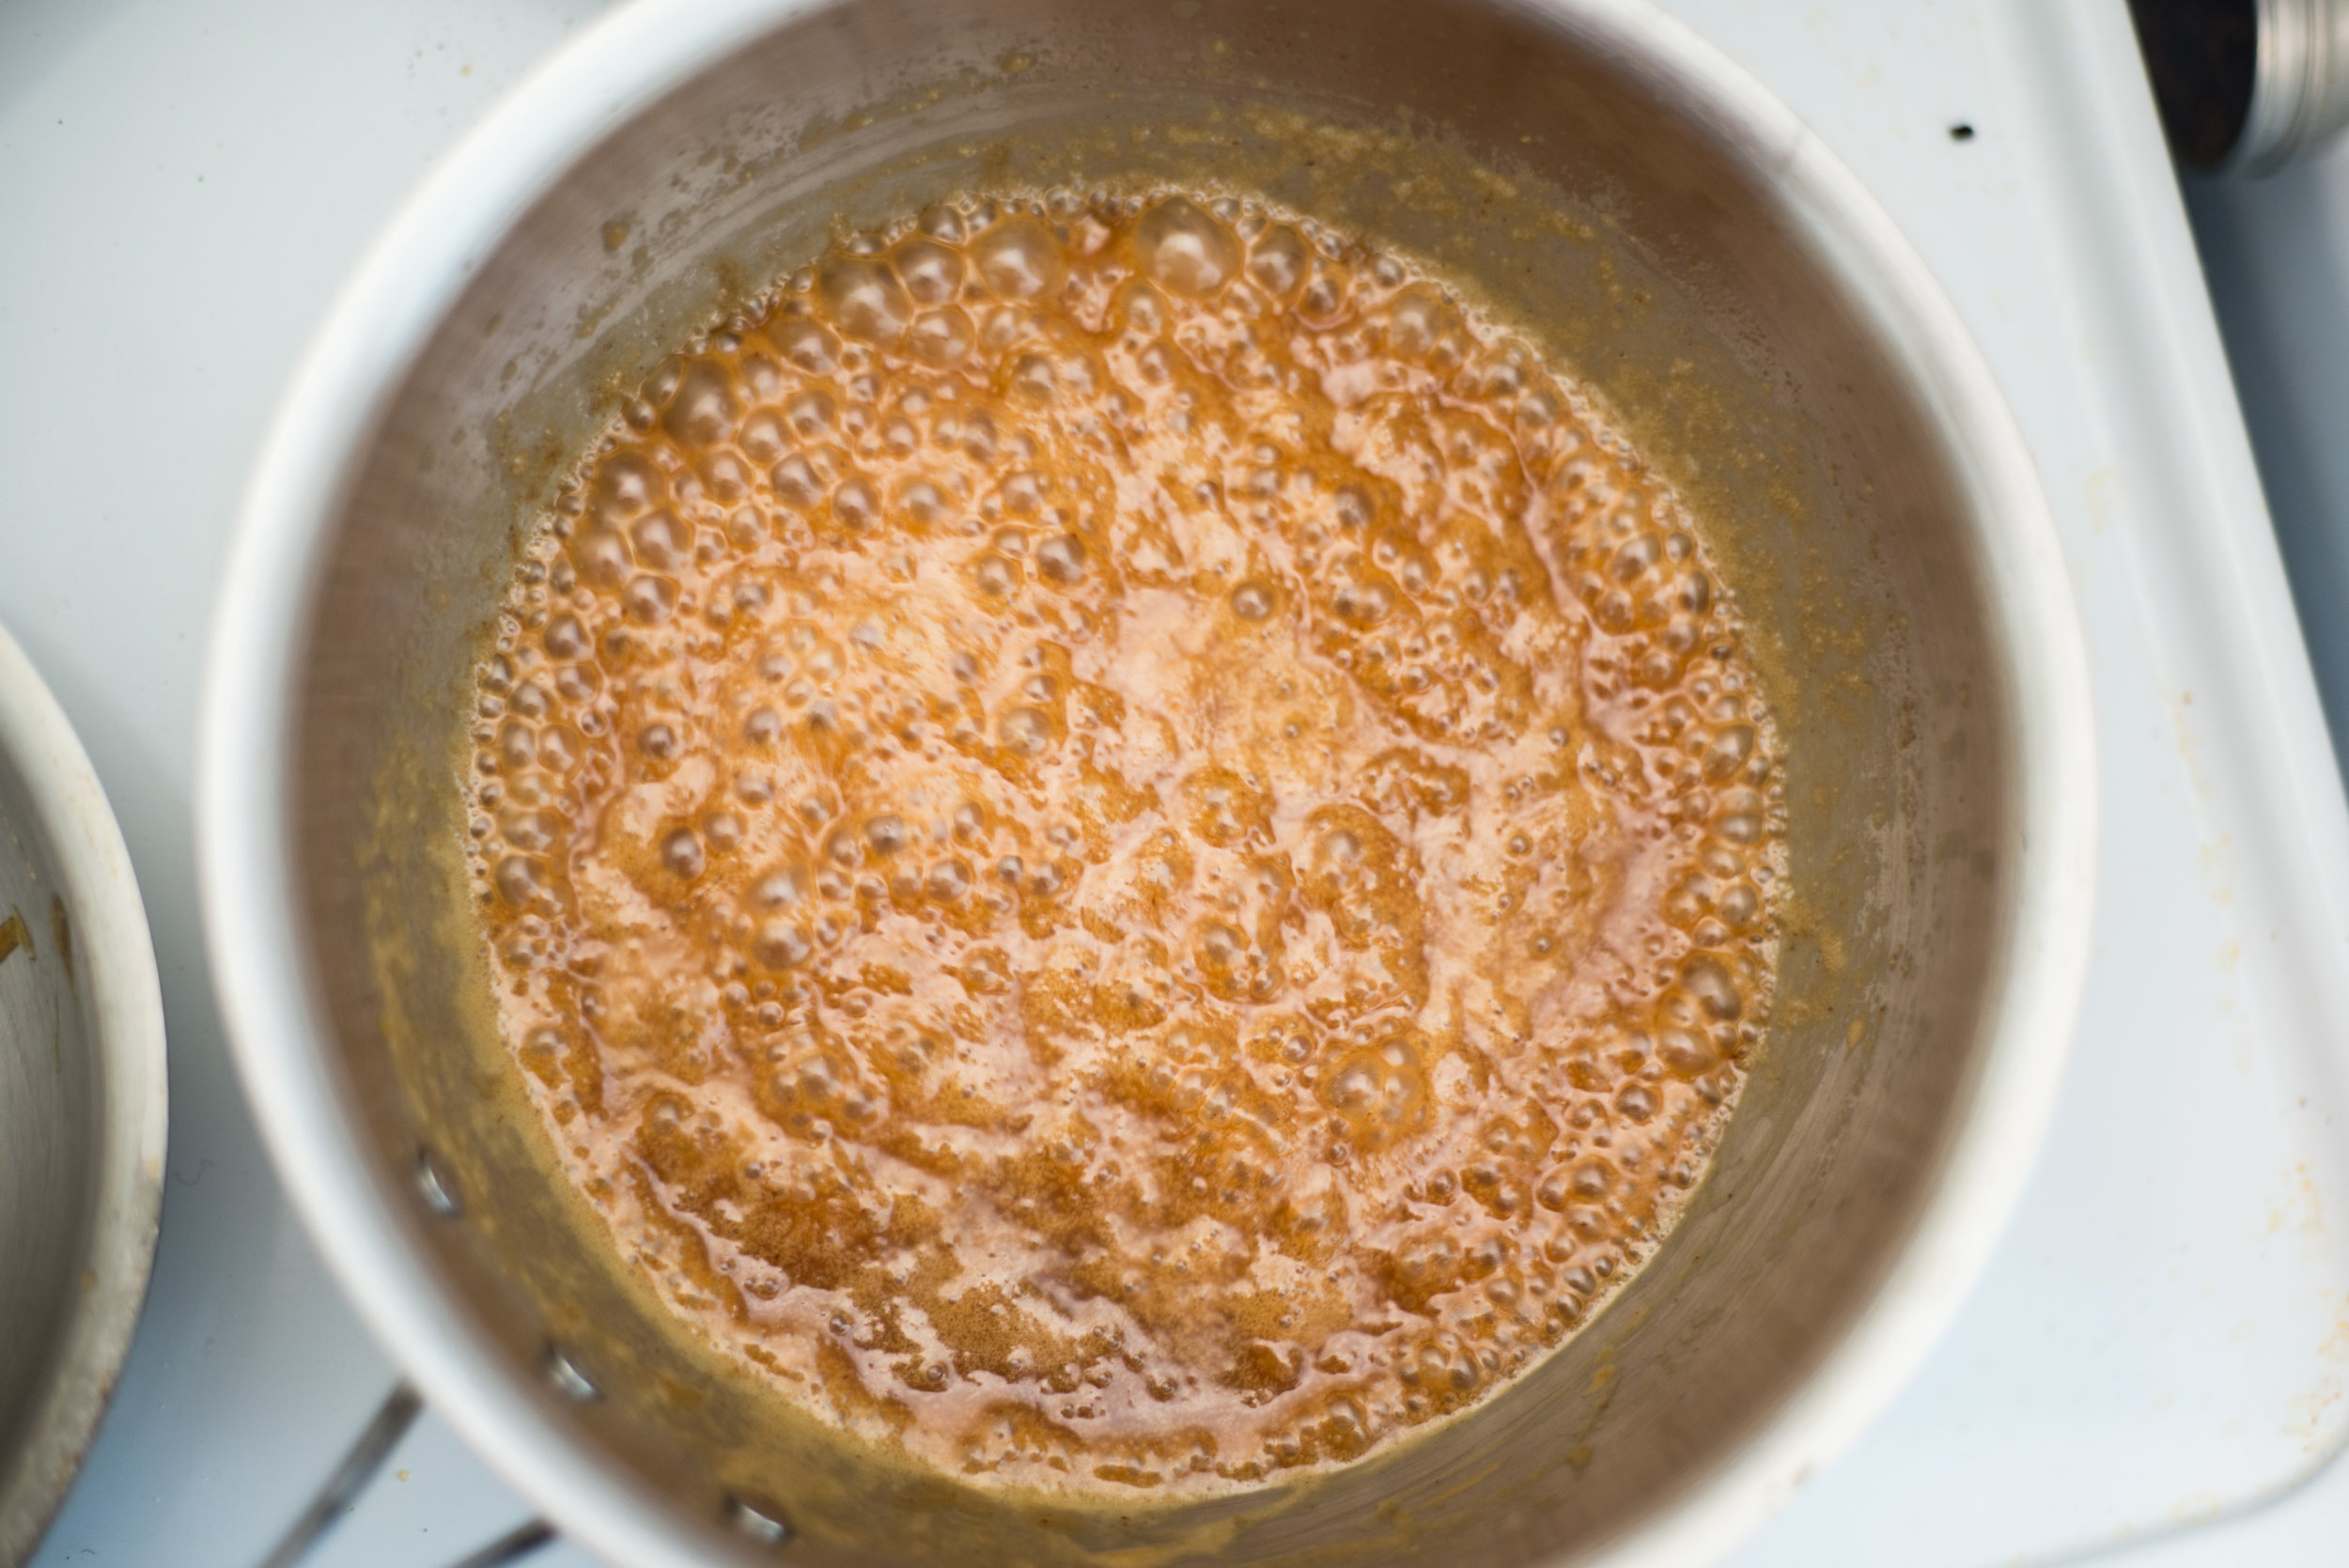
- Combine sugar, butter, and cream in a small saucepan over medium heat and whisk to combine as the butter melts.
- Continue stirring and cooking until the mixture starts to boil lightly. Let it boil for a few minutes, stirring constantly.
- Remove from heat and stir in the salt. Pour into a glass container, and let cool completely before using.