
I am WAY late to the game on the whole macaron trend, but here I am! I finally took the time to try my hand at these little beauties and the result was amazing. Part of my hesitation on macarons has been the obsession with brightly colored cookies packed with food dye. Color for color's sake, as opposed to color created from whole food ingredients that also provide flavor, is just something I've never been excited about.
So... I decided it was high time to make what some may consider to be blandly colored macarons. The kicker of course is that the flavor is anything but bland, and that my friends is was really matters in our food! Serious deliciousness.
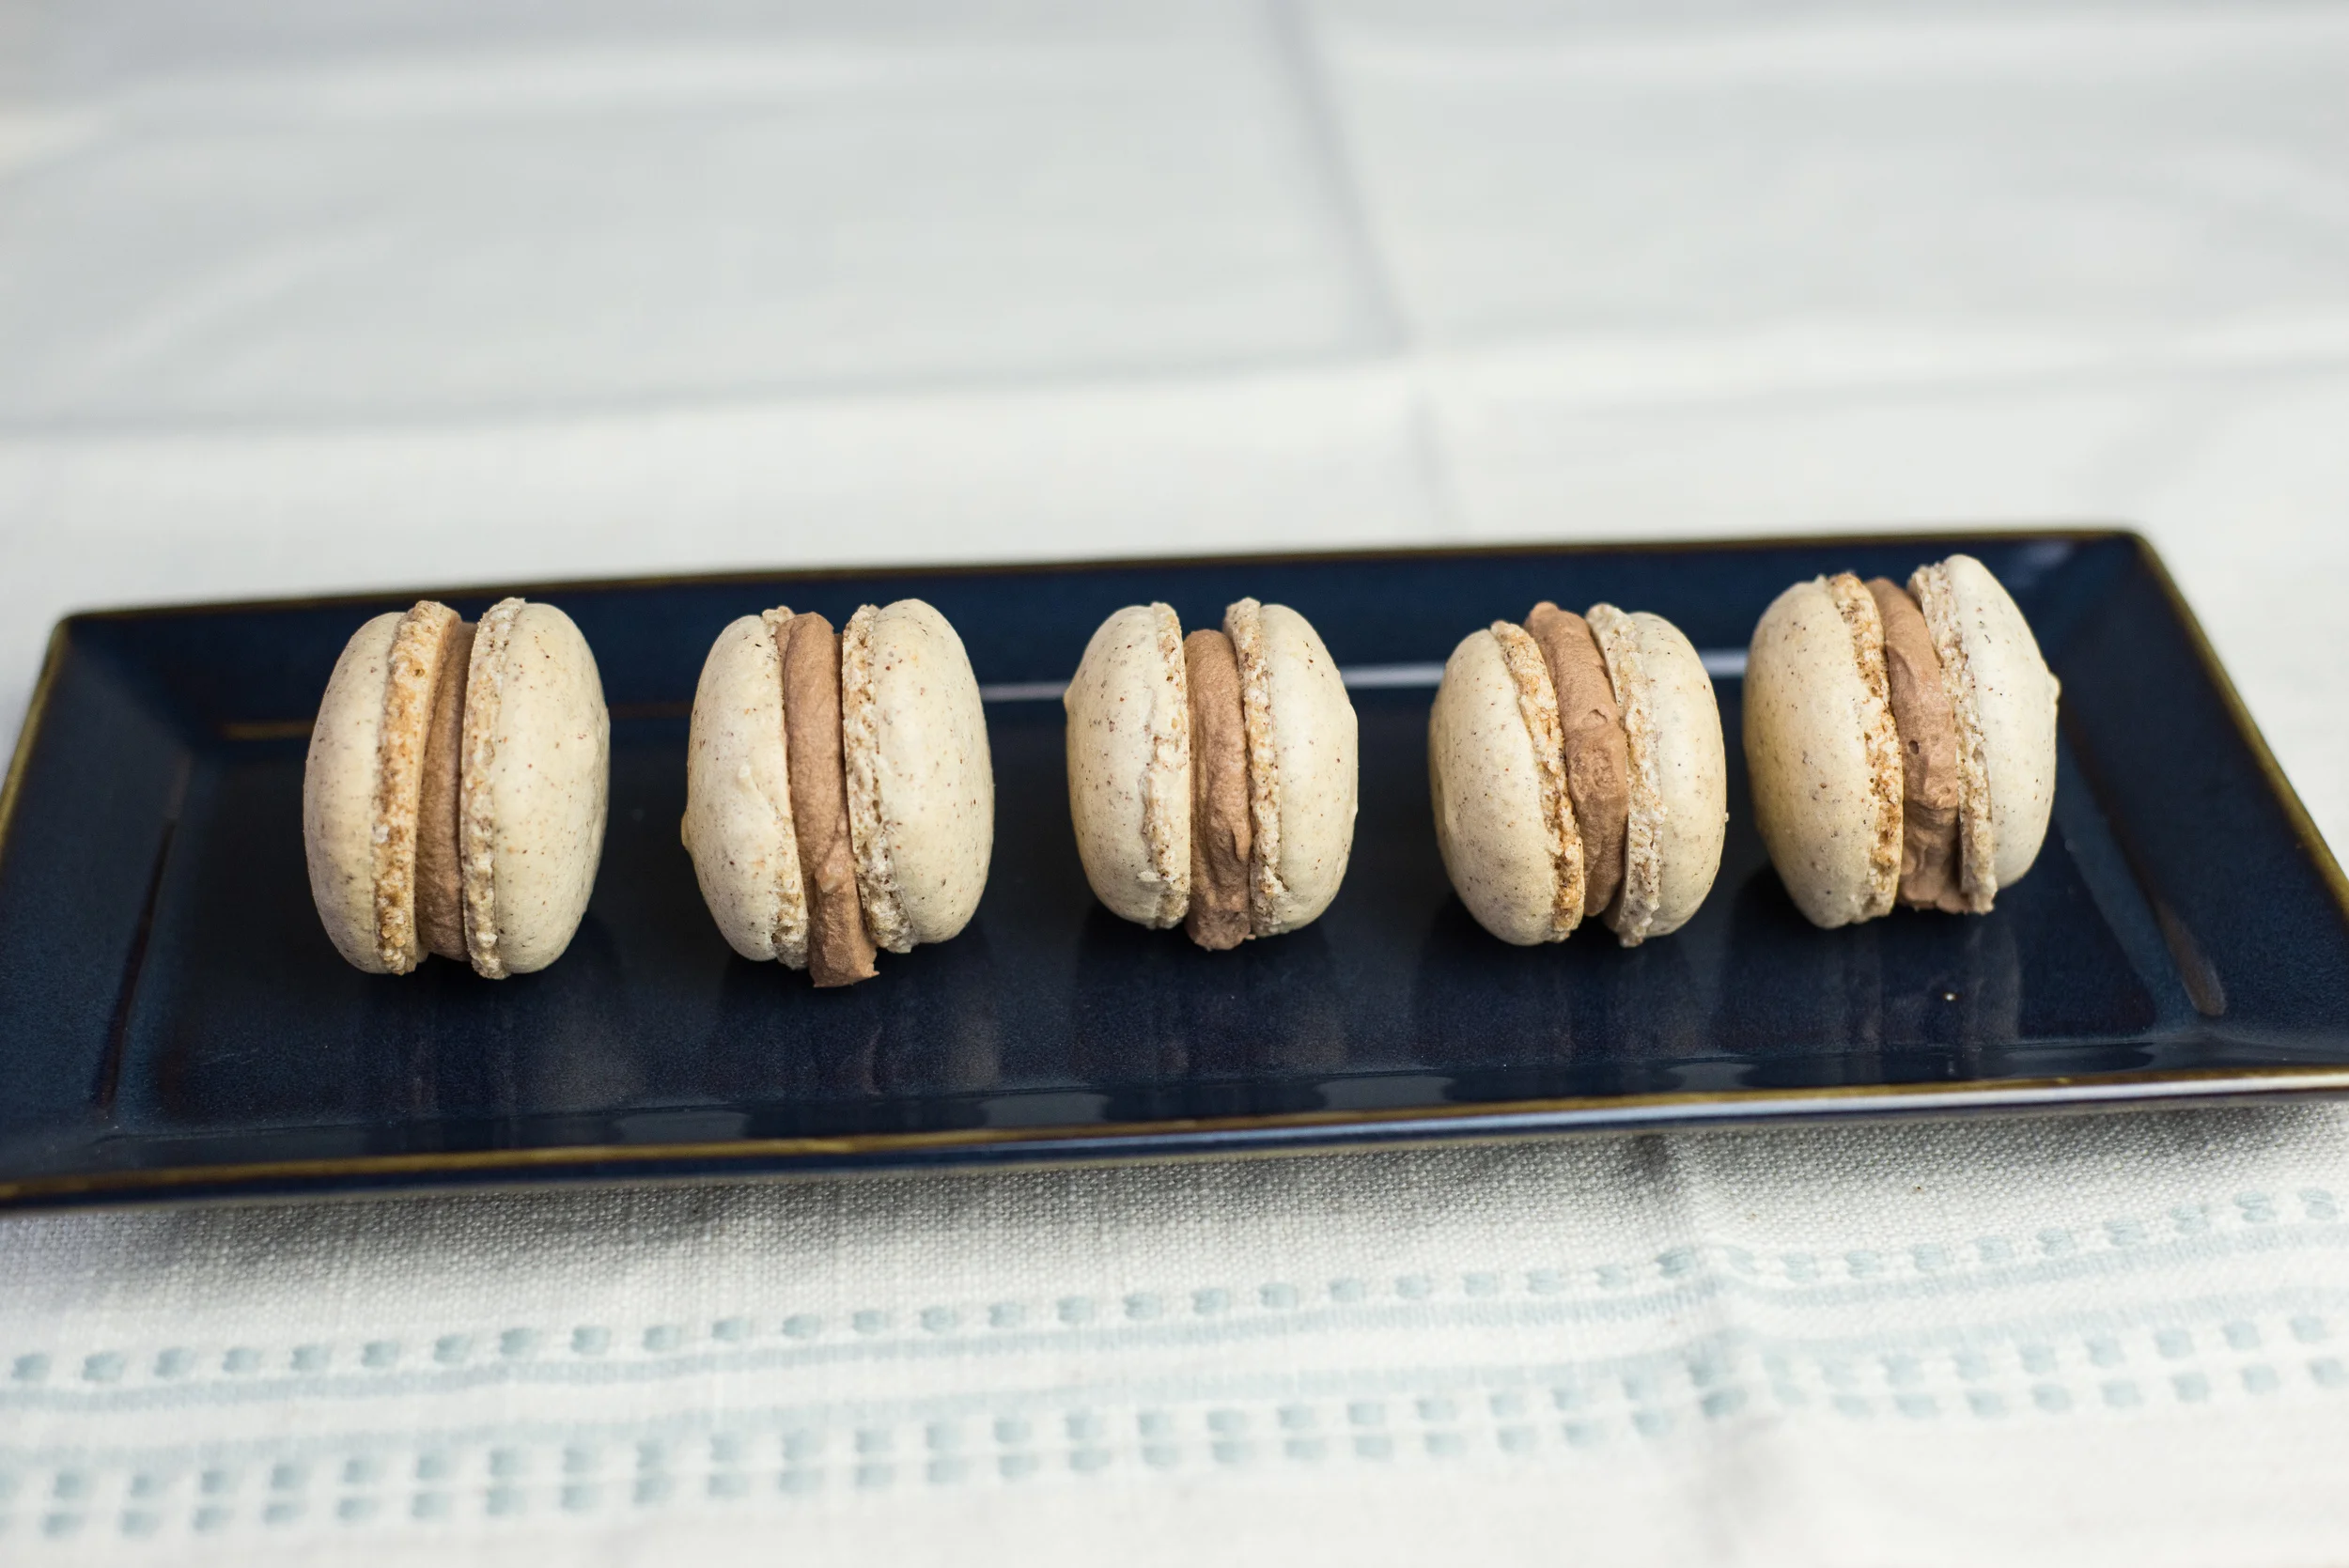


I started my experimentation with classic almond flour macarons (partly because I had egg whites left over from my Meyer Lemon Curd project), but after learning the process I was super interested to mix things up and create a macaron made with hazelnut flour. I've had a thing for hazelnuts since I was a kid (thanks to my mama being a big fan of them as well), but rarely found them outside of chocolate bars until I grew up.
Since moving to Portland over the summer, I've been in Hazelnut heaven! Oregon is known for their production of hazelnuts, as the climate and soils are perfectly suited for the crop. This means hazelnuts are abundant, affordable, and available at my favorite farmers market! A win-win-win in my eyes and my belly!

Hazelnut Macarons
1 cup hazelnuts (107 grams)
1 1/2 cup powdered sugar (175 grams)
3 large egg whites
1/4 cup plus 2 Tbsp cane sugar (80 grams)
- First, using a food processor or a blender (I did this in my Vitamix), pulse the hazelnuts and powdered sugar together to form a flour. Sift this mixture through a sifter or a fine mesh sieve. If there is more than a Tablespoon or so remaining, return to your machine and repeat the process.
- In a stand mixer fitted with a whisk attachment (or an electrical hand mixer), combine egg whites and cane sugar. Using a hand whisk, give the mixture a quick stir to combine the two ingredients, then move on to the electrical help! Whip the mixture at medium speed for a few minutes, then increase the speed (8 on a Kitchenaid, as high as it goes on a hand mixer) and continue to whip until the mixture becomes glossy and forms stiff peaks. This will take about 5 minutes. The mixture should stand up strong even if you take the whisk out and hold it upside down!
- Remove your bowl from the mixer, and pour in the hazelnut mixture. Using a wide rubber spatula, gently fold the two mixtures together. Resist the urge to stir, and just keep gently folding until it all comes together. You don't want to ruin all that great texture you created by whipping it for so long!
- Scoop the mixture into a pastry bag fitted with a large round pastry tip. If you don't have tips, just cut a small whole in the corner of a plastic bag. Holding the tip about 1/2 inch from a parchment or silicone lined baking sheet, pipe little mounds about 1 inch in diameter, leaving 1 inch between each one. As you finish each mound, pull the tip over to the side. You want to avoid too large of points forming where you pull away.
- Finally, we're going to drop the pan before baking. Holding it flat about 1 foot from a sturdy table or the floor, drop the pan 6 times. This will flatten out the cookies a bit.
- Bake at 325 for about 14 minutes, turning the pan halfway through. You want them to be firm and dry to the touch, but not browned.
- Cool completely on the parchment or silicone mat before removing.
Whipped Chocolate Buttercream
4oz butter, softened
1 cup powdered sugar
1 tsp vanilla
heaping 1/2 cup dark chocolate chips
1/3 cup heavy whipping cream
- Melt the chocolate. I like to do this in a double boiler (or simply a heat-proof glass bowl over an inch or two of water in a pot), but you can also do it in the microwave. once melted, set aside to cool slightly.
- While the chocolate is melting and cooling, whip the butter using a stand mixer with a paddle attachment or a hand mixer. it will get nice and fluffy if you give it enough time - the key to the light texture of this decadent frosting.
- add the vanilla and powdered sugar, whipping until fully combined. lastly, pour in the cooled chocolate and heavy whipping cream. continue to whip frosting for a few minutes longer. it will take in a lot of air during this final stage, adding to that light fluffy texture!
Assembling the Macarons
I like to make the frosting while the cookies are cooling, or if I'm itching to divide up the time it takes to make these, I'll hold off on making the frosting until I'm ready to do the assembly as well. That said, you can refrigerate the frosting if needed. Just let it come to room temperature and give it a good whip before putting it into the cookies to ensure a good texture!
Assembly is super simple. A lot of folks will use a pastry bag and pipe the frosting, but if you're not worried about absolute perfection in the looks (which honestly, I wasn't) all you need is a spoon!
First, make your pairs of cookies. Just separate all the cookies you have out into pairs that are as close in size as possible. This will keep them looking nice even if your cookies have a wide variety of size.
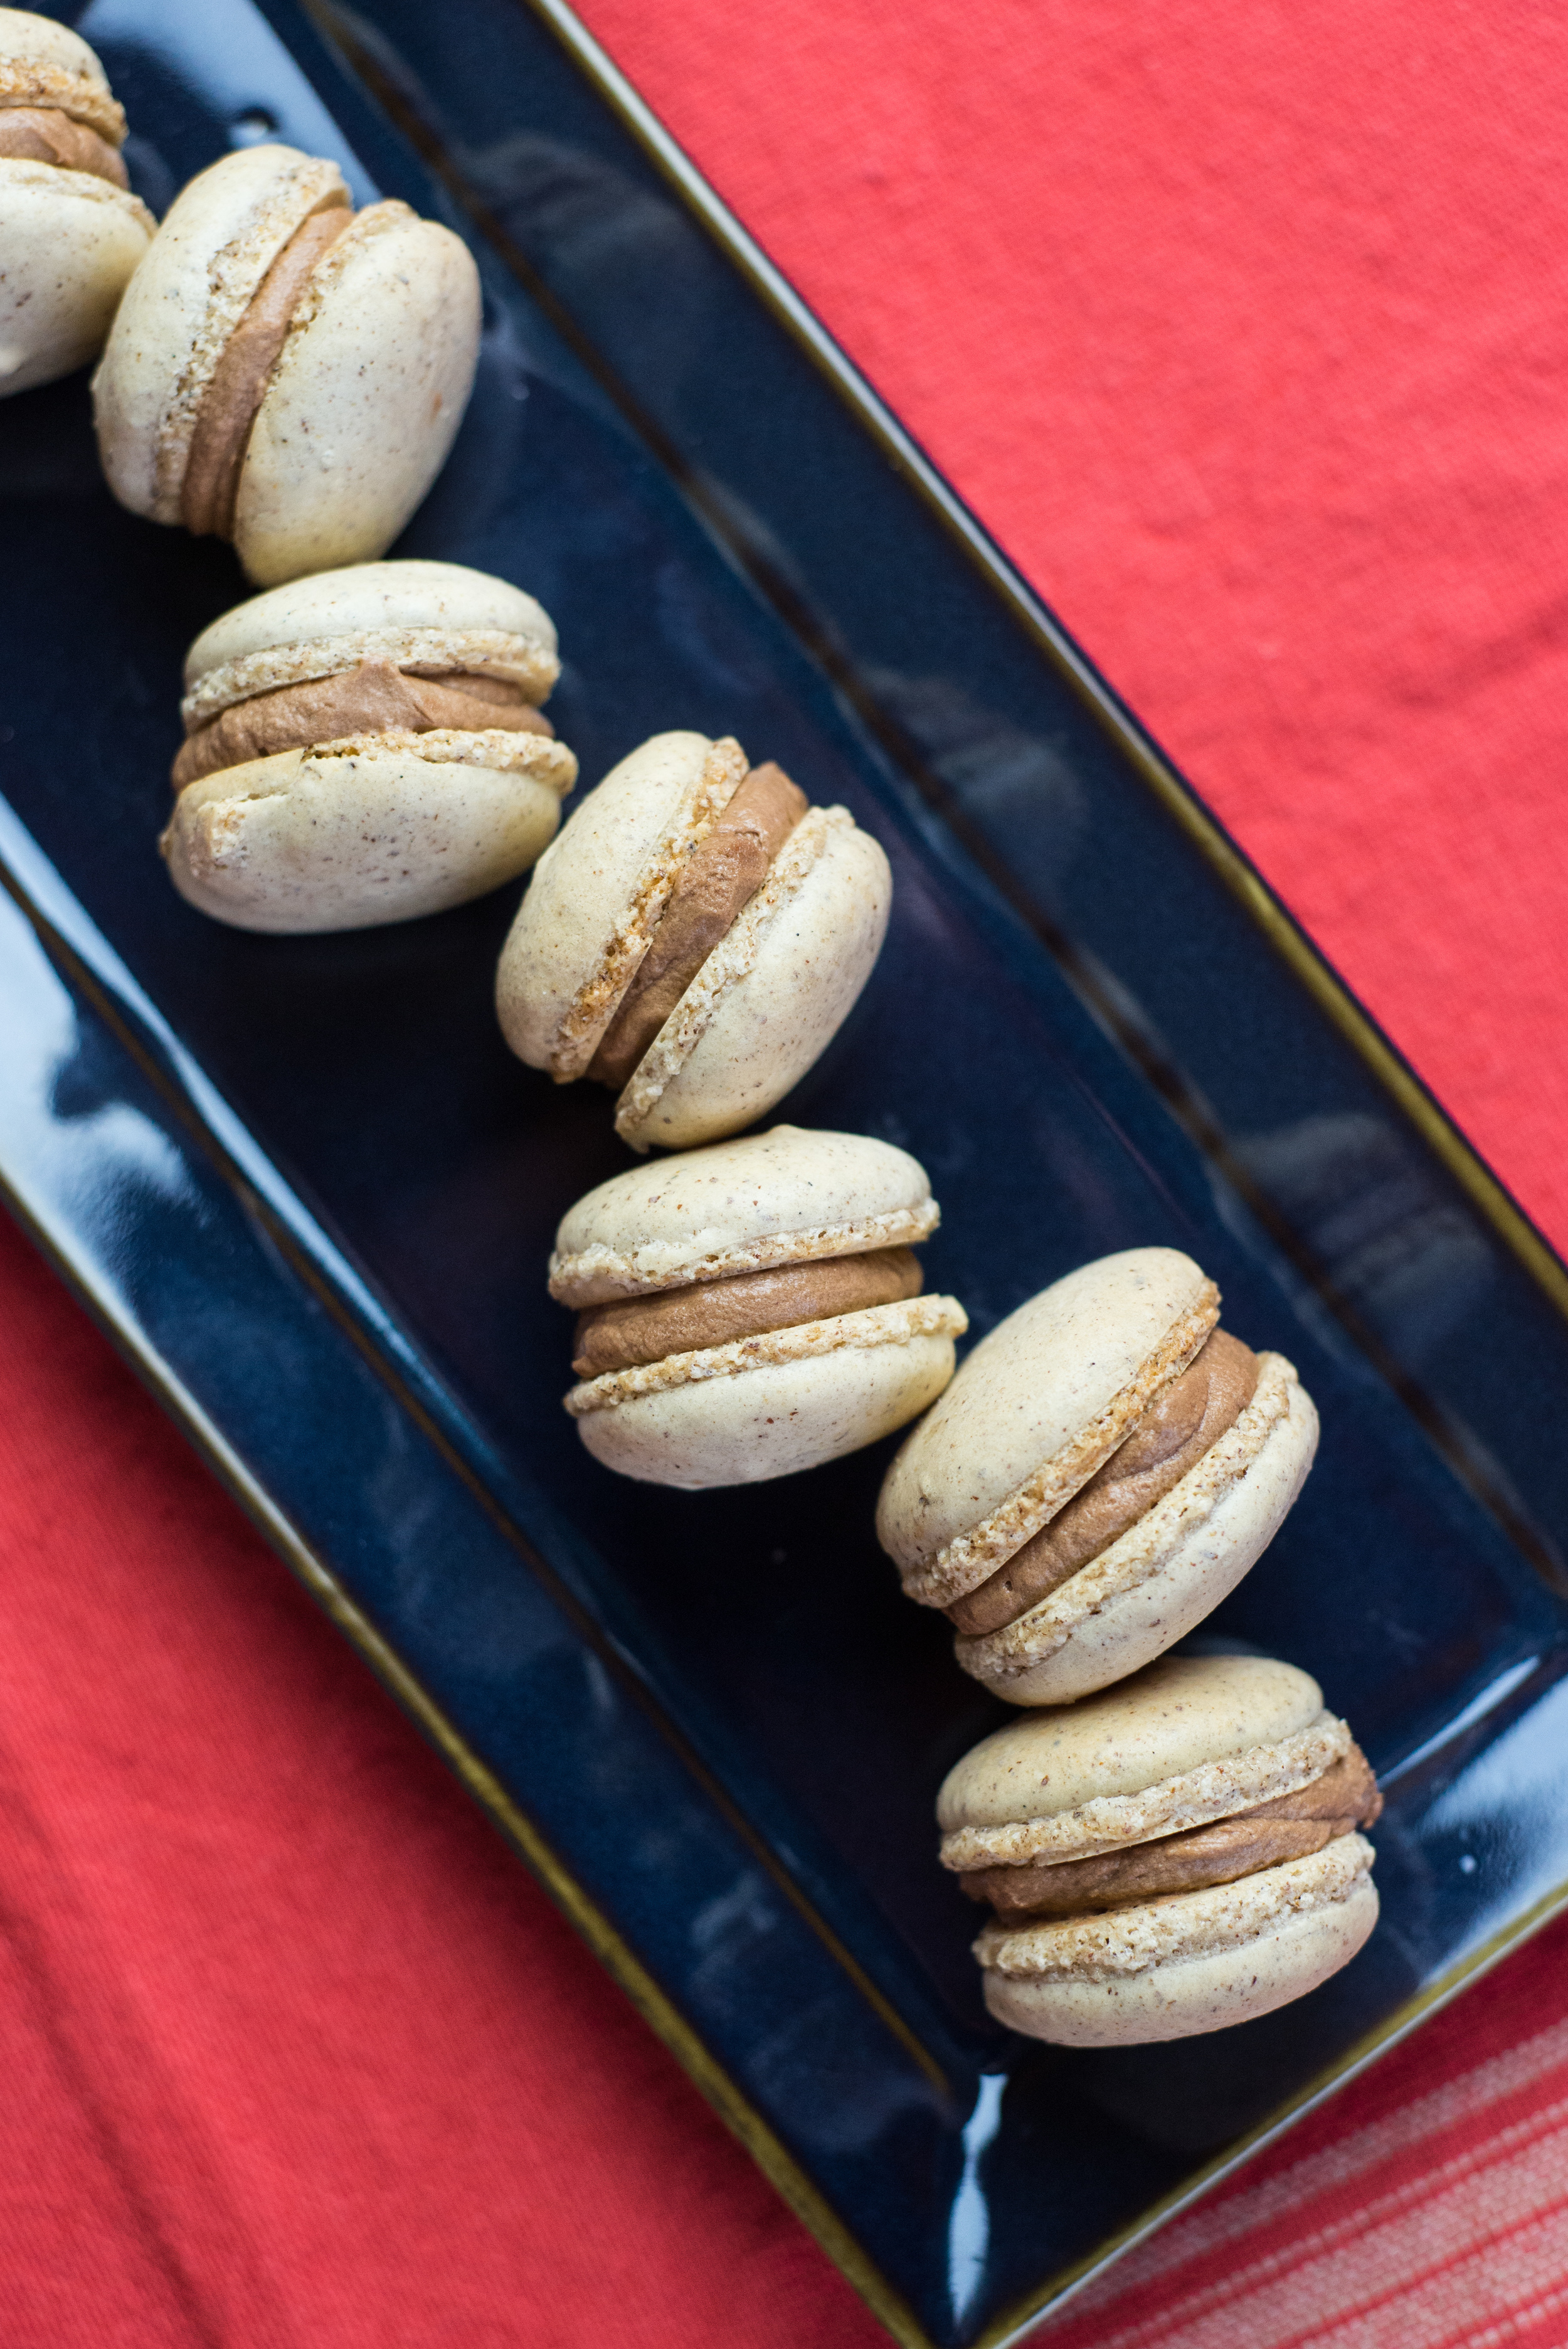
Then just dollop a spoonful of frosting into the center of the bottom of one cookie and gently squeeze it's pair on top until the frosting reaches the edges.
Place all of the finished macarons on a baking sheet, and slide it in the fridge for about 30 minutes. This will harden the frosting and help to keep those beauties looking beautiful! Once they've hardened a bit, store them in an airtight container in the refrigerator.