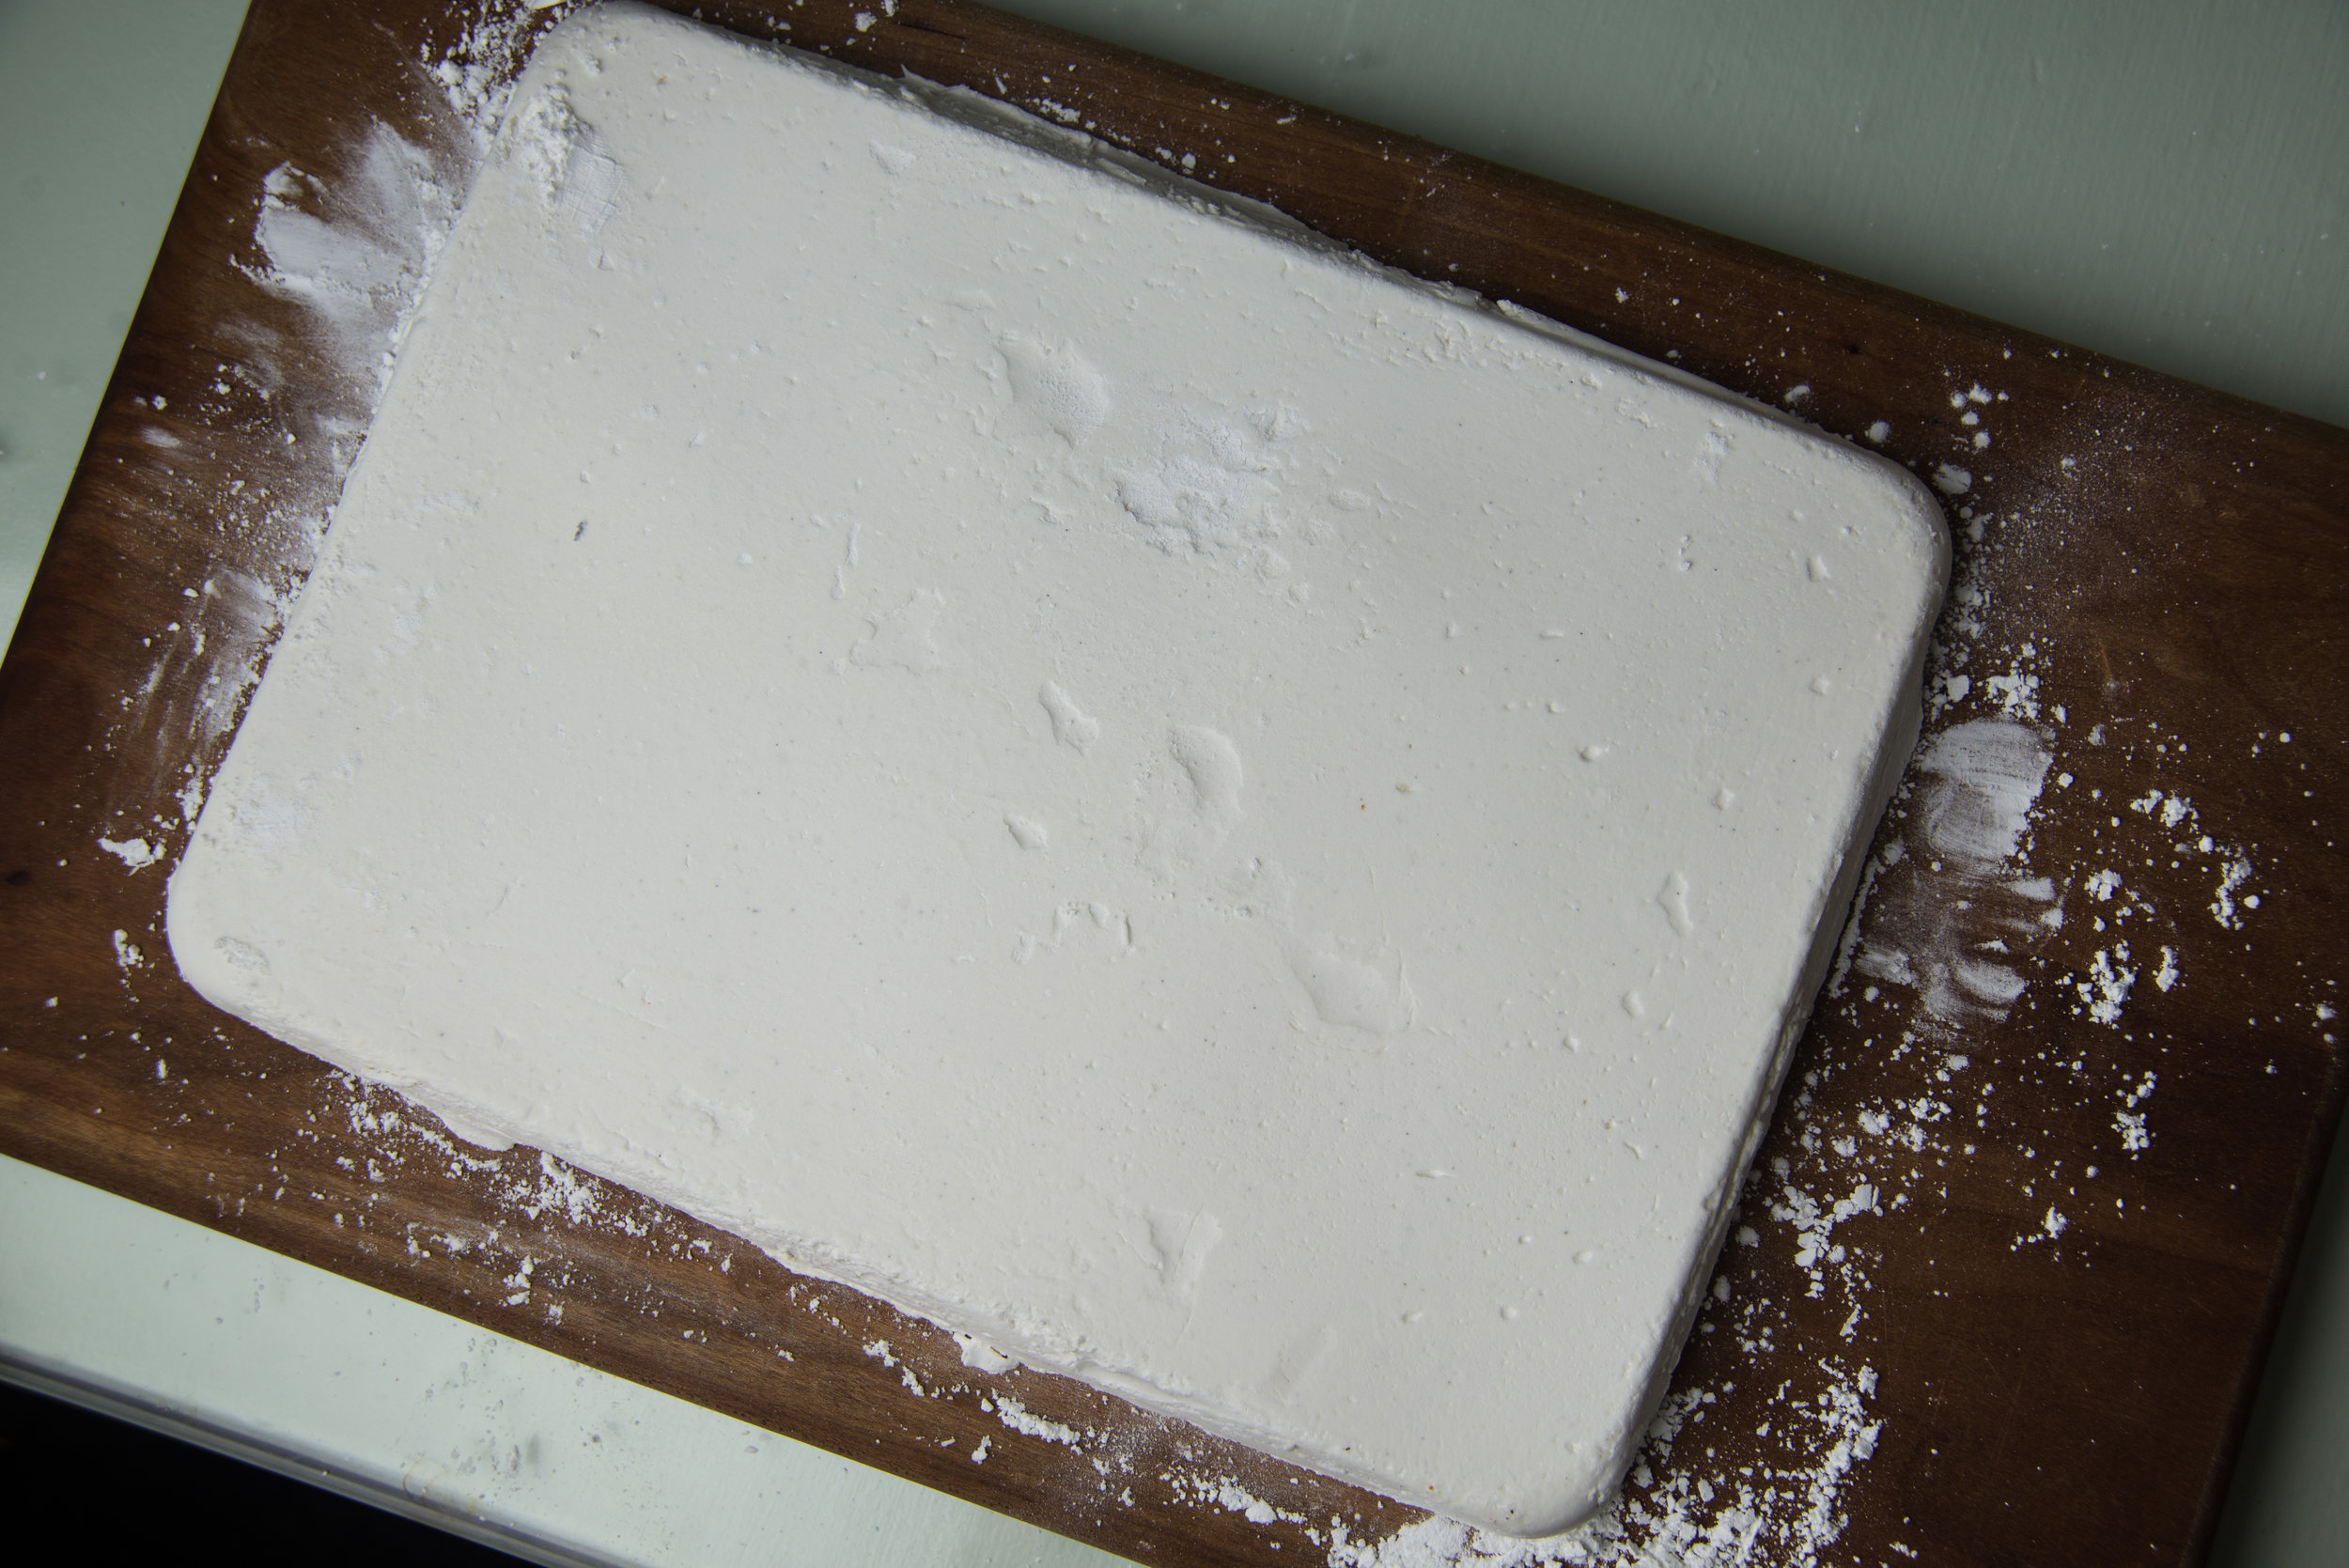
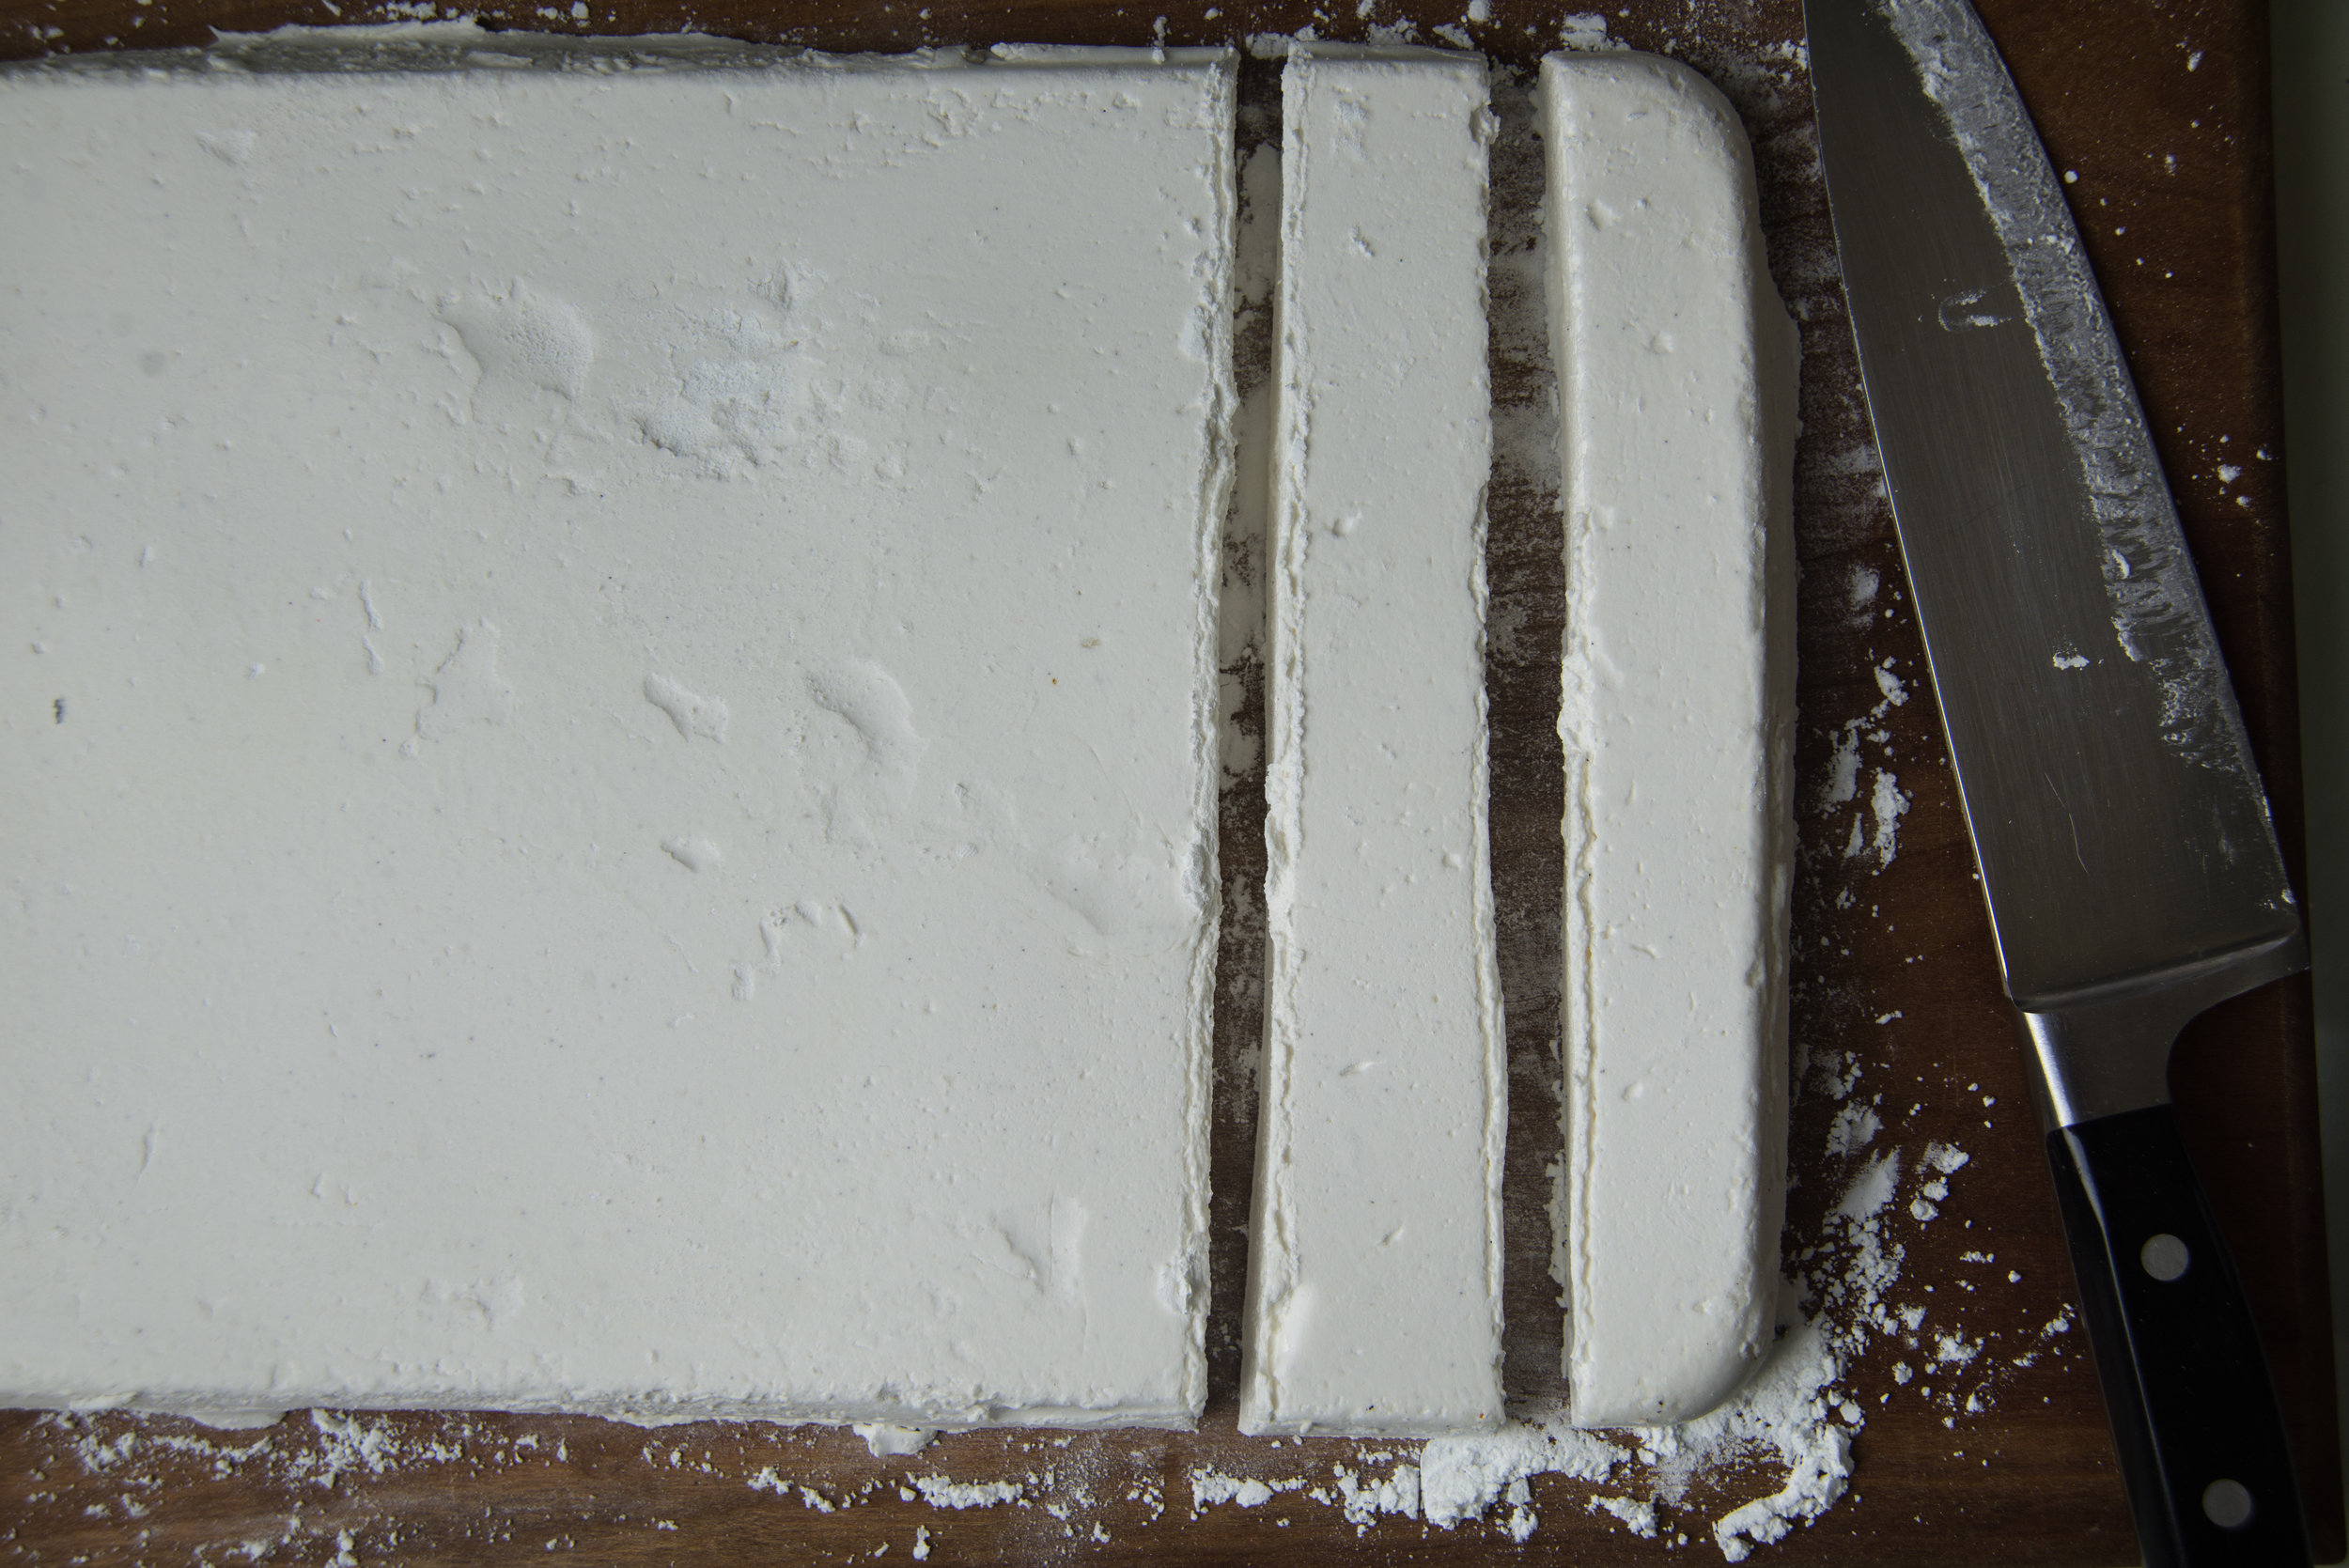
Fluffy satisfying and oh-so vanilla-y marshmallows, friends! These are the treats dreams are made of!
I first tried to make homemade marshmallows a few years ago, while I was likely trying to do a few other things at the same time. I didn't read the instructions carefully and promptly did not divide the water as all marshmallow recipes call for... Without enough ingredients to fully double the recipe, I tried to just keep going but it resulted in a gooey unsuccessful mess. Don't do this, friends - read the recipe before you start like a smarty-pants baker!
Anyways, I paid much closer attention creating this recipe for you, and the result was fluffy, dreamy, cloud-like mallows that I promptly devoured (but not before packing away some to mail to my loving friends!). Mallows make a great mail-able baked good because they last a long time and won't break in the mail! Plus, whoever you mail homemade marshmallows to is going to love you forever. That's just a given.
My inspiration to try my hand at marshmallow making once again was inspired by a refilled stock of my favorite vanilla - Vanilla Bean Crush from Sonoma Syrup Co. This luscious vanilla is a high quality and flavorful extract studded with vanilla beans. It gives you all the satisfaction and flavor of using whole vanilla beans in your baked goods without actually using whole beans.
Marshmallows are basically a whipped sugar and gelatin mixture, so they're a blank slate waiting to take on whatever flavor your give them - making them the perfect vehicle for a truly great vanilla. So if there's anything I can do to steer you in the right direction (aside from, you know, making sure you actually follow the recipe like I did not the first time around), it's to be sure you're using a high quality vanilla. You won't be sorry, I promise!
Marshmallows are fun because you can cut them into whatever shapes you please! I didn't want to restrict myself to just one type, so I made a few. Classic cubes, which are the easiest mallow to cut. Giant circles perfect for placing just one big marshmallow atop a mug of cocoa. And little circles cut into crescent moon shapes - at the request of my sweet babes (he's a genius sometimes!).
Cubes are surely the most efficient shape to choose but cut shapes are a lot of fun, and you can snack on all the scraps while you work!
This is the perfect project for the holiday season. Cold weather is made infinitely better with a cup of hot chocolate topped with homemade marshmallows. And your family and friends will surely be happy if you show up with a sweet little package of marshmallows (or send them one in the mail!).
Vanilla Bean Marshmallows
This recipe was just slightly adapted from Alton Brown's classic marshmallow recipe.
note: When substituting maple syrup for light corn syrup, the marshmallows will take on a distinct maple flavor.
3 packages / 3 Tbsp unflavored gelatin
1 cup cold water, divided
12 ounces granulated sugar
1 cup light corn syrup or maple syrup
1/4 teaspoon kosher salt
3 Tbsp vanilla extract
1/4 cup confectioners' sugar
1/4 cup cornstarch
Nonstick spray
Combine 1/2 cup of the water and gelatin in the bowl of a stand mixer. Give it a quick stir, and it will take on the consistency of applesauce! Let it sit while you take on the next step.
Combine the remaining 1/2 cup water, sugar, corn syrup, and salt in a saucepan that holds at least 2 quarts. Cover and cook over medium high heat for about 5 minutes, then uncover and clip a candy thermometer onto the pot (or if you're me and don't have one, hold your Thermapen patiently, ha!). If you see any granules of sugar on the side of your pot, use a wet pastry brush to clean them up. When the mixture reaches 240 degrees, remove it from the heat.
Head straight over to your mixer and put on the whisk attachment. With the mixer running on a low speed, slowly pour the syrup down the side of the bowl. Once you've added it all, cover the mixer with a clean town to prevent spatter and turn the mixer up to high.
After a minute or two, you can remove the towel as the mixture will have thickened. You'll want to mix for a total of about 13 minutes, adding the vanilla about a minute before the mixing is finished. When you're done, the mixture will be thick and fluffy - yum!
While the marshmallow is whipping, combine the corn starch and powdered sugar in a small down and mix it together. Lightly coat a 9x13 pan with oil, then coat it with the powdered sugar mixture like you're flouring a pan to make a cake.
When marshmallow is finished whipping, scoop it into the prepared pan and do your best to spread it evenly. Lightly coat the top of the marshmallow in the powdered sugar mixture and use your hands to finish pressing the mixture into the pan.
Let the marshmallows cure for 8-24 hours before cutting. Just set them aside, uncovered.
Turn the pan out onto a cutting board and cut the marshmallows using a knife, biscuit cutters, or cookie cutters into whatever shape you please!
Coat the marshmallows in the powdered sugar and store in an airtight container.
Disclaimer: I have received free product or money from businesses highlighted in this article - which helps me keep this blog alive. I take great pride in the advice I share here on Toot Sweet, and would never recommend a product to you that I'm not over-the-moon excited about, or that I wouldn't purchase for use in my own kitchen.


