Viewing entries in
breakfast

Almond Raspberry Bakewell Tart

Comment

Almond Raspberry Bakewell Tart

Years and years ago, my parents were staying at a small Bed and Breakfast in England when they were served this classic English tart. My dear mother is not one to love sweet things at breakfast but she absolutely fell in love with this delightful almondy raspberryy tart! So much so that she actually asked for the recipe (much to my appreciation!). The recipe looked a lot like the jotted down notes I tend to make in my trusty notebook while I'm putting something together. A list of ingredients separated by quick notes, with no real instruction on how the ingredients are supposed to come together. It's the nightmare of many, but feels right at home in my little world. 

So, ages ago, my mom first tackled the recipe to serve as a Christmas morning treat and it became an instant classic. While I hardly ever make this dish, it is definitely my favorite addition to a filling brunch and the perfect answer to a slow morning with nothing more than a cup of coffee and a little sweet treat. 

All that said, this is definitely not just a breakfast tart - it's sure to be a showstopper served as actual dessert as well... it just never seems to last that long around here! 

Making the crust can start with a pastry cutter, but generally needs to end with your hands in the bowl, pressing the flour and butter together into a beautifully tender pastry. 

I have to say here, getting my hands into a bowl of flour, no matter how small or how large, always brings a serious dose of joy into my world. Things have been pretty darn scary out there in our country these past few weeks (okay months, if we're being honest). I'm doing everything I can to fight back against intolerance, but that incredible pressure also means it is endlessly important to find time for self care. And my self care comes in the form of baked goods. Lots and lots of baked goods! 

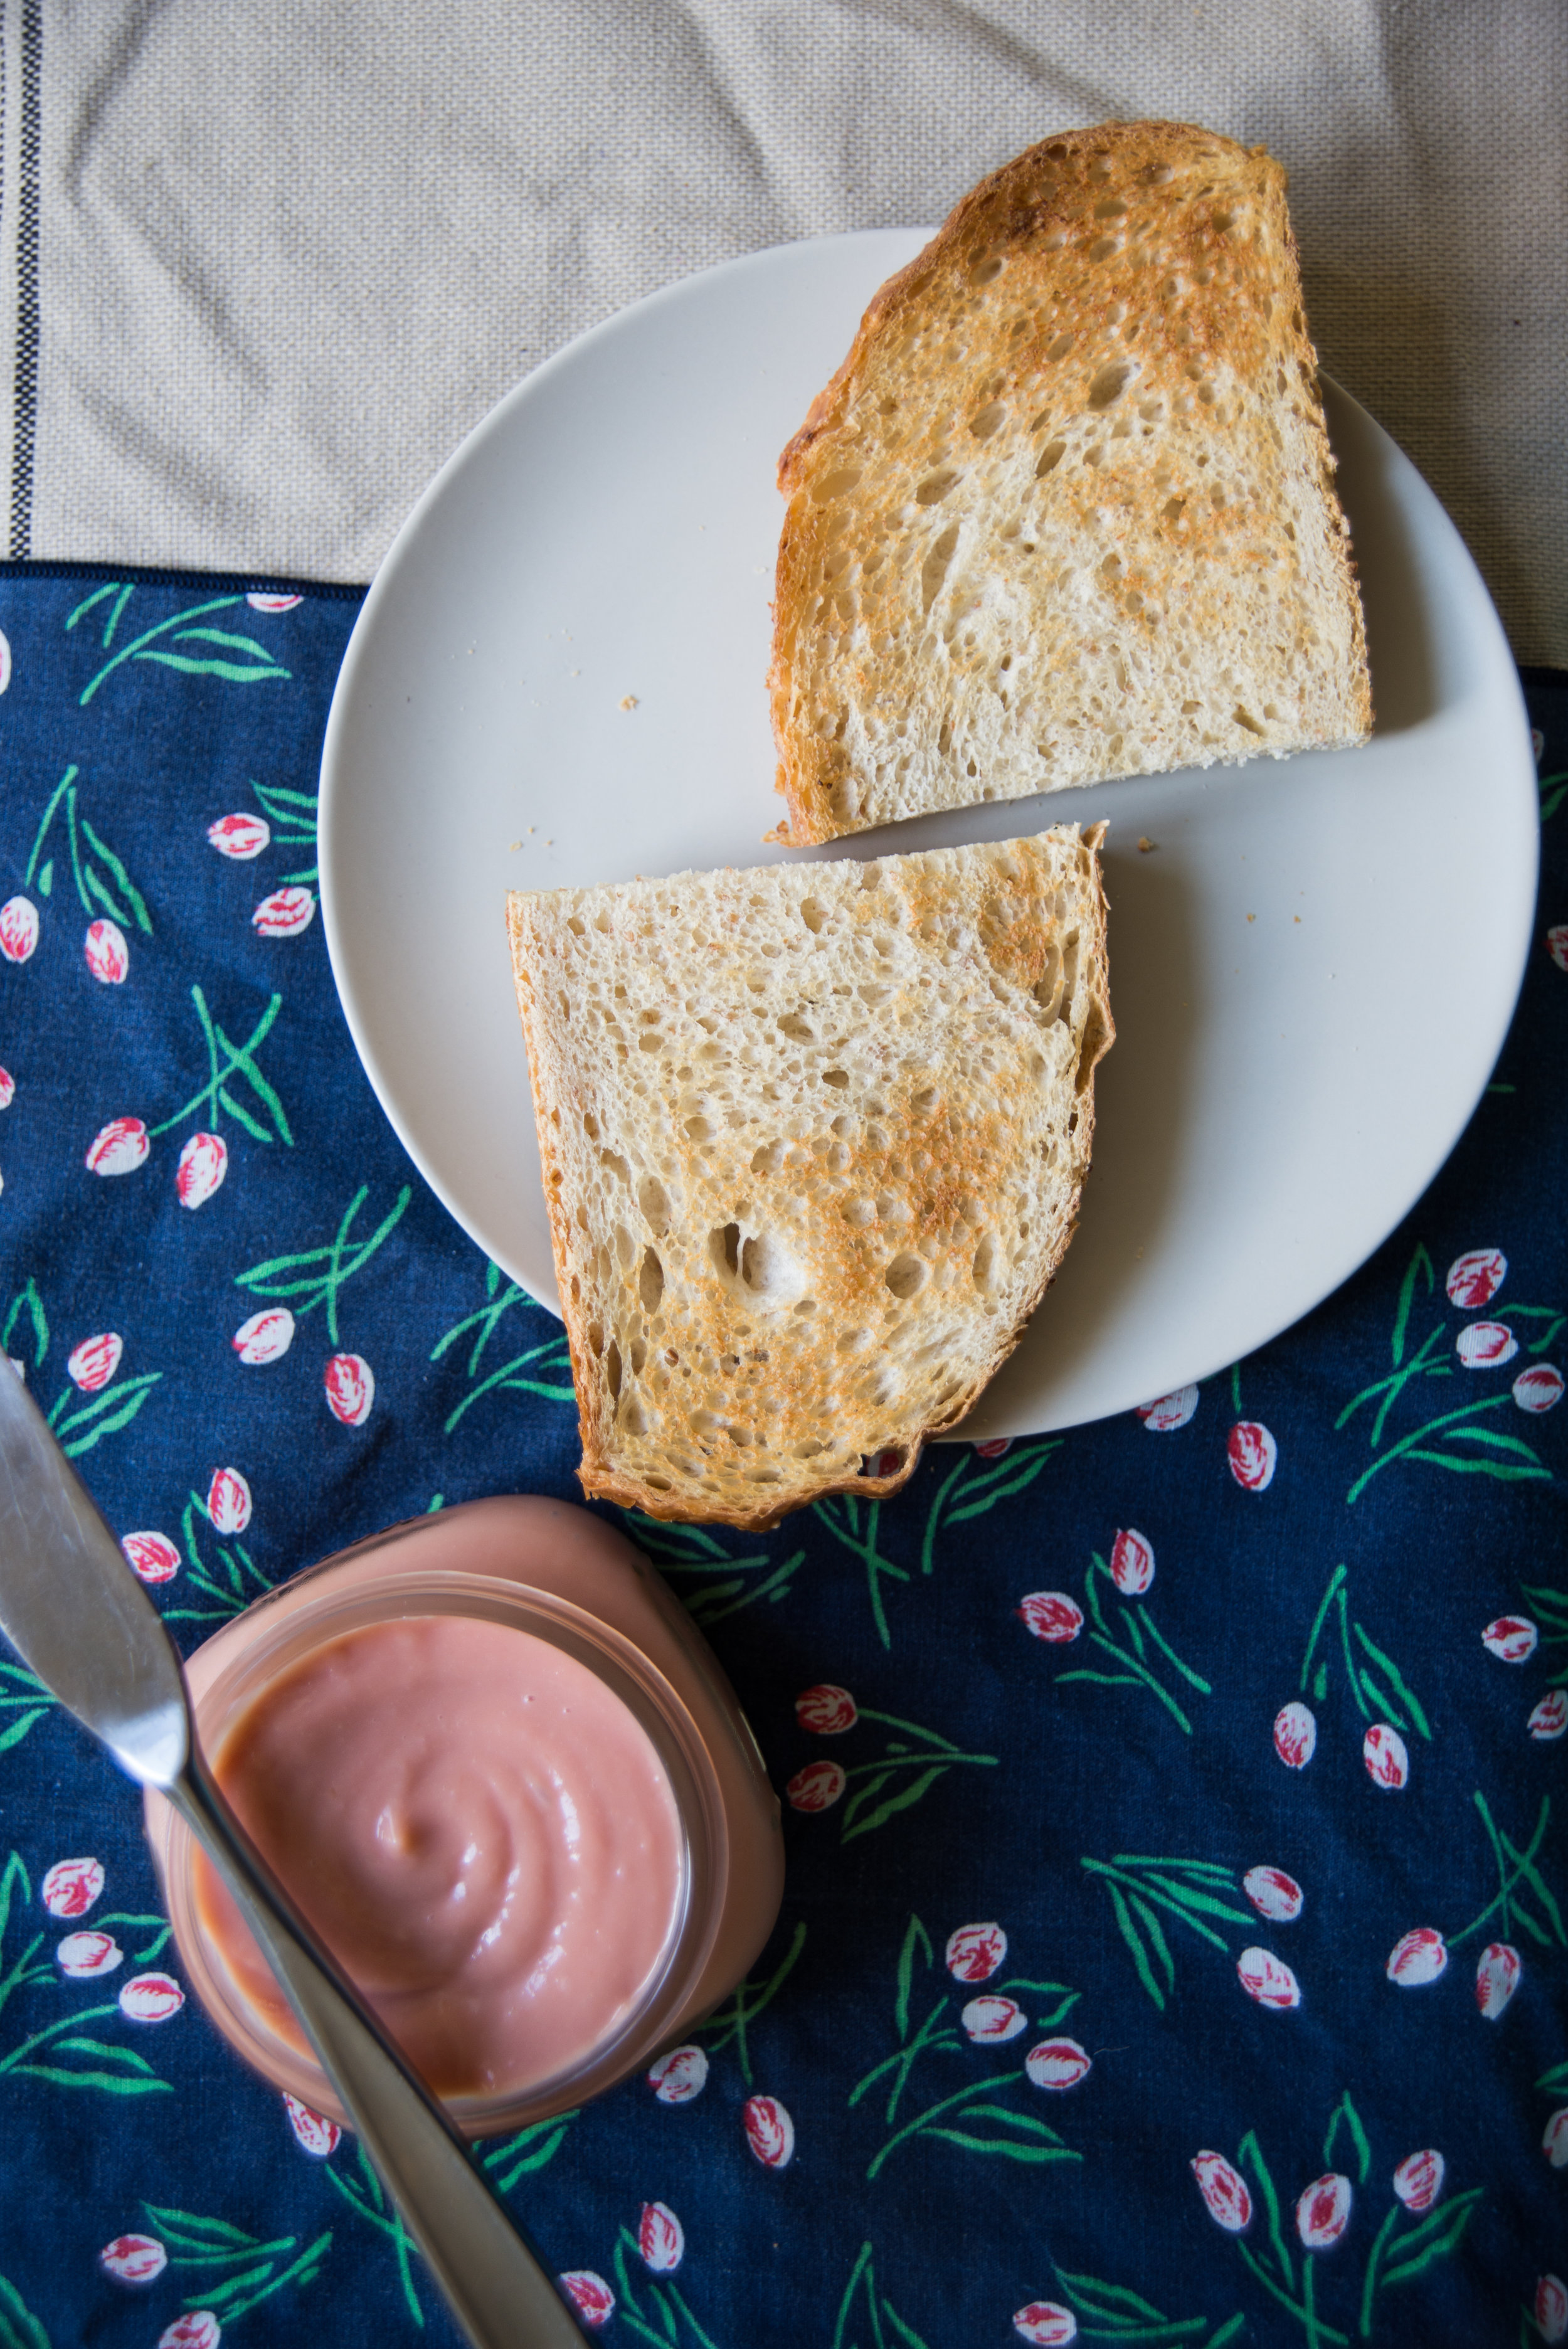
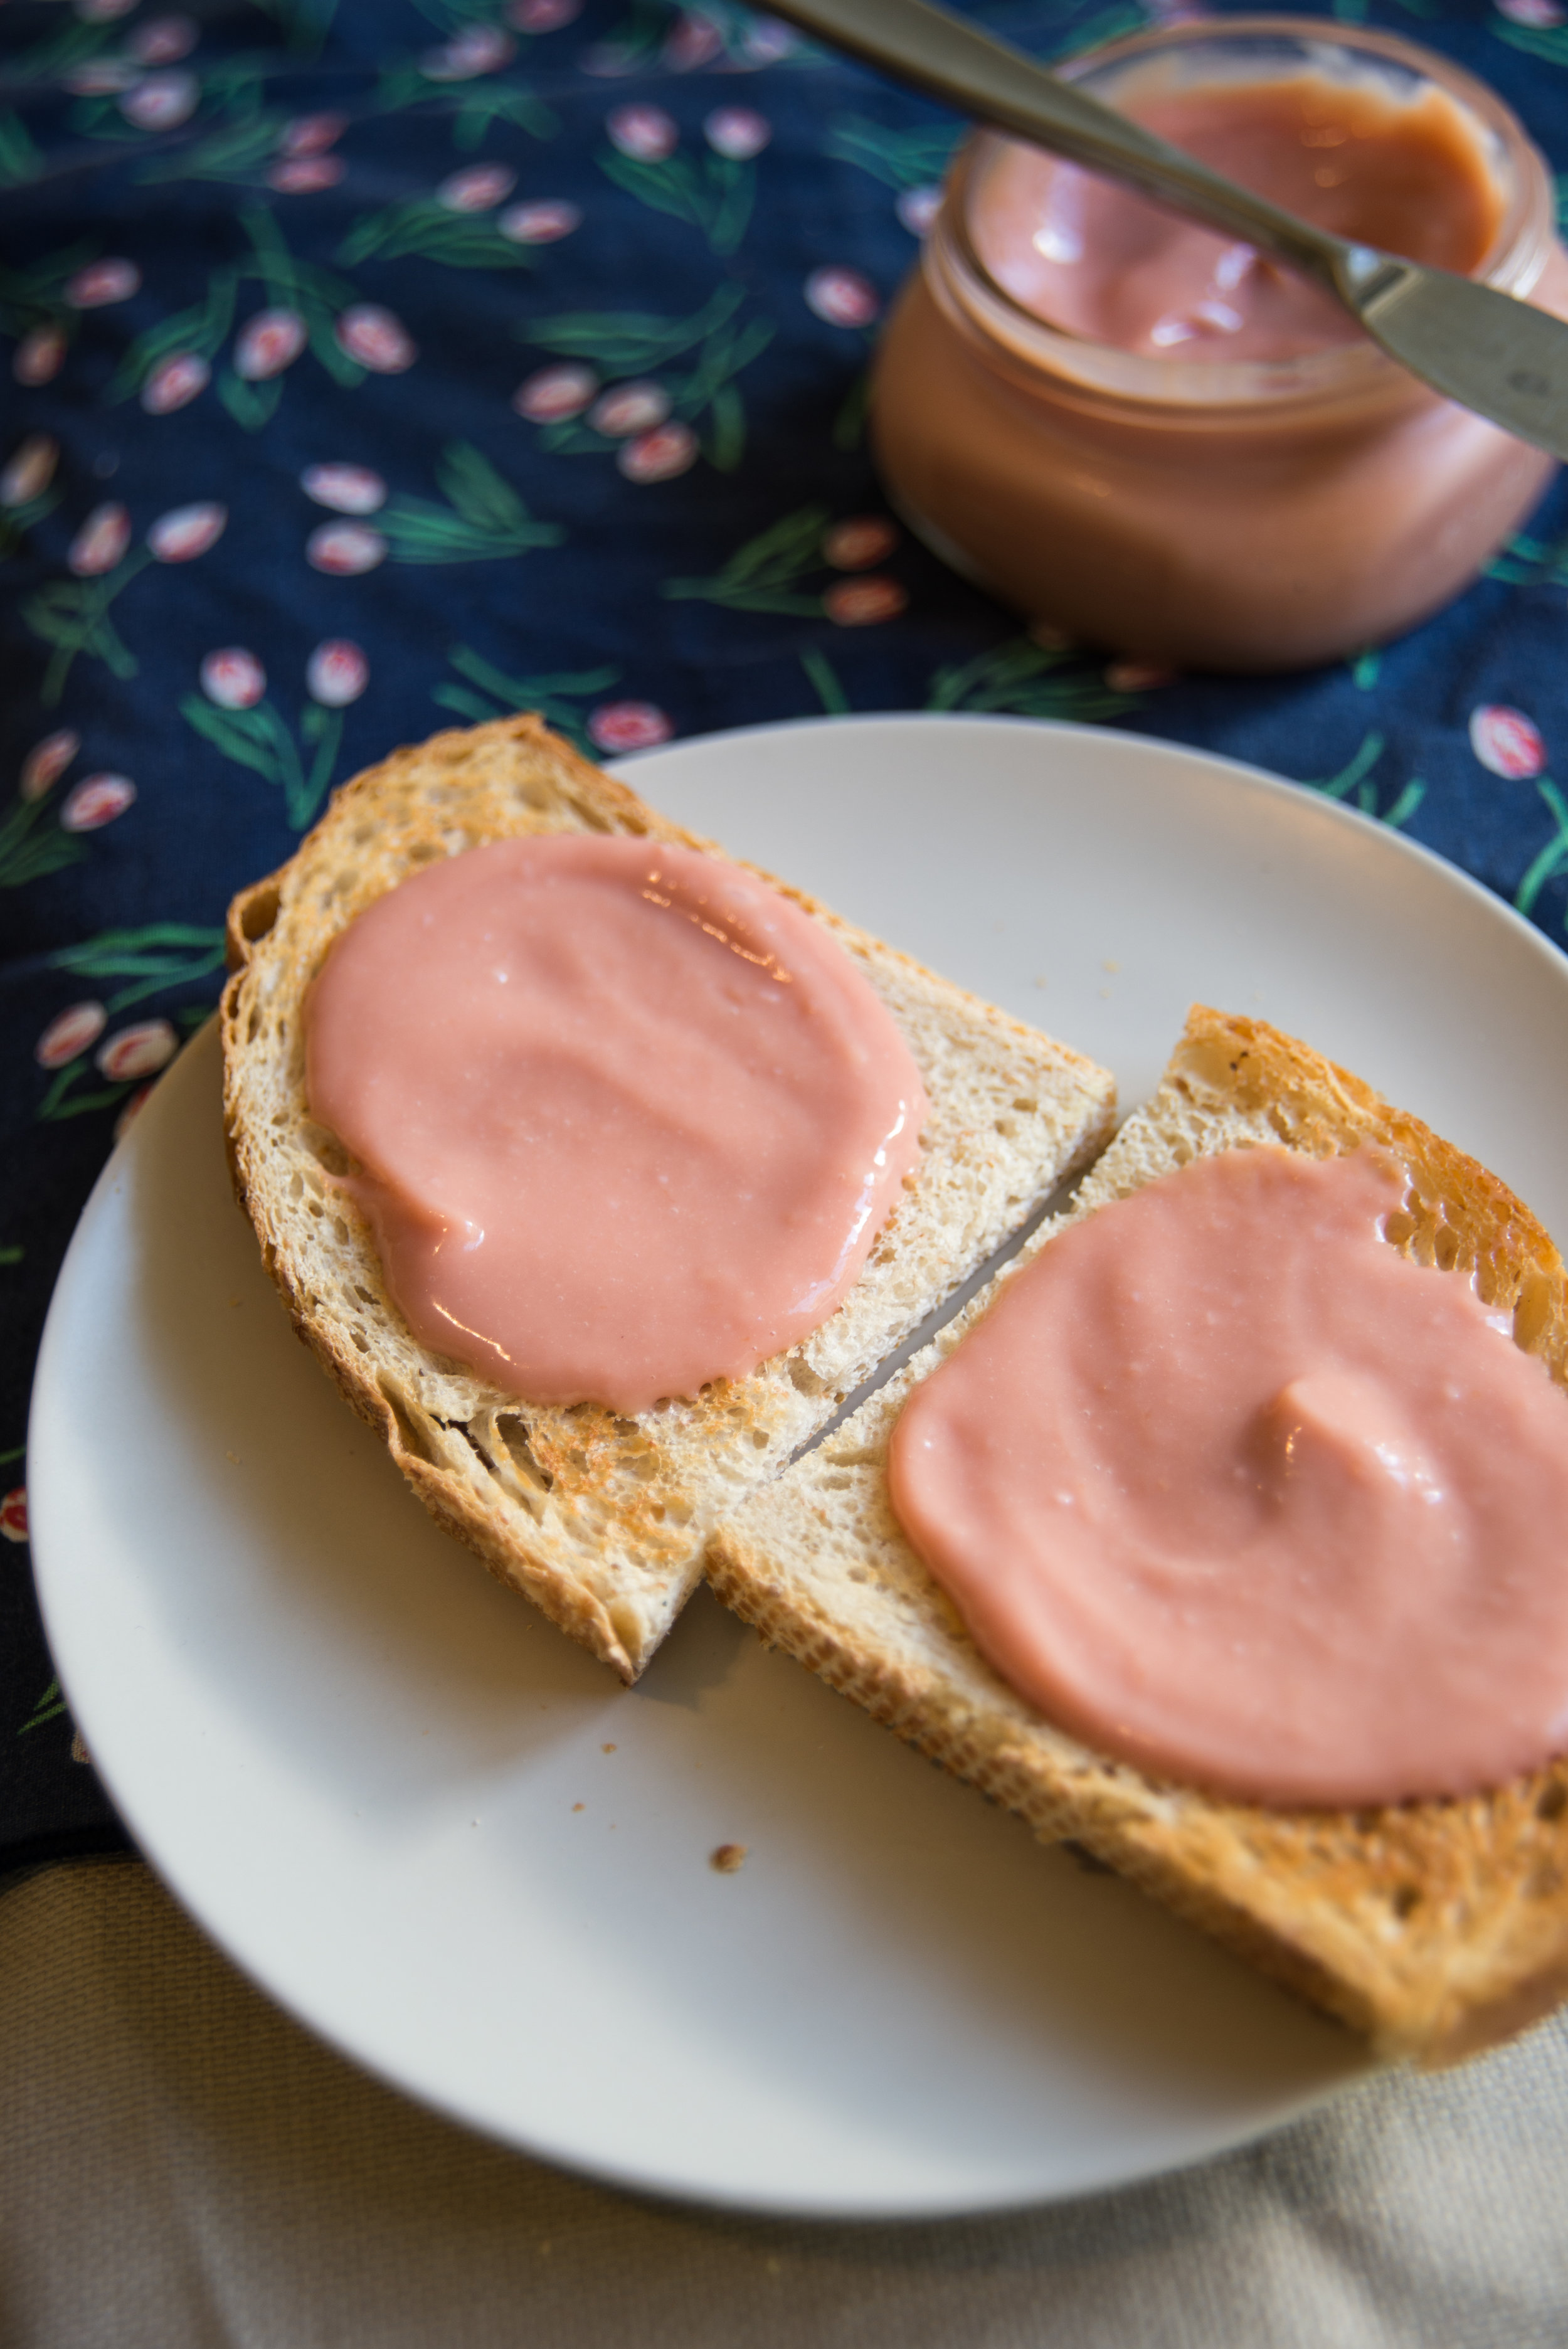
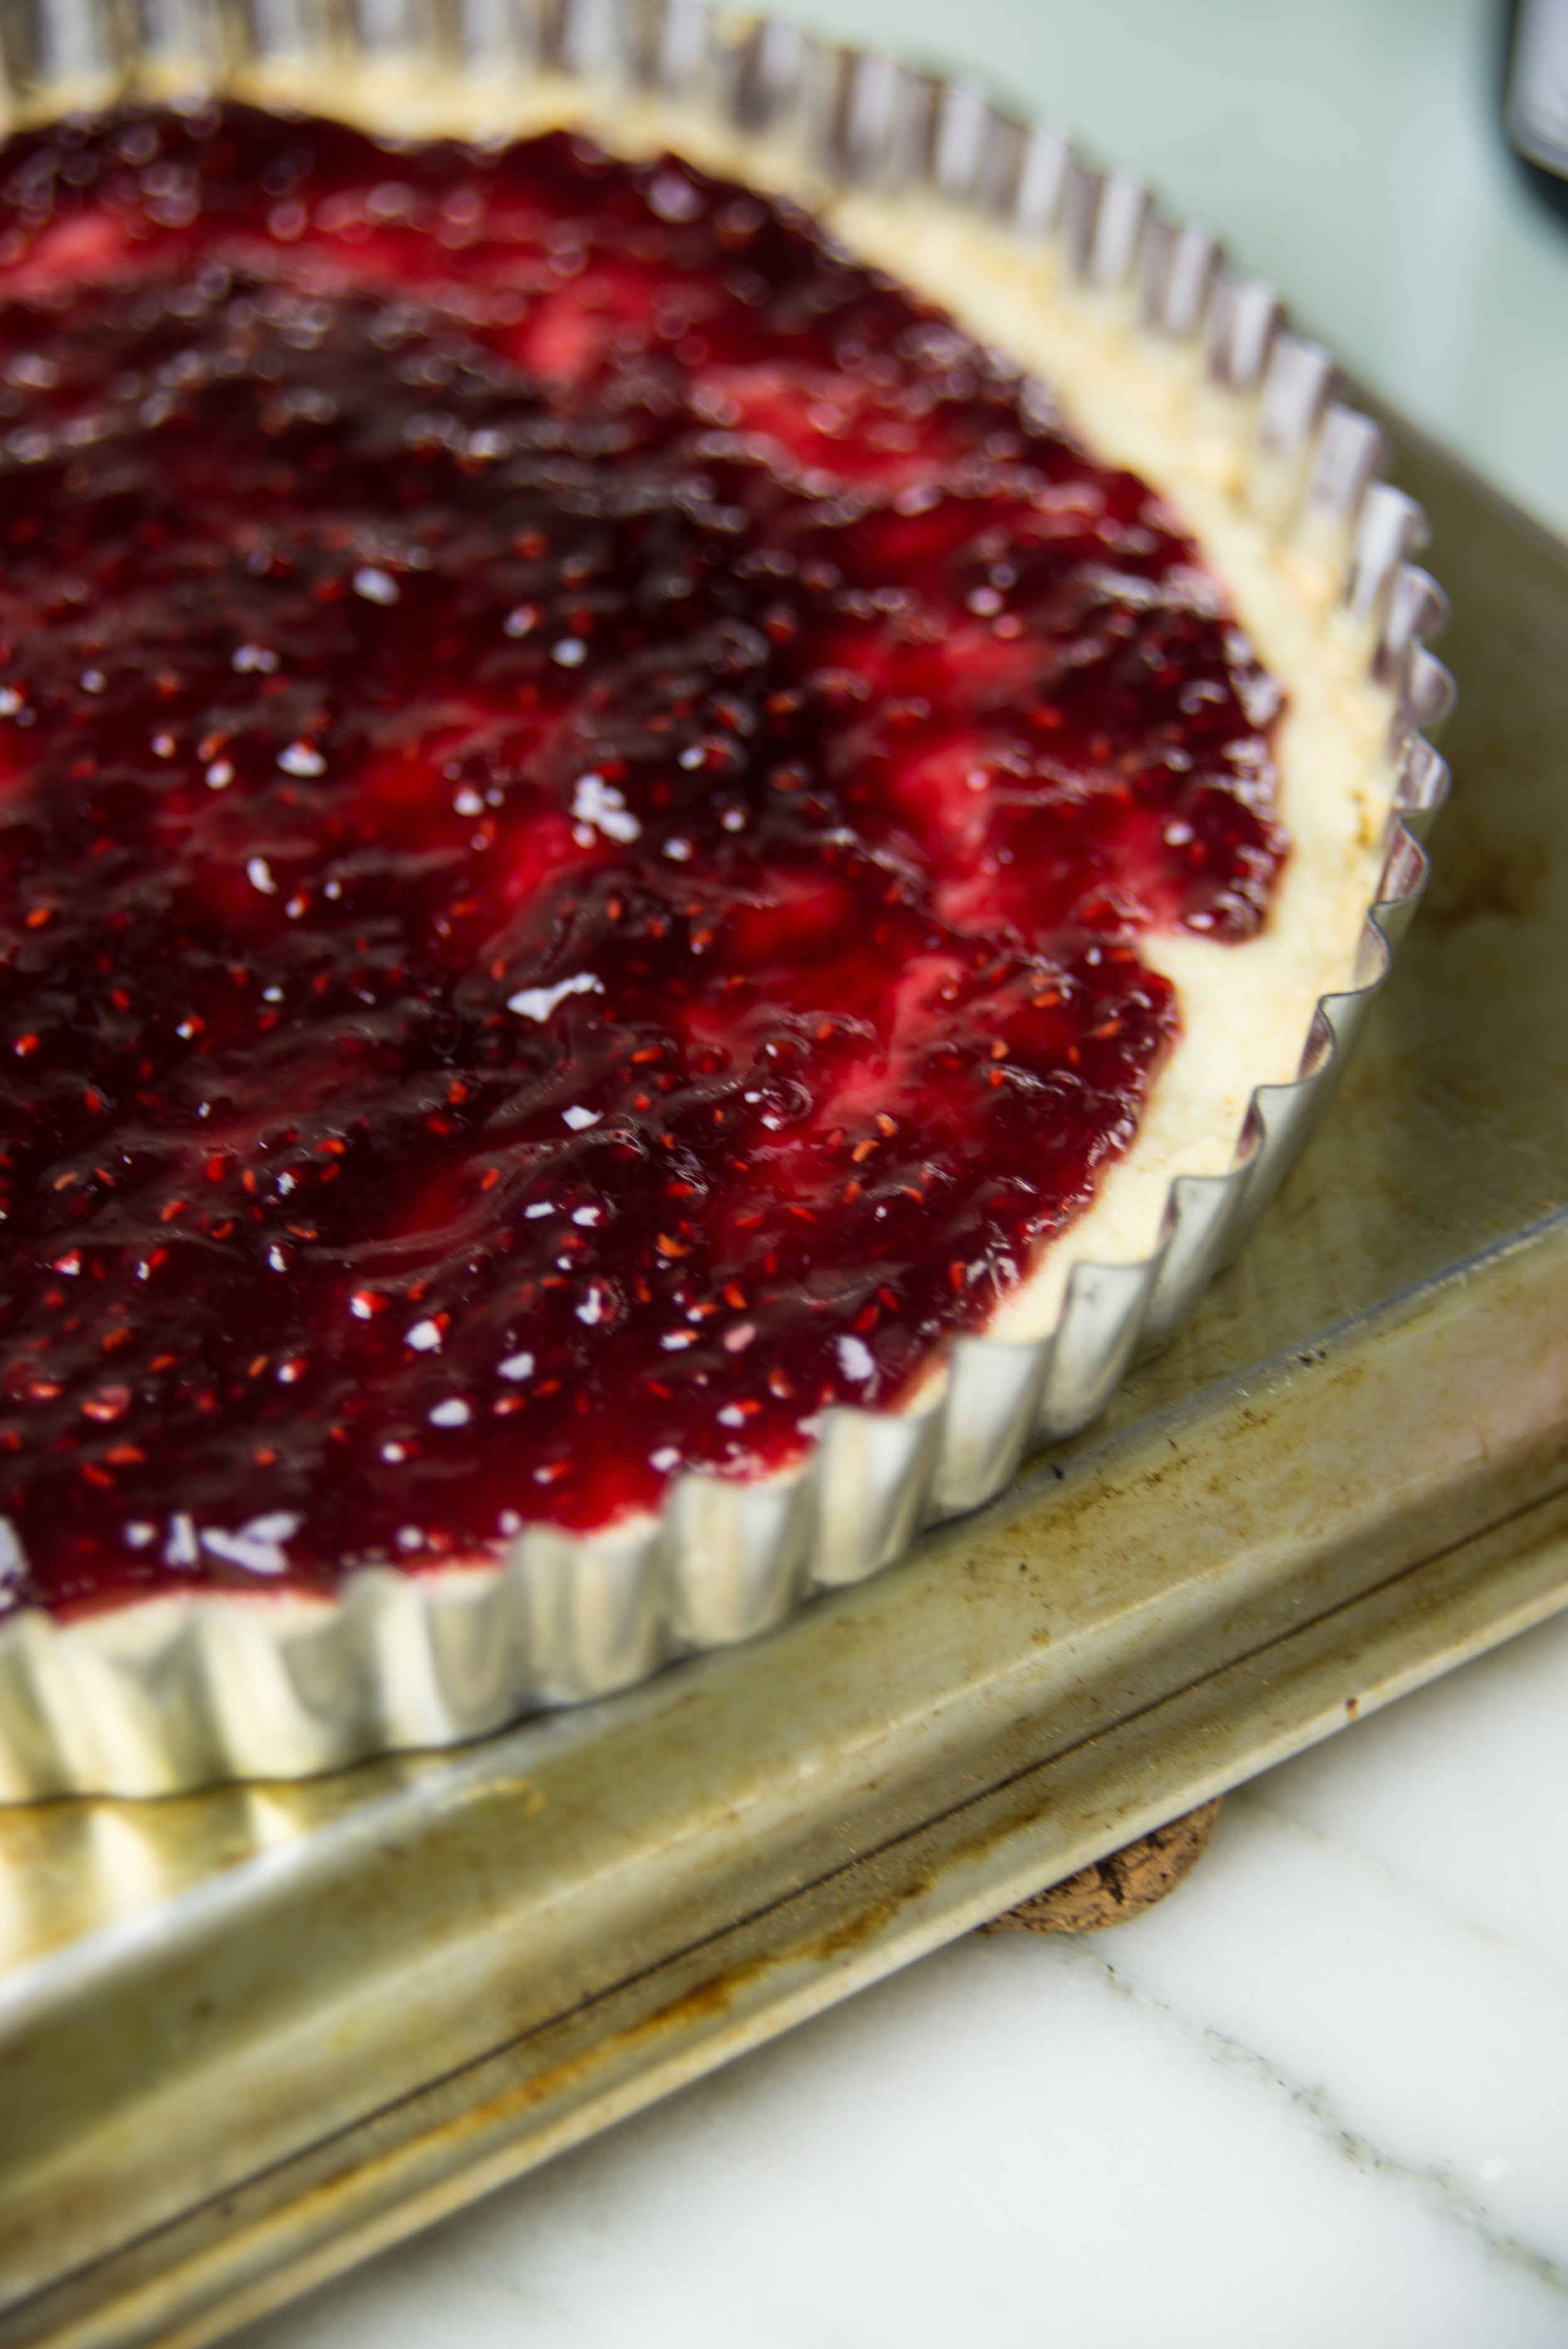
Once that crust is ready, we press it into the pan, brown it nicely, then coat it with a nice layer of raspberry jam. It's a classic combination, but one can never really go wrong when it comes to mixing the flavors of raspberry and almond. Pure heaven every time. 

Then, of course, we have the filling. An almond frangipane packed with eggs, almond flour, and both vanilla and almond extract from my friends over at Sonoma Syrup Co.. High quality extracts make all the difference when it comes to flavor, especially making something with simple ingredients like this tart. I've sung the praises of their vanilla "crush" over and over again, and their almond extract is just as good - perfectly balanced and packed with flavor! 

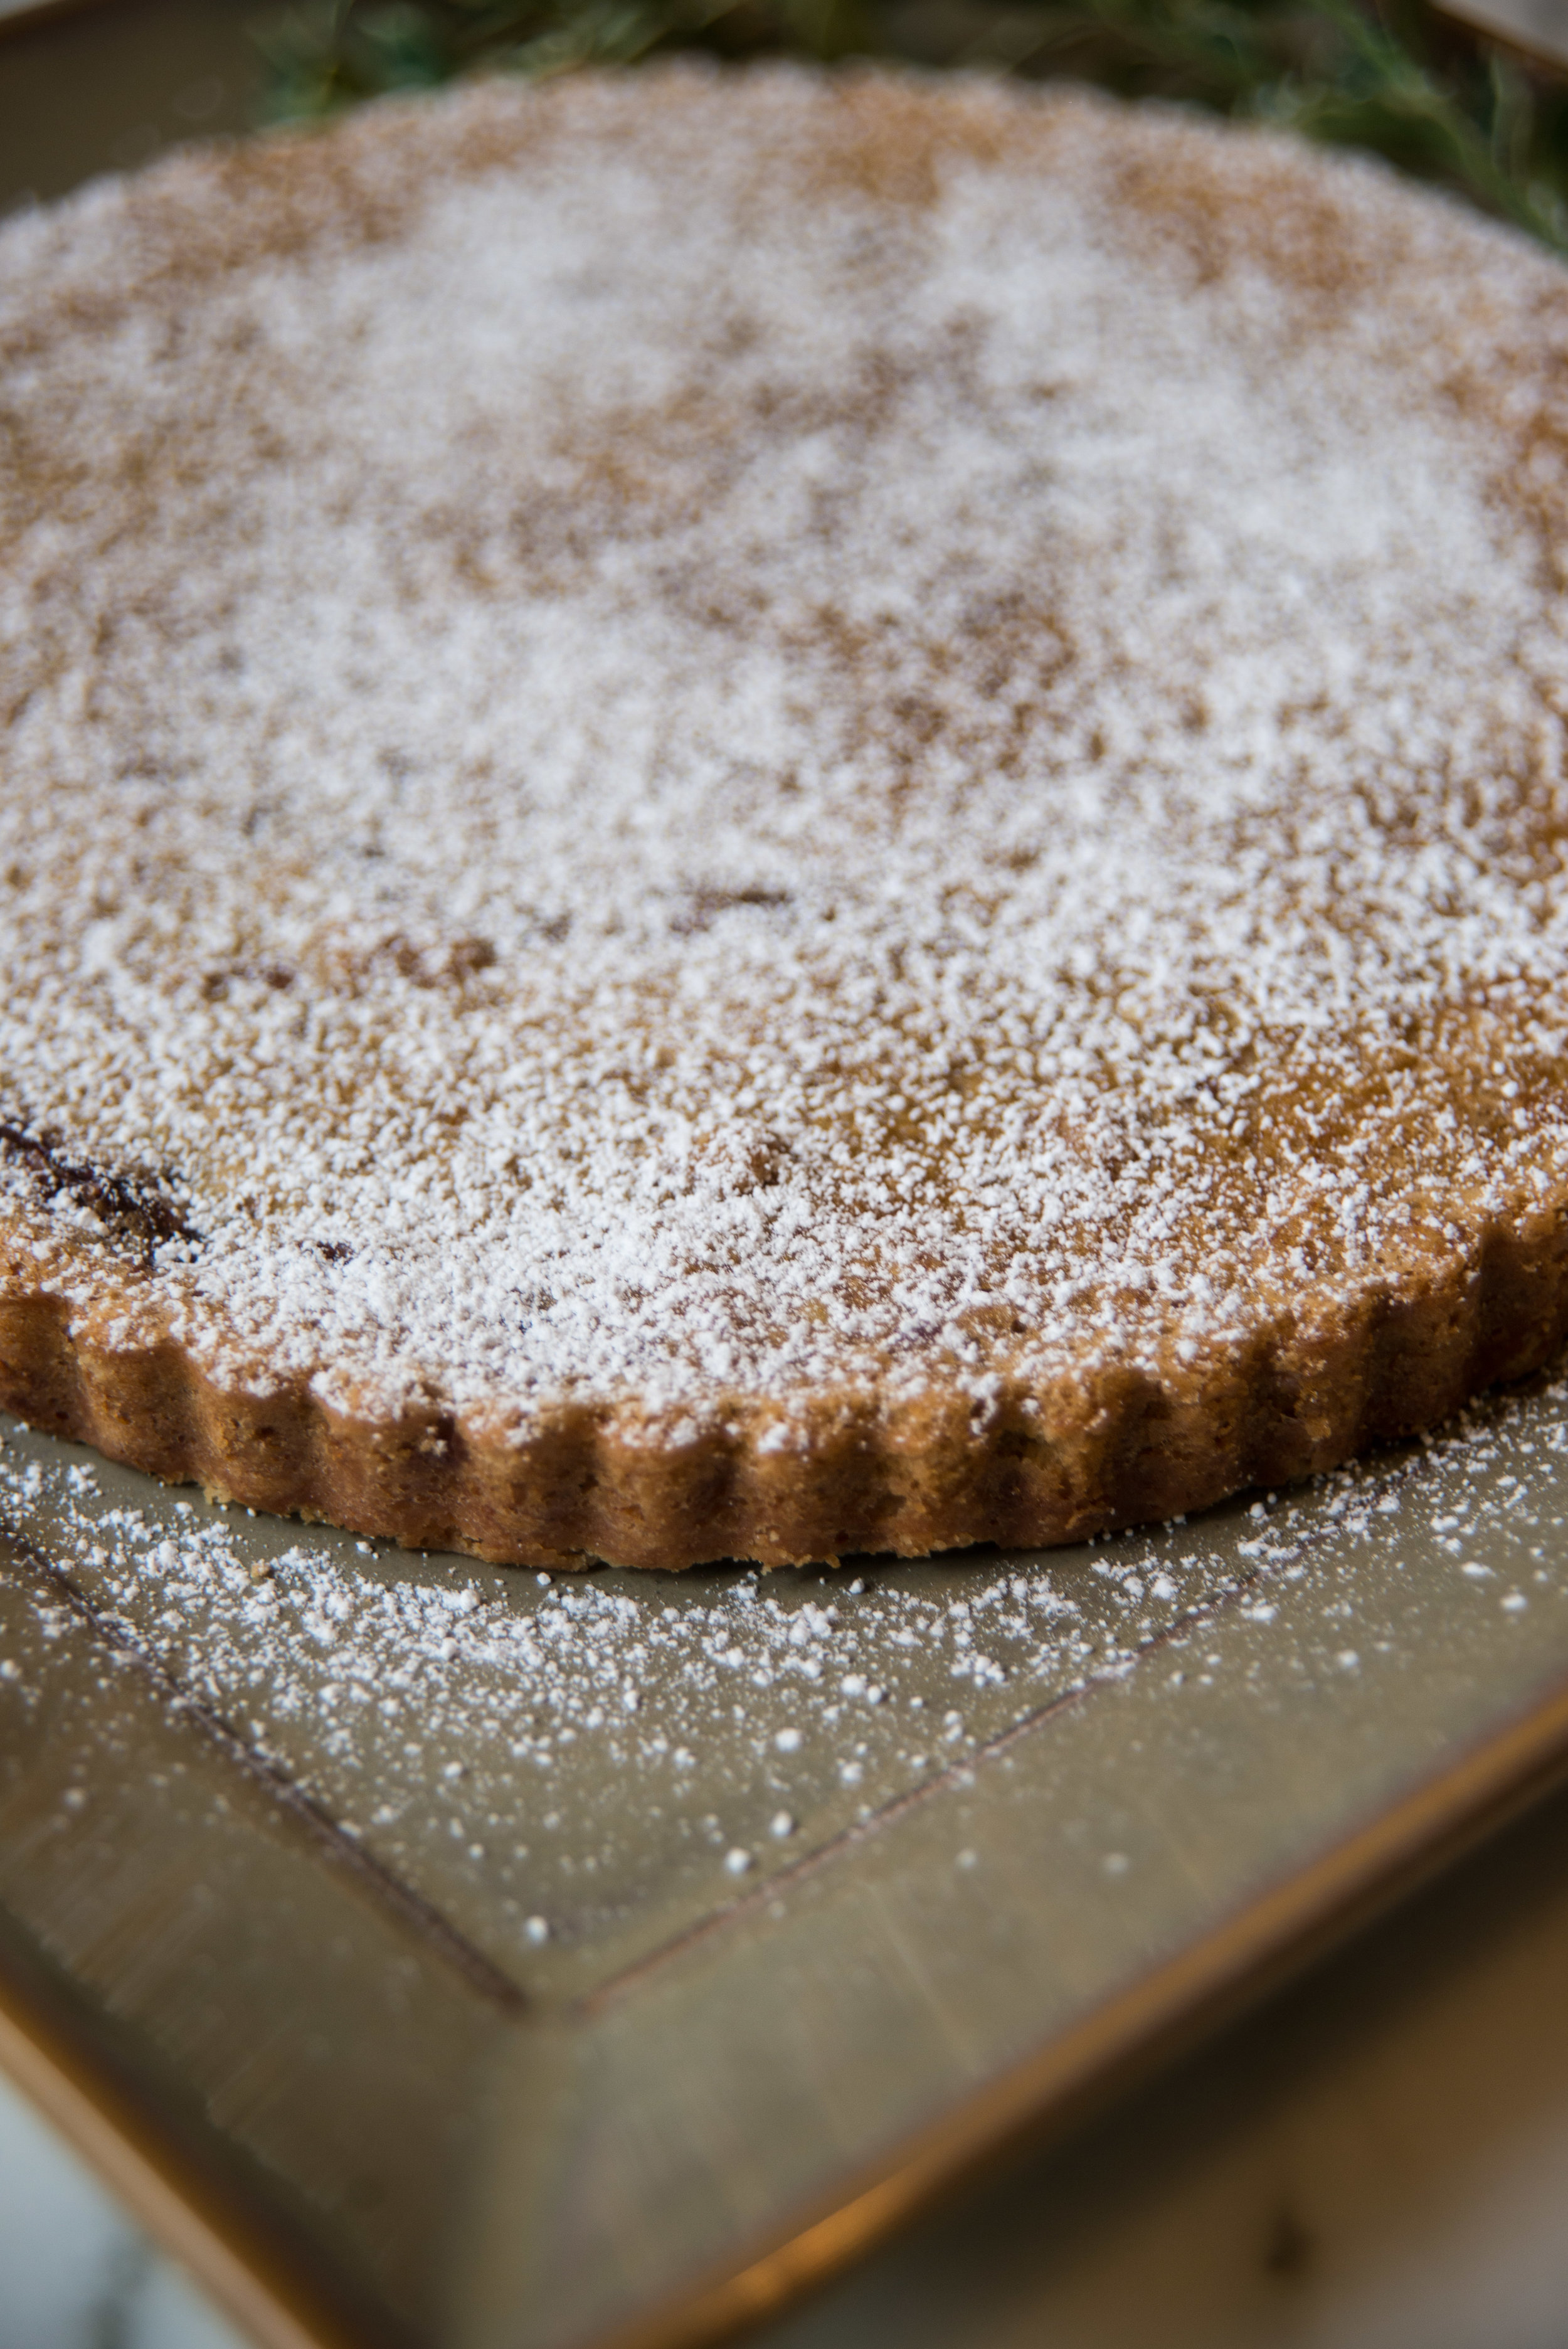
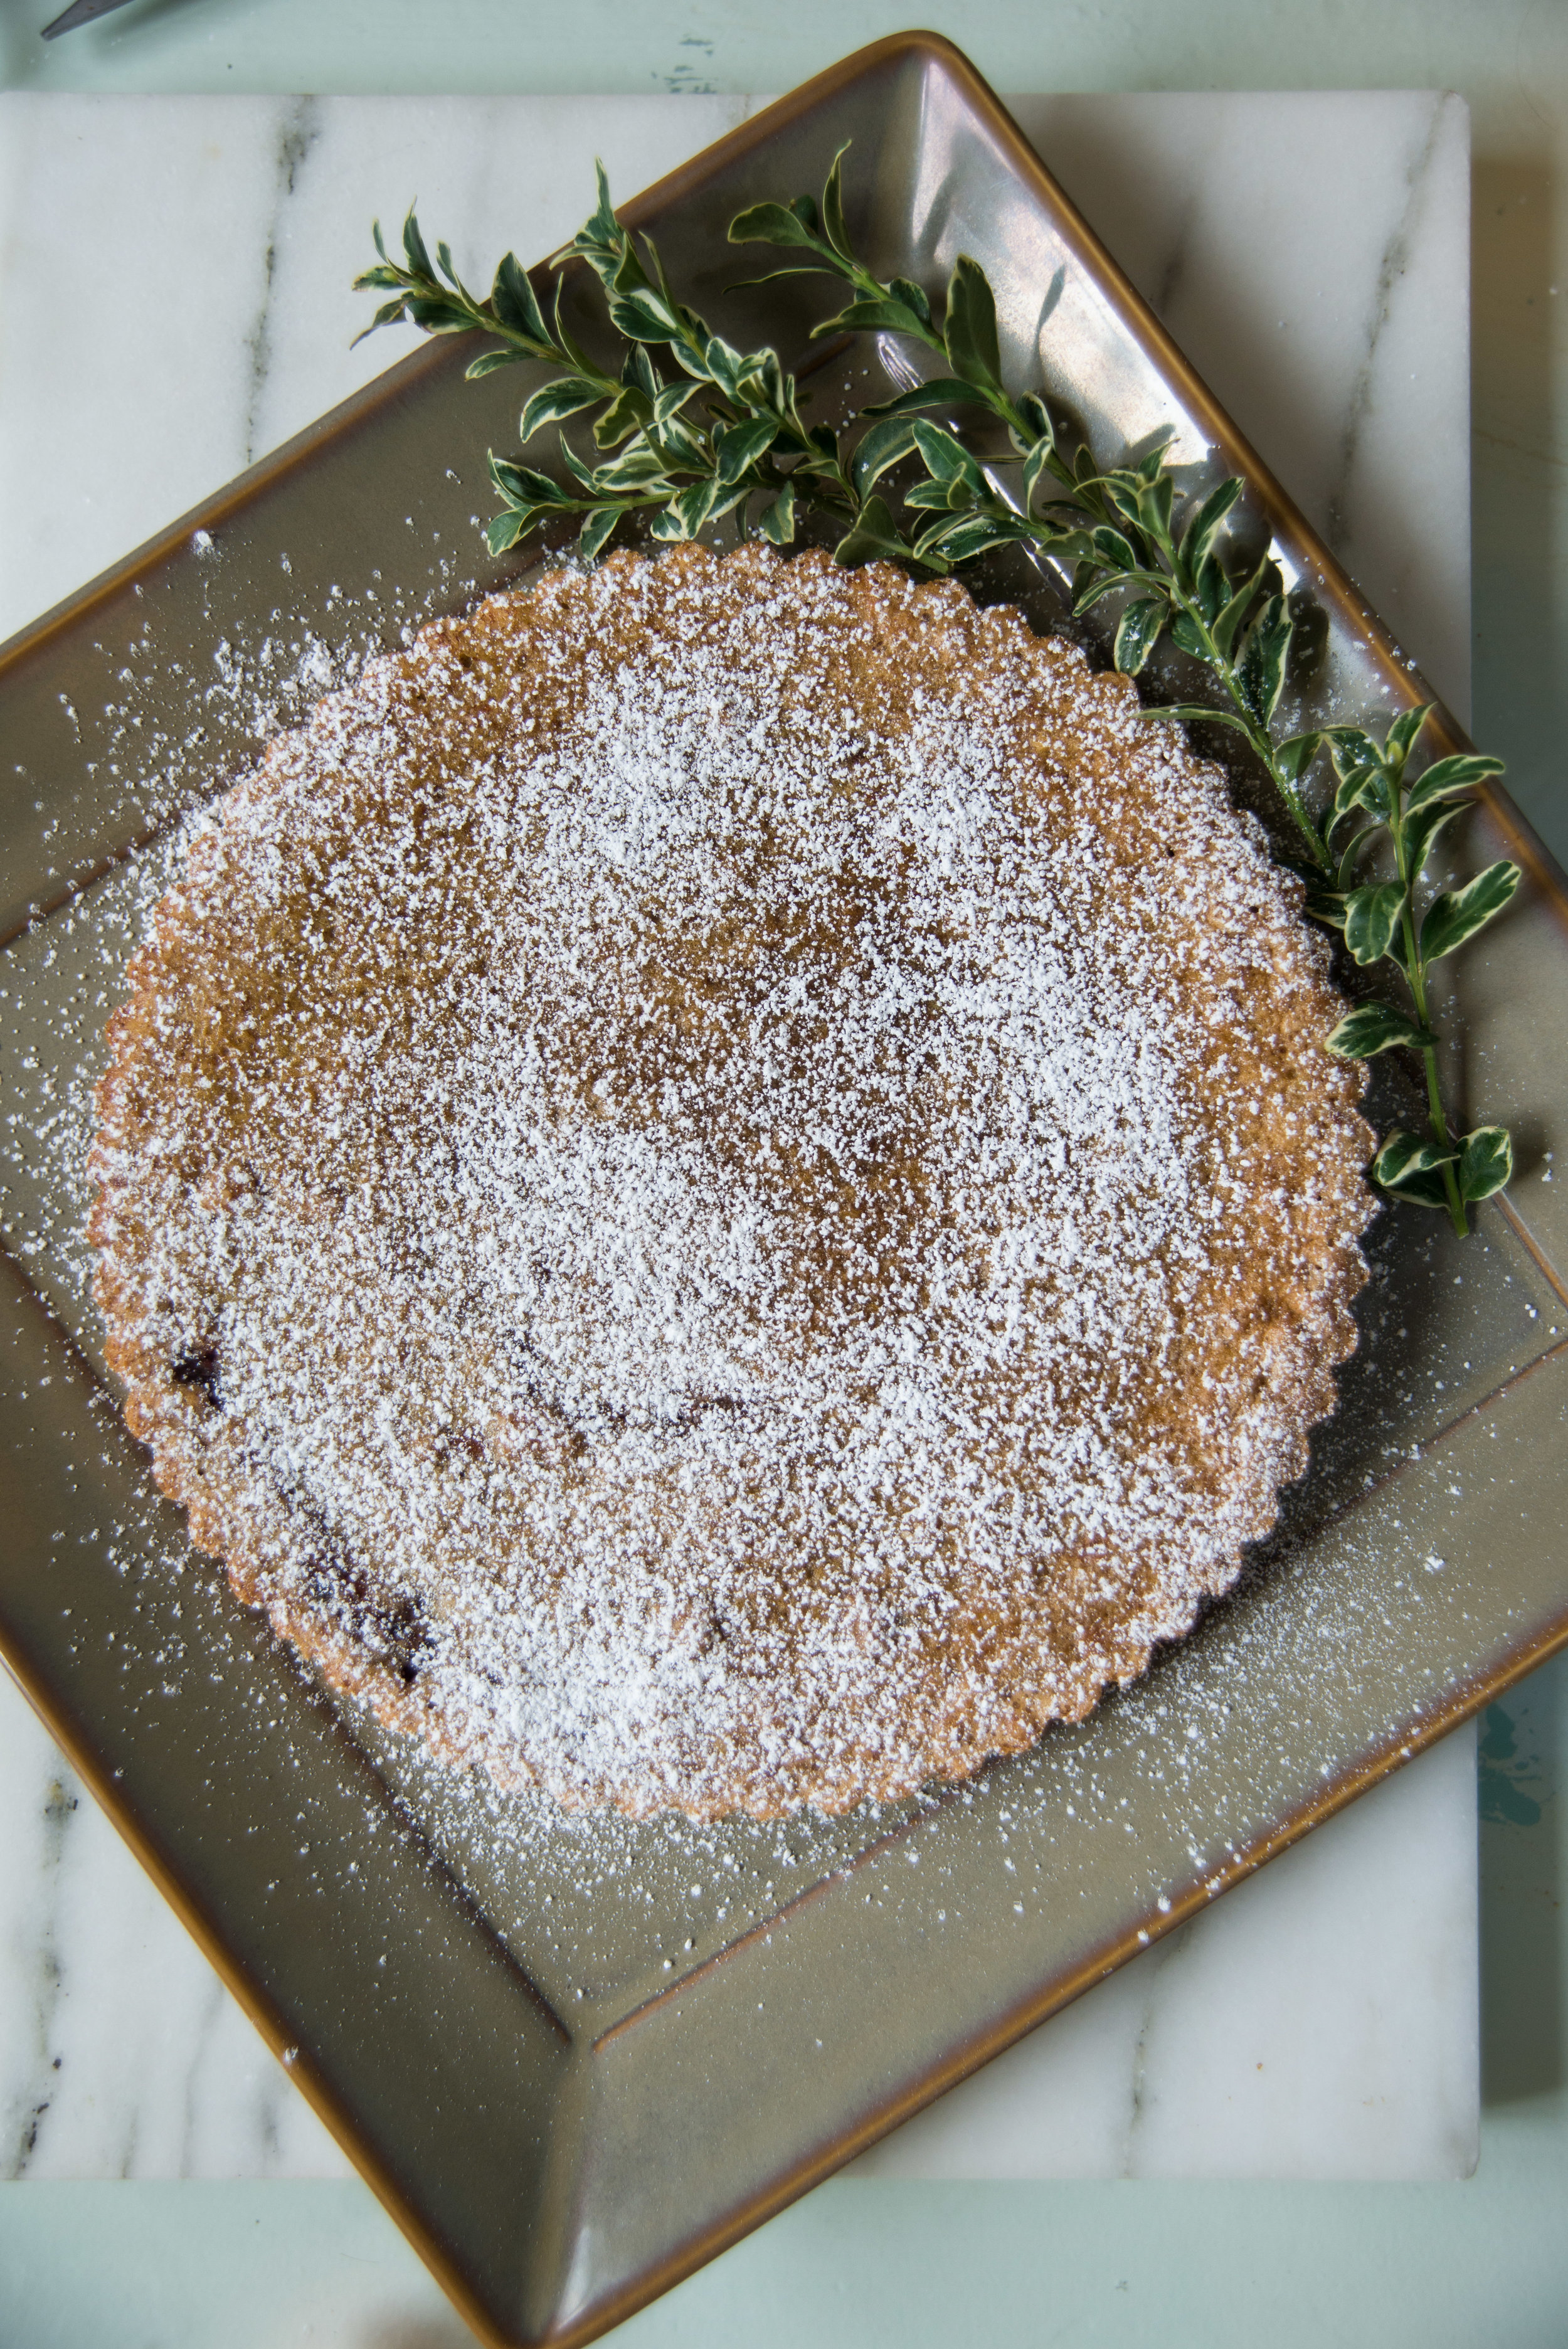
Here we have it! The gorgeous tart in all of it's glory! I highly recommend this one for any occasion that calls for something sweet - a special brunch, a quiet breakfast at home, dessert with friends and family, or any old Tuesday that calls for a little pick-me-up. 

Get baking, friends! 

Bakewell Tart 

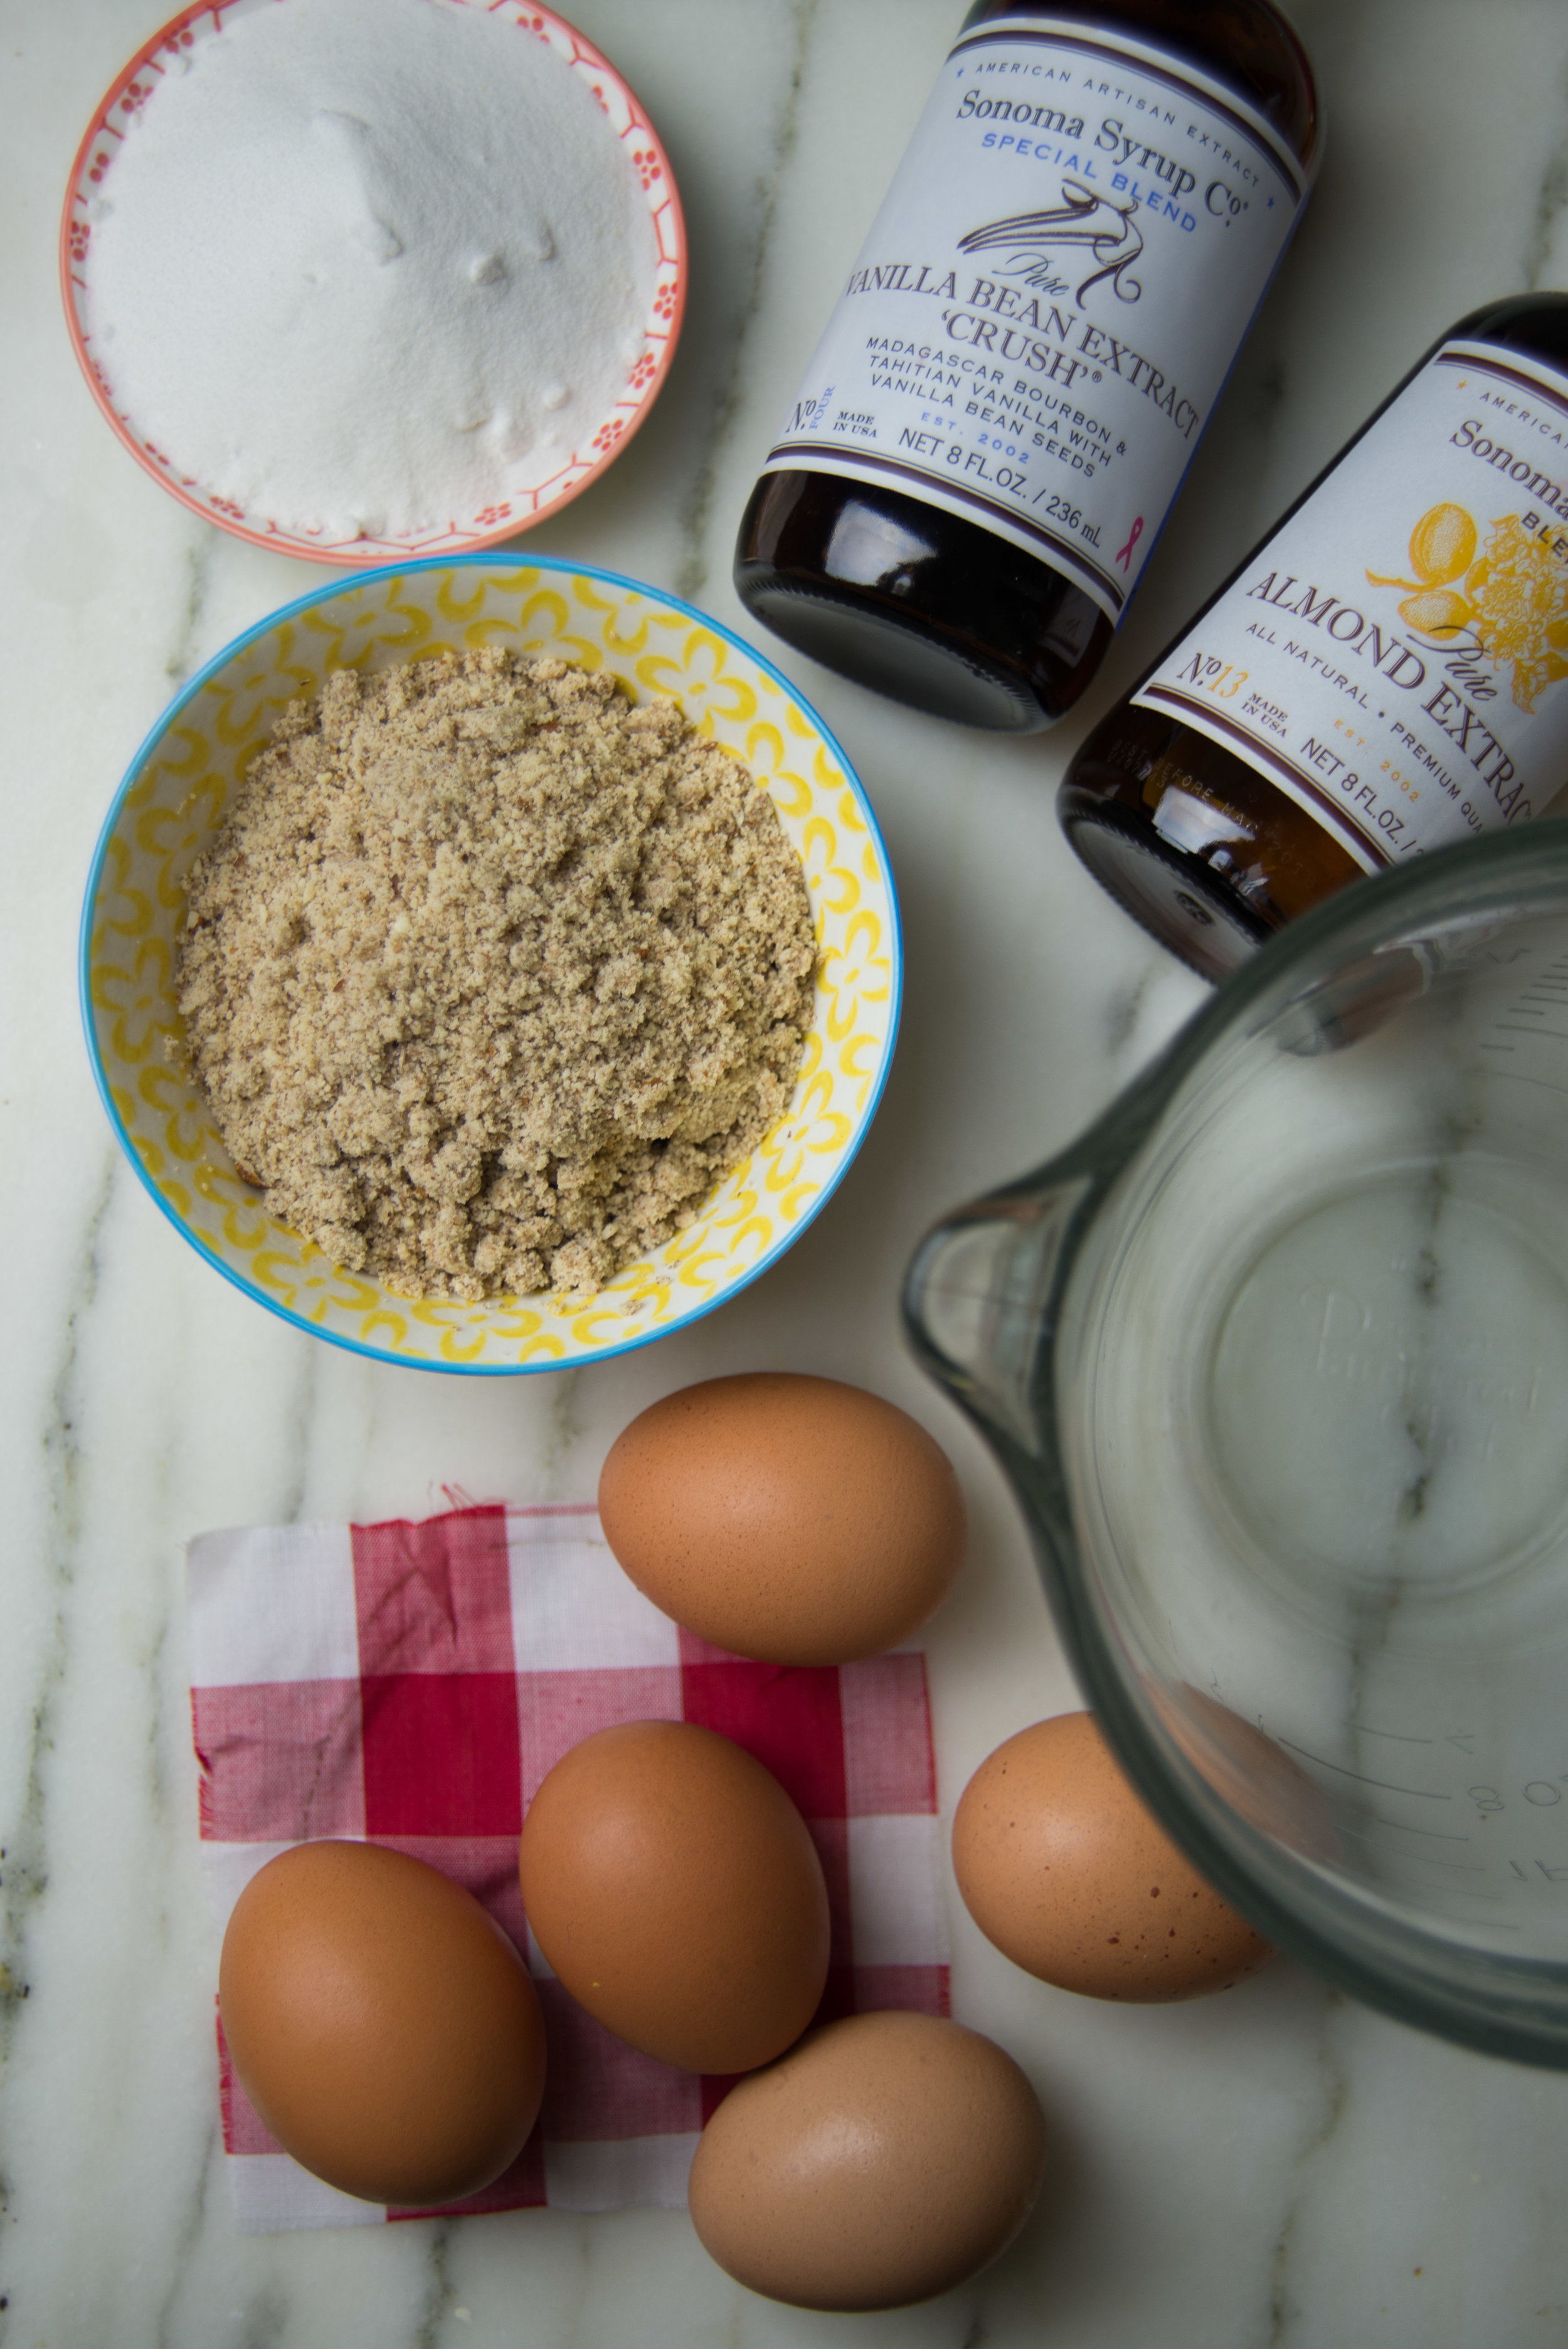
Notes: You'll notice all the measurements are by weight, which I don't normally do here. Weighing your ingredients really is the best way to accurately make a recipe, and these amounts don't divide out to clean measurements so I decided to leave them. If you need, there are plenty of charts online to convert the weights into measurements. The filling calls for ground almonds - this is as simple as putting almonds into your blender or food processor and grinding until fine. Don't go too far, or you'll get almond butter! 

crust: 

175g white flour 

38g semolina flour 

25g sugar (preferably caster sugar)

1/4 tsp baking powder 

pinch salt 

150g cold butter, cubed

filling: 

3 eggs 

2 egg yolks

100g ground almonds or almond flour

90g sugar

1 tsp almond extract 

2 tsp vanilla extract 

raspberry jam

  • Prepare a tart pan or springform pan by cutting a circle of parchment paper to line the bottom and buttering the sides of the pan. 
  • We'll start with the crust, of course. Sift or whisk together all the dry ingredients (flour, semolina, sugar, baking powder, salt) in a medium bowl. Add the butter and start to cut it in with a pastry cutter. Eventually, you'll want to use your fingers to quickly press the flour and butter together. It will be a little crumbly, but it'll be just fine! You just need it mixed enough that it holds together when squeezed. 
  • Pour the crust mixture into your prepared pan, and gently press it into place. I like to just cover the bottom of the pan, but you can also cover the sides if you wish. Place the pan on a baking sheet to more easily move it in and out of the oven. 
  • Bake the crust at 375 for 12-18 minutes, until it is just lightly golden brown. 
  • While the crust is baking, get the filling ready. In a medium bowl, whisk together eggs, egg yolks, ground almonds, sugar, and extracts. 
  • When the crust is ready, pull it from the oven and gently spread a layer of raspberry jam over the crust. You can go thin or thick - it's up to you! Then give the filling one last whisk and pour it over the top. 
  • Return the tart to the oven and bake for about 25 minutes, until the top is golden brown. 
  • Sprinkle with powdered sugar to serve if you wish! 


Disclaimer: I have received free product or money from businesses highlighted in this article - which helps me keep this blog alive. I take great pride in the advice I share here on Toot Sweet, and would never recommend a product to you that I'm not over-the-moon excited about, or that I wouldn't purchase for use in my own kitchen. 

Comment

Cranberry Curd

Comment

Cranberry Curd

I already spilled my guts about my love for curd (and eating it straight from the jar) when I shared my recipe for meyer lemon curd last winter, so I won't make you endure that love fest all over again. I'll just say that curds are the dreamiest of toast toppings - at the same time tart, sweet, and creamy. 

When I got some 100% cranberry juice to experiment with from the fine folks at Starvation Alley, curd was of course at the top of my long list of recipes to develop! Bonus - naturally pink foods are always more fun! 

Starvation Alley grows organic cranberries in their Long Beach, WA cranberry bog and cold presses 100% cranberry juice from their farm and other PNW farms which are organic or transitioning to organic. Growing cranberries requires pumping water from the neighboring watershed into the bog for harvest then returning it to the wild, meaning that the pesticides sprayed on conventional cranberries go straight back into our beloved watershed. I couldn't be more proud of the work Starvation Alley is doing to help more cranberry farms go organic! 

I've said it before, but I'll say it again. When eating curd, it's easy to assume that it must be a fussy and difficult thing to make - but the reality is that just 15 minutes in front of the stove and a good fine mesh strainer will have you decadent curd in no time! 

The biggest secrets lie in using a double boiler (aka a bowl over a pot with a little simmering water in the bottom), constantly stirring so it cooks evenly, and straining the mixture when you're finished to remove any little clumps of egg that might have cooked too much. 

I've always been a big fan of curd on toast, for it's ease and simplicity. And the fact that I better be speedy if I want enough curd to remain for a more in depth project! That darn obsession with eating it by the spoonful be damned! 

That said, curd makes a great filling for cake layers and this curd will sit beautifully in mini tart shells or puff pastry cups. It won't, however, be perfect for a full sized tart, for that requires a stiffer curd that will hold its shape when cut (aka, it needs way more butter!). 

So make this curd, then let your imagination run wild - or eat it all by the spoonful like I prefer to do, the world of curd is your oyster! 

Cranberry Curd 

1/4 cup + 2 Tbsp unsweetened 100% cranberry juice (I used Starvation Alley!) 

2 Tbsp lemon juice 

1/4 cup sugar 

2 eggs 

2 egg yolks 

3 oz / 6 Tbsp unsalted butter, cut into cubes 

pinch sea salt 

  • Whisk together all ingredients in a small mixing bowl and place over a pot with a few inches of water in the bottom, being sure the bowl isn't touching the water. 
  • With the pot over medium heat, cook the mixture, whisking constantly. A few minutes after the butter melts, the mixture will start to thicken. When it does, pour the curd through a fine mesh strainer and into a jar. It will thicken more as it cools. 
  • Store curd, covered, in the refrigerator. 


Disclaimer: I have received free product or money from businesses highlighted in this article - which helps me keep this blog alive. I take great pride in the advice I share here on Toot Sweet, and would never recommend a product to you that I'm not over-the-moon excited about, or that I wouldn't purchase for use in my own kitchen. 

Comment

Homemade Chai Concentrate

4 Comments

Homemade Chai Concentrate

I can weave the story of chai through much of my life, a flavor that has reappeared in new ways every few years as I've grown older. In high school, before the magic of coffee entered my life, sweet chai concentrate from the box was definitely my number one source of caffeine. In college, after traveling to India with a Tibetan Buddhism class and drinking chai day in and day out, I regularly made the simplest form of chai - sweetened milky black tea steeped with cardamom - just as the sweet man in a little hole in the wall chai shop taught me. 

These days, I am entering a new realm of chai which involves my own homemade version of that stickily sweet boxed chai concentrate - packed with ginger and cardamom, and only lightly sweetened! Having this simple 30 minute chai concentrate in the fridge means that chai is always one quick step away, and for that I'll never be sorry. Daylight savings time has arrived, meaning it got dark before 5pm today... warming my world with a little chai seems like the perfect way to welcome the quickly approaching winter season. 

So this Sunday morning, my sweetie and I sat down to big old mugs of warm chai (and I recruited him to be my model - he's hardly ever home when I'm shooting recipes, and it's so nice to have someone in the images!). This time around, we used homemade hazelnut milk made with hazelnuts from the sweet vendors at our neighborhood farmers market. If you haven't ever made your own nut milk before, it is incredibly easy! Just blend the nuts of your choice with some water and strain through a nut milk bag or a fine dishtowel. Search online to get the best ratios for each nut, though in my experience winging it usually works! 

The best thing about making your own chai concentrate? You can personalize it to your tastes! Consider this recipe a blueprint - somewhere to start. The spices can be altered to suit your tastes, and the sugar can be adjusted to your preferred sweetness level! 

Homemade Chai 

Making the Concentrate: 

5 cups water

1/2 cup sugar

3in piece of ginger, thinly sliced 

1 Tbsp cardamom seeds (more if you're using pods) 

1 tsp whole peppercorns 

1 tsp whole cloves

3 whole star anise

1 tsp whole allspice 

1 cinnamon stick

5 bags / 2 Tbsp black tea

2 tsp vanilla

  • Combine water, sugar, and spices (everything but the tea!) in a saucepan and bring to a boil. 
  • Lower heat and simmer for 20 minutes. Remove from heat. 
  • Add tea and let steep off of the heat for about 8 minutes. 
  • Strain the concentrate with a fine sieve if using tea bags and a coffee filter if using loose tea. Stir in vanilla. Store in the refrigerator. 

Making the Chai: 

Hot Chai: In a small saucepan, combine chai concentrate with the milk of your choice, using about a 1:1 ratio. Slowly heat over medium until it just barely begins to simmer, stirring occasionally. If you want to give it a little froth, blend on high in a blender for about 30 seconds. 

Cold Chai: Combine chai concentrate with the milk of your choice, using about a 1:1 ratio. Pour over ice and enjoy! 

4 Comments