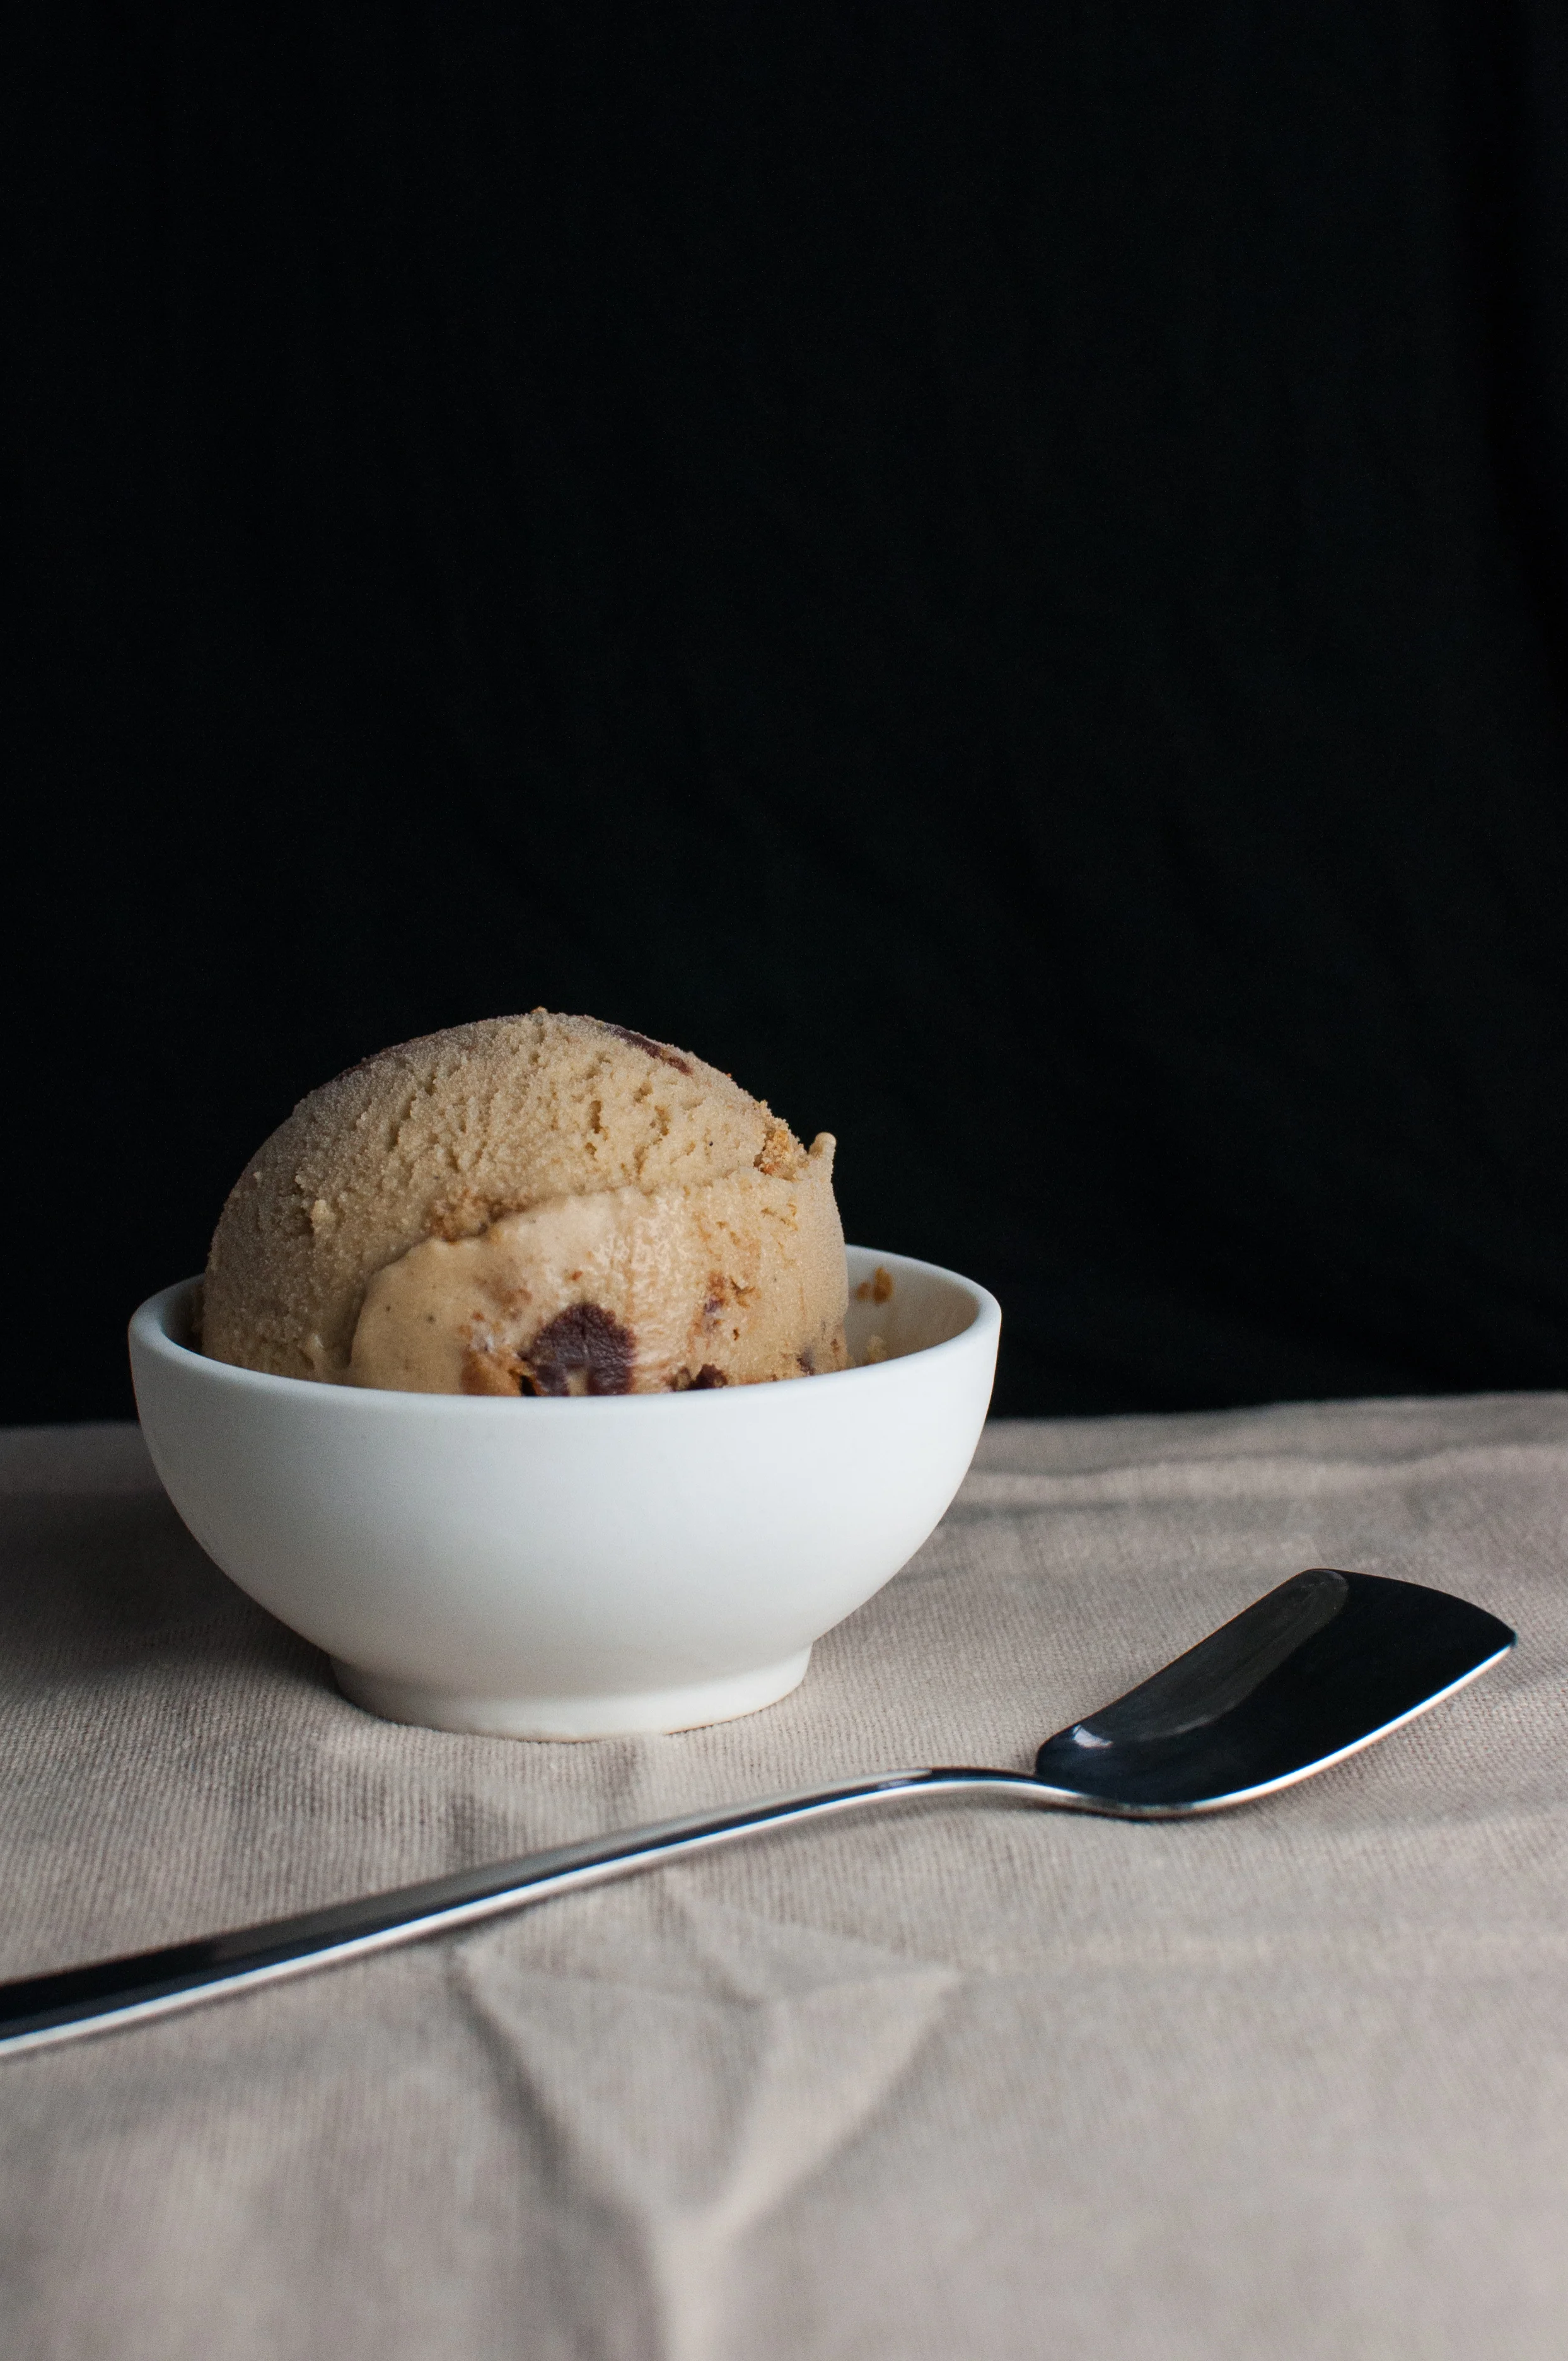
When girl scout cookie season arrived this year, I couldn't help but instantly start craving samoas... it happens every year. Those caramel coconut chocolate wonders combine some of my favorite flavors of the dessert world into one package. But every time I buy them these days, they never quite live up to the hype I have in my mind. So this year I decided to put together my own homemade version of the samoa - and I think you'll agree that homemade is so much better in this (and most) case(s)!
And you can always give those girl scouts a cash donation, which will be much more useful to them than the fraction they get from the price of that box of cookies!
Plus, this means we can have access to samoas any time of the year we might start craving them - a definite bonus!
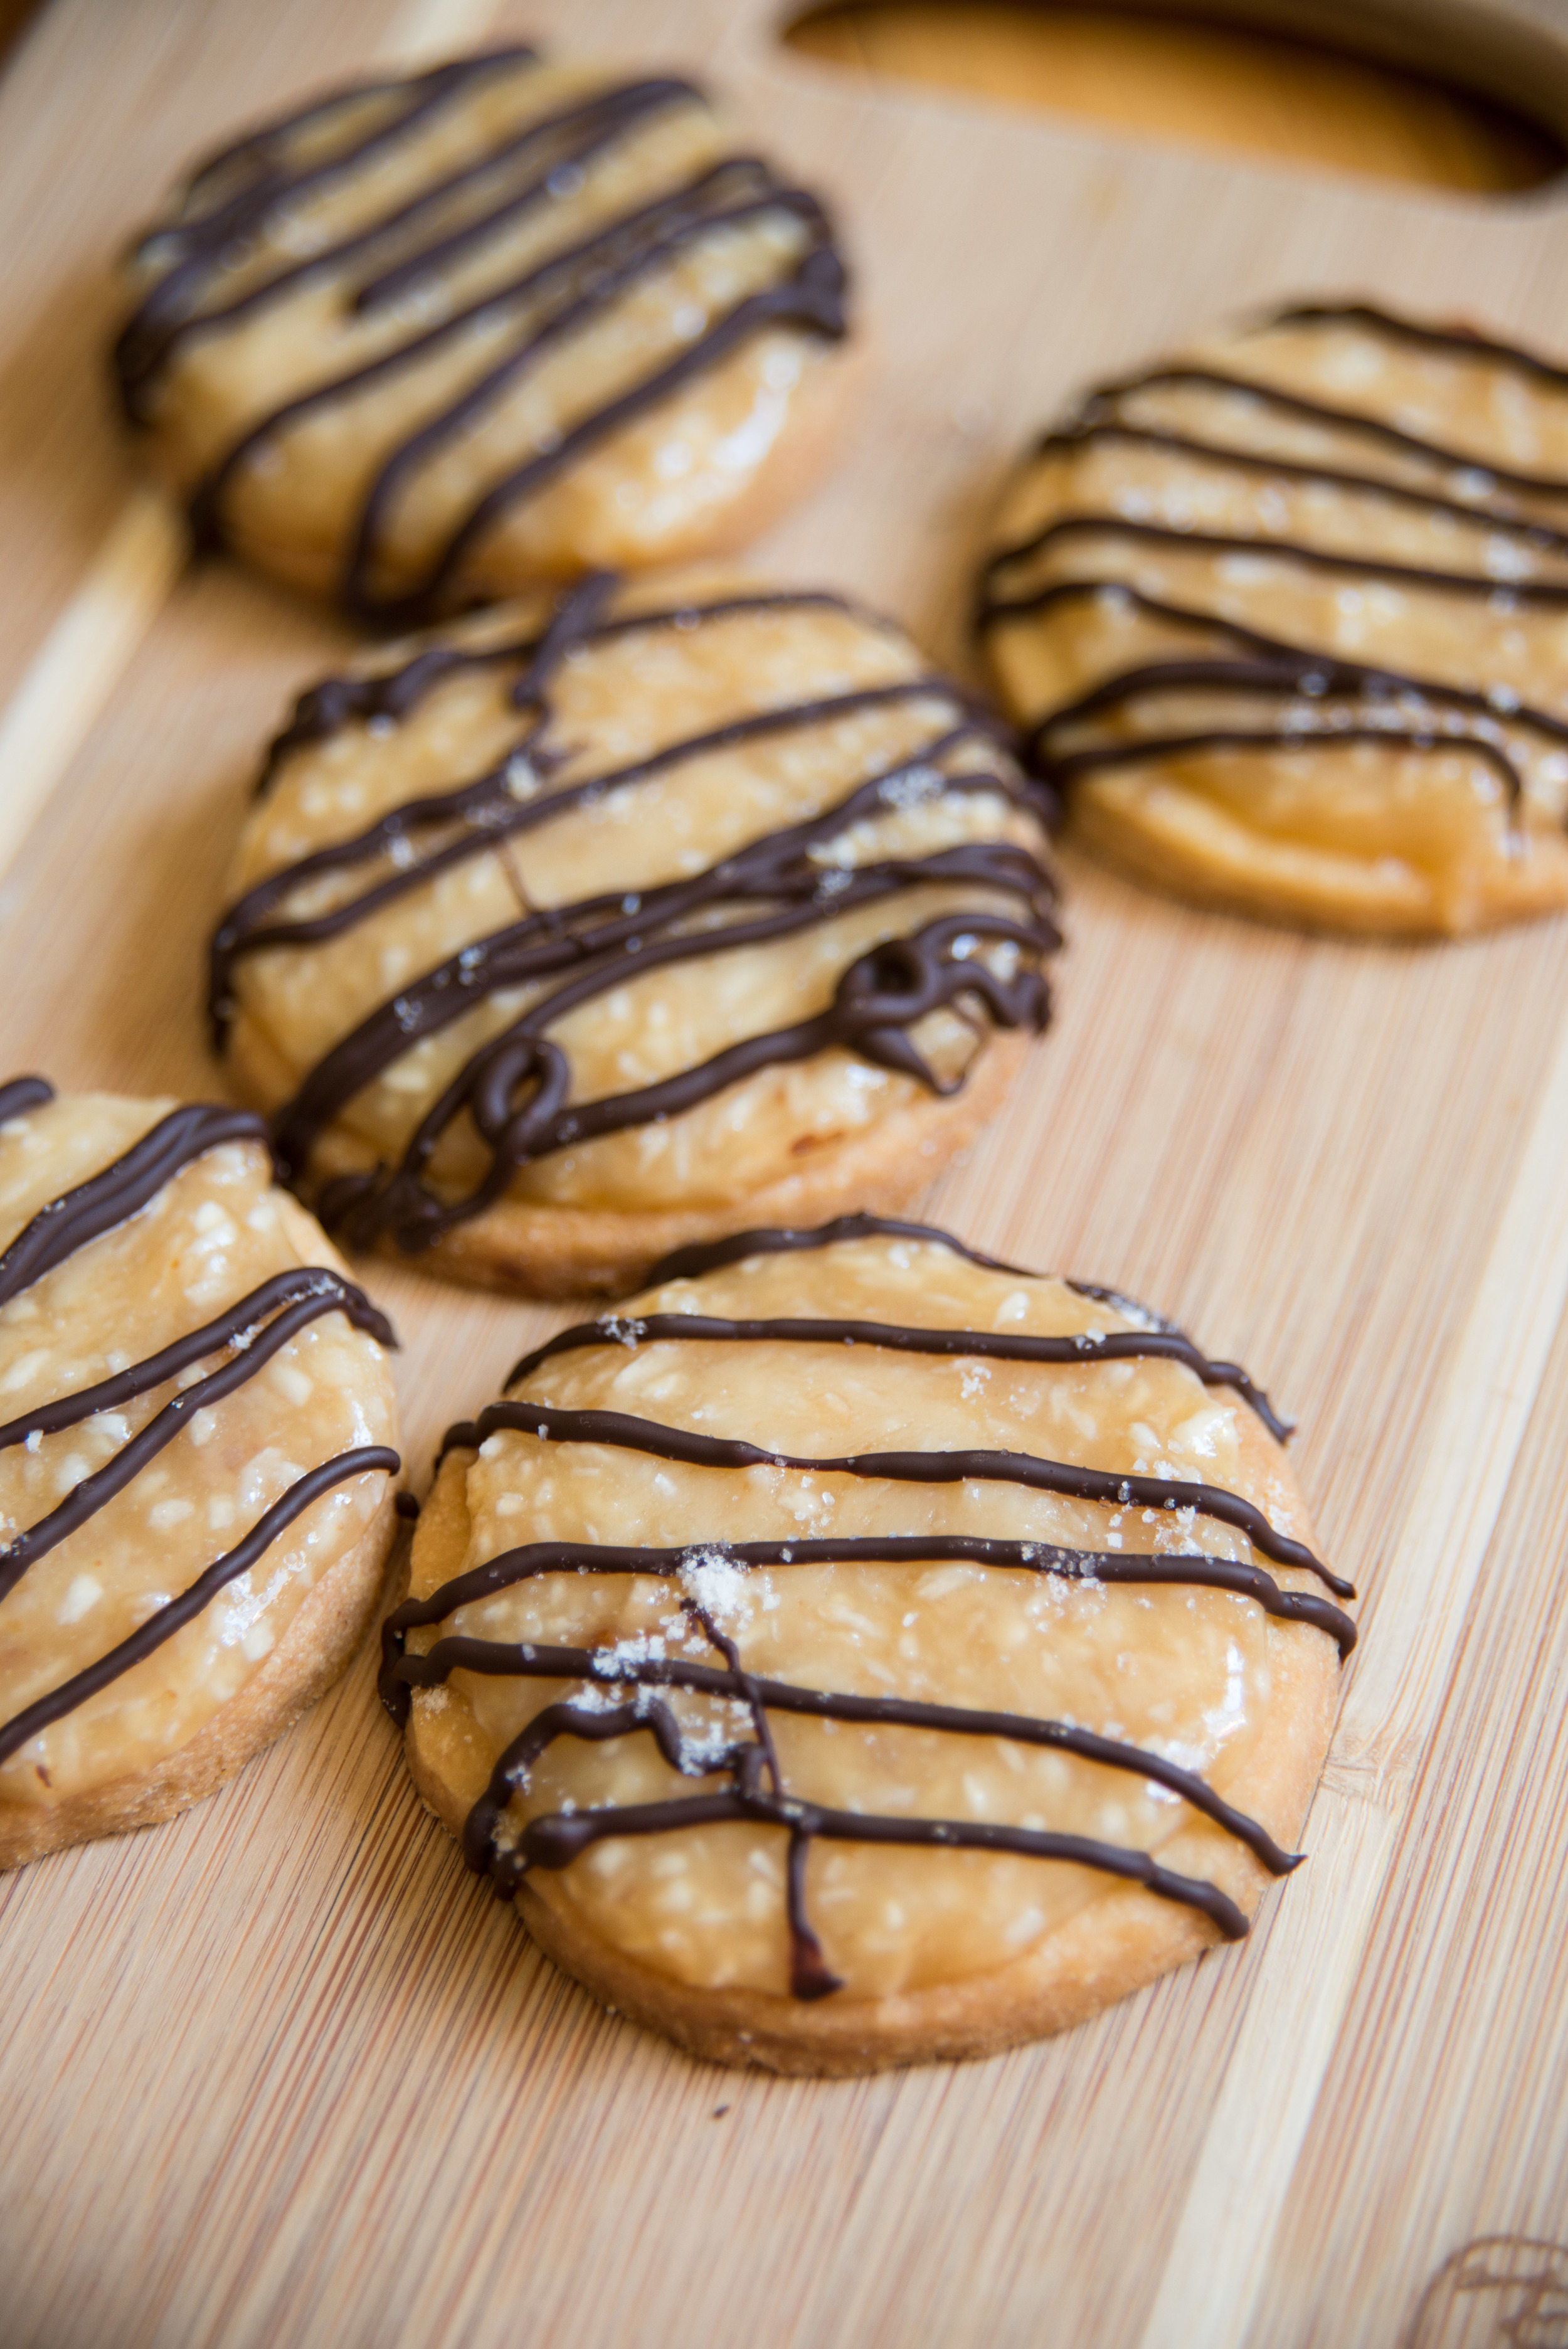
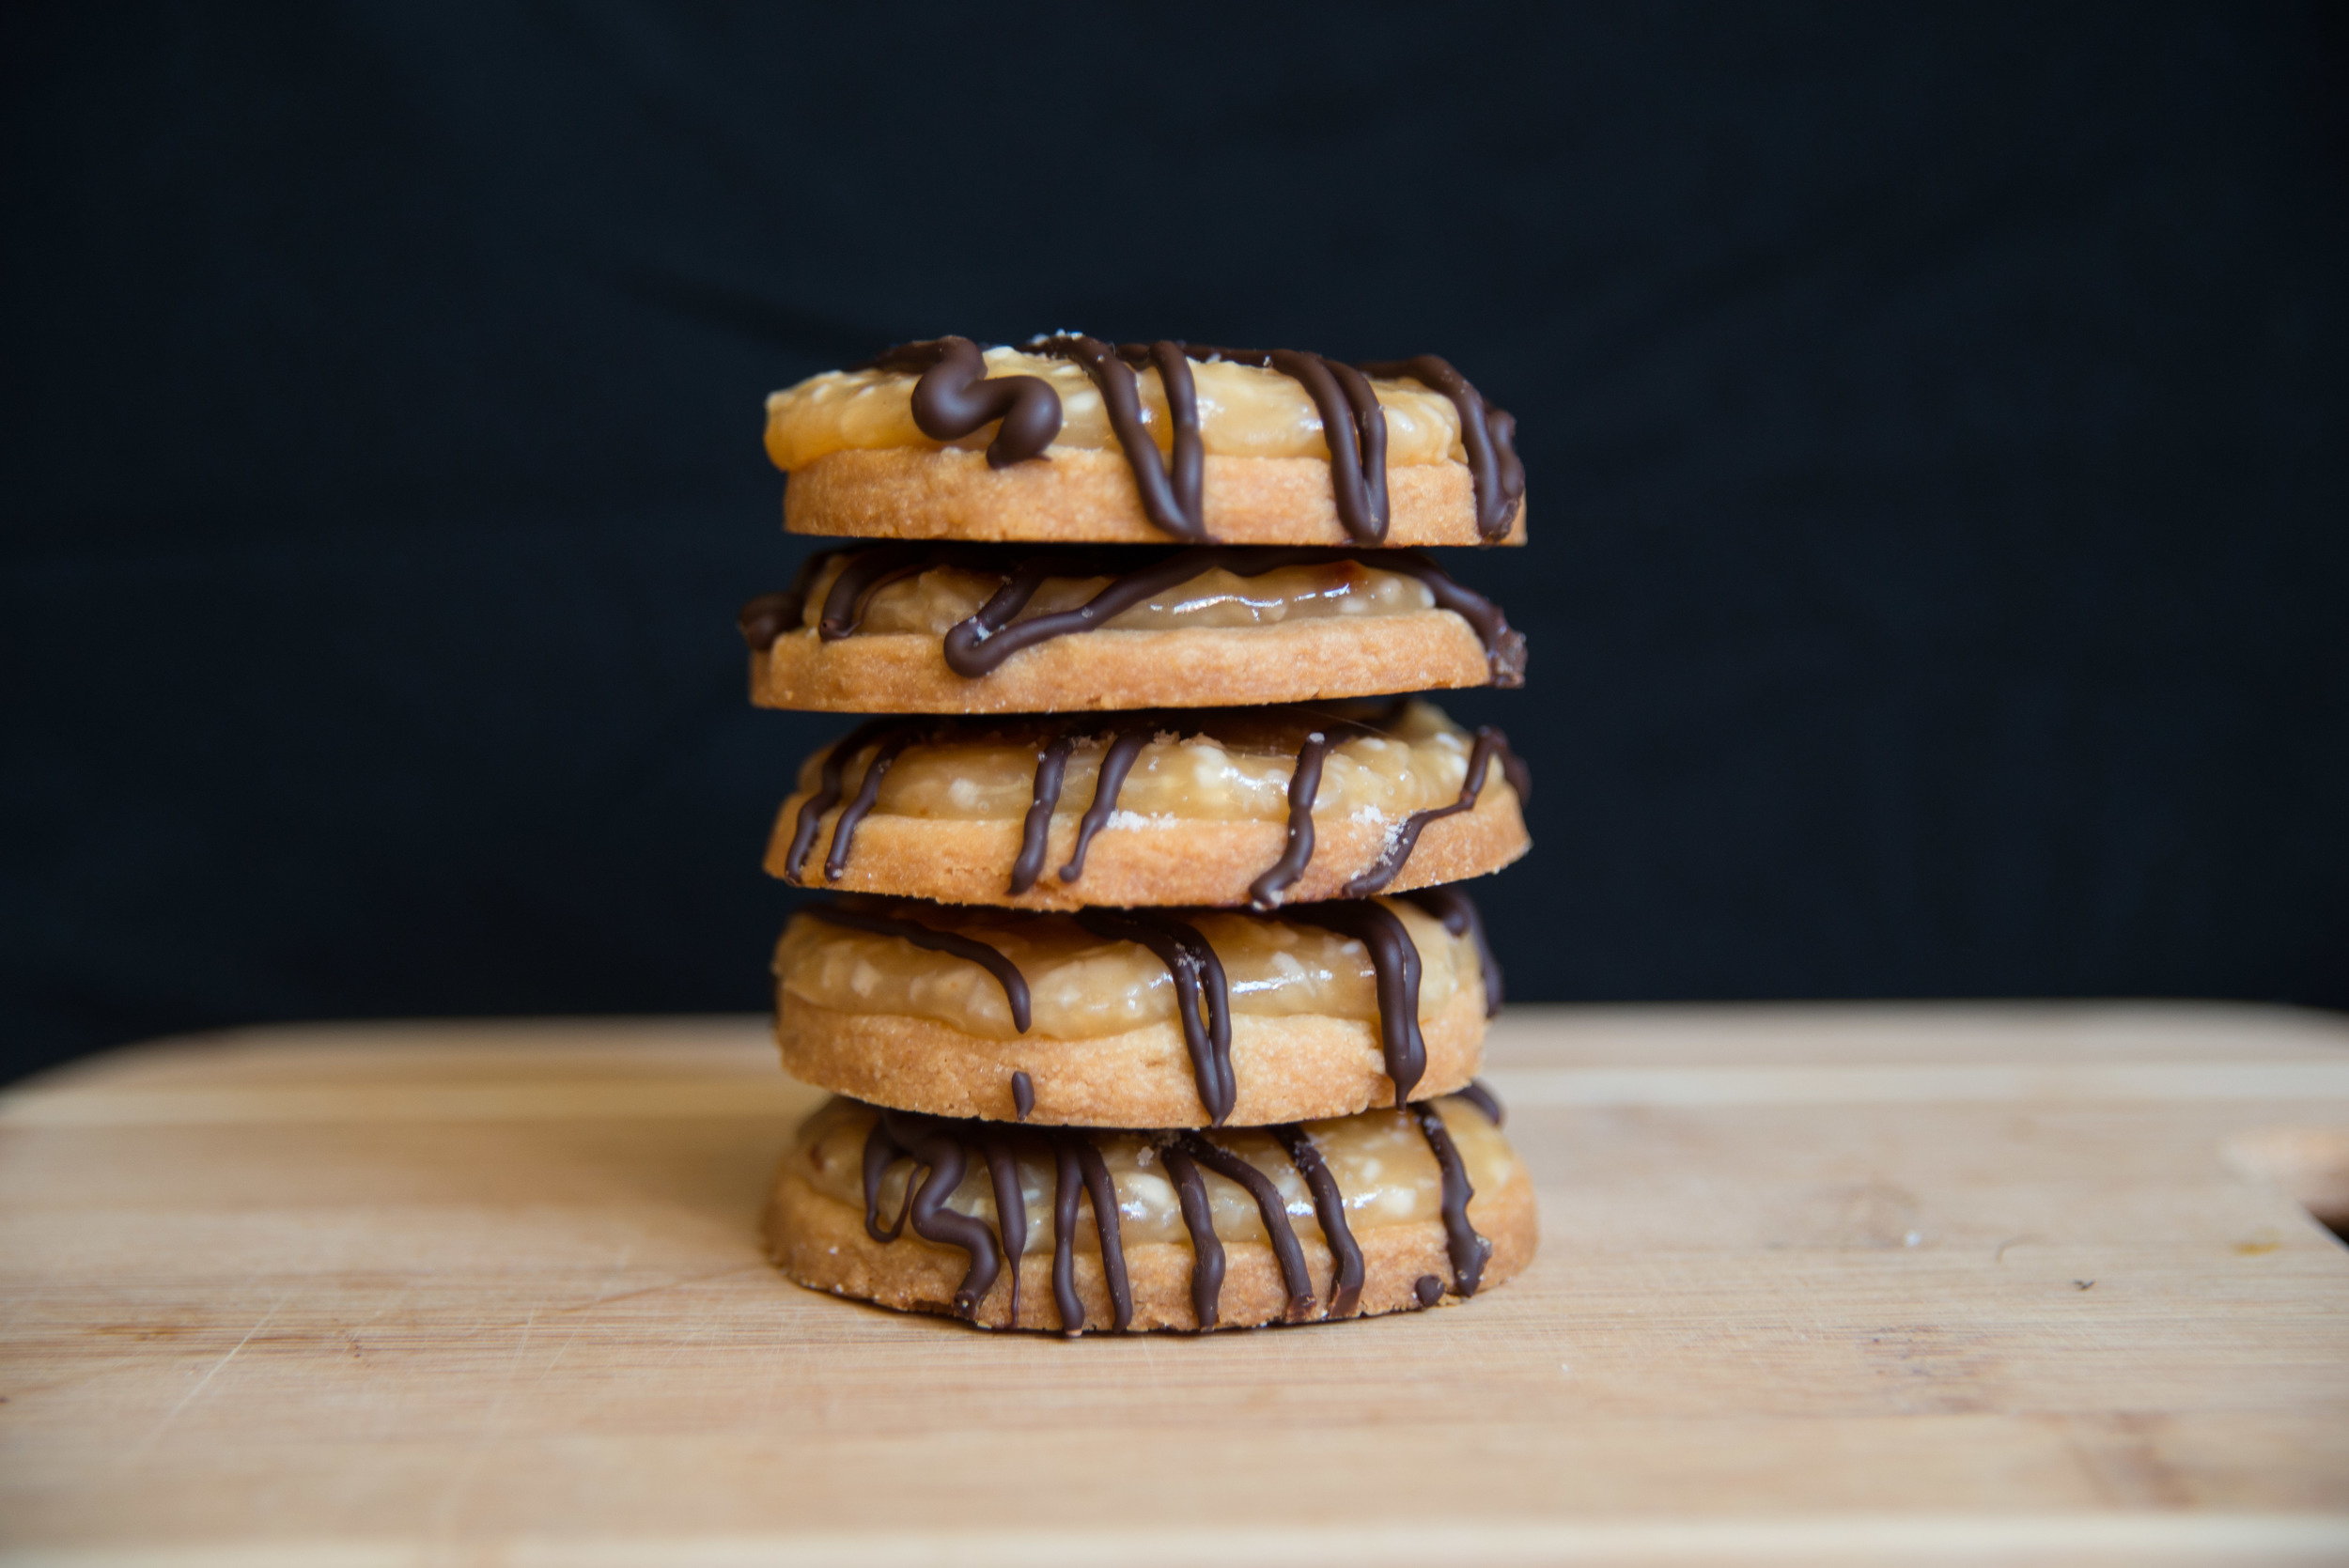
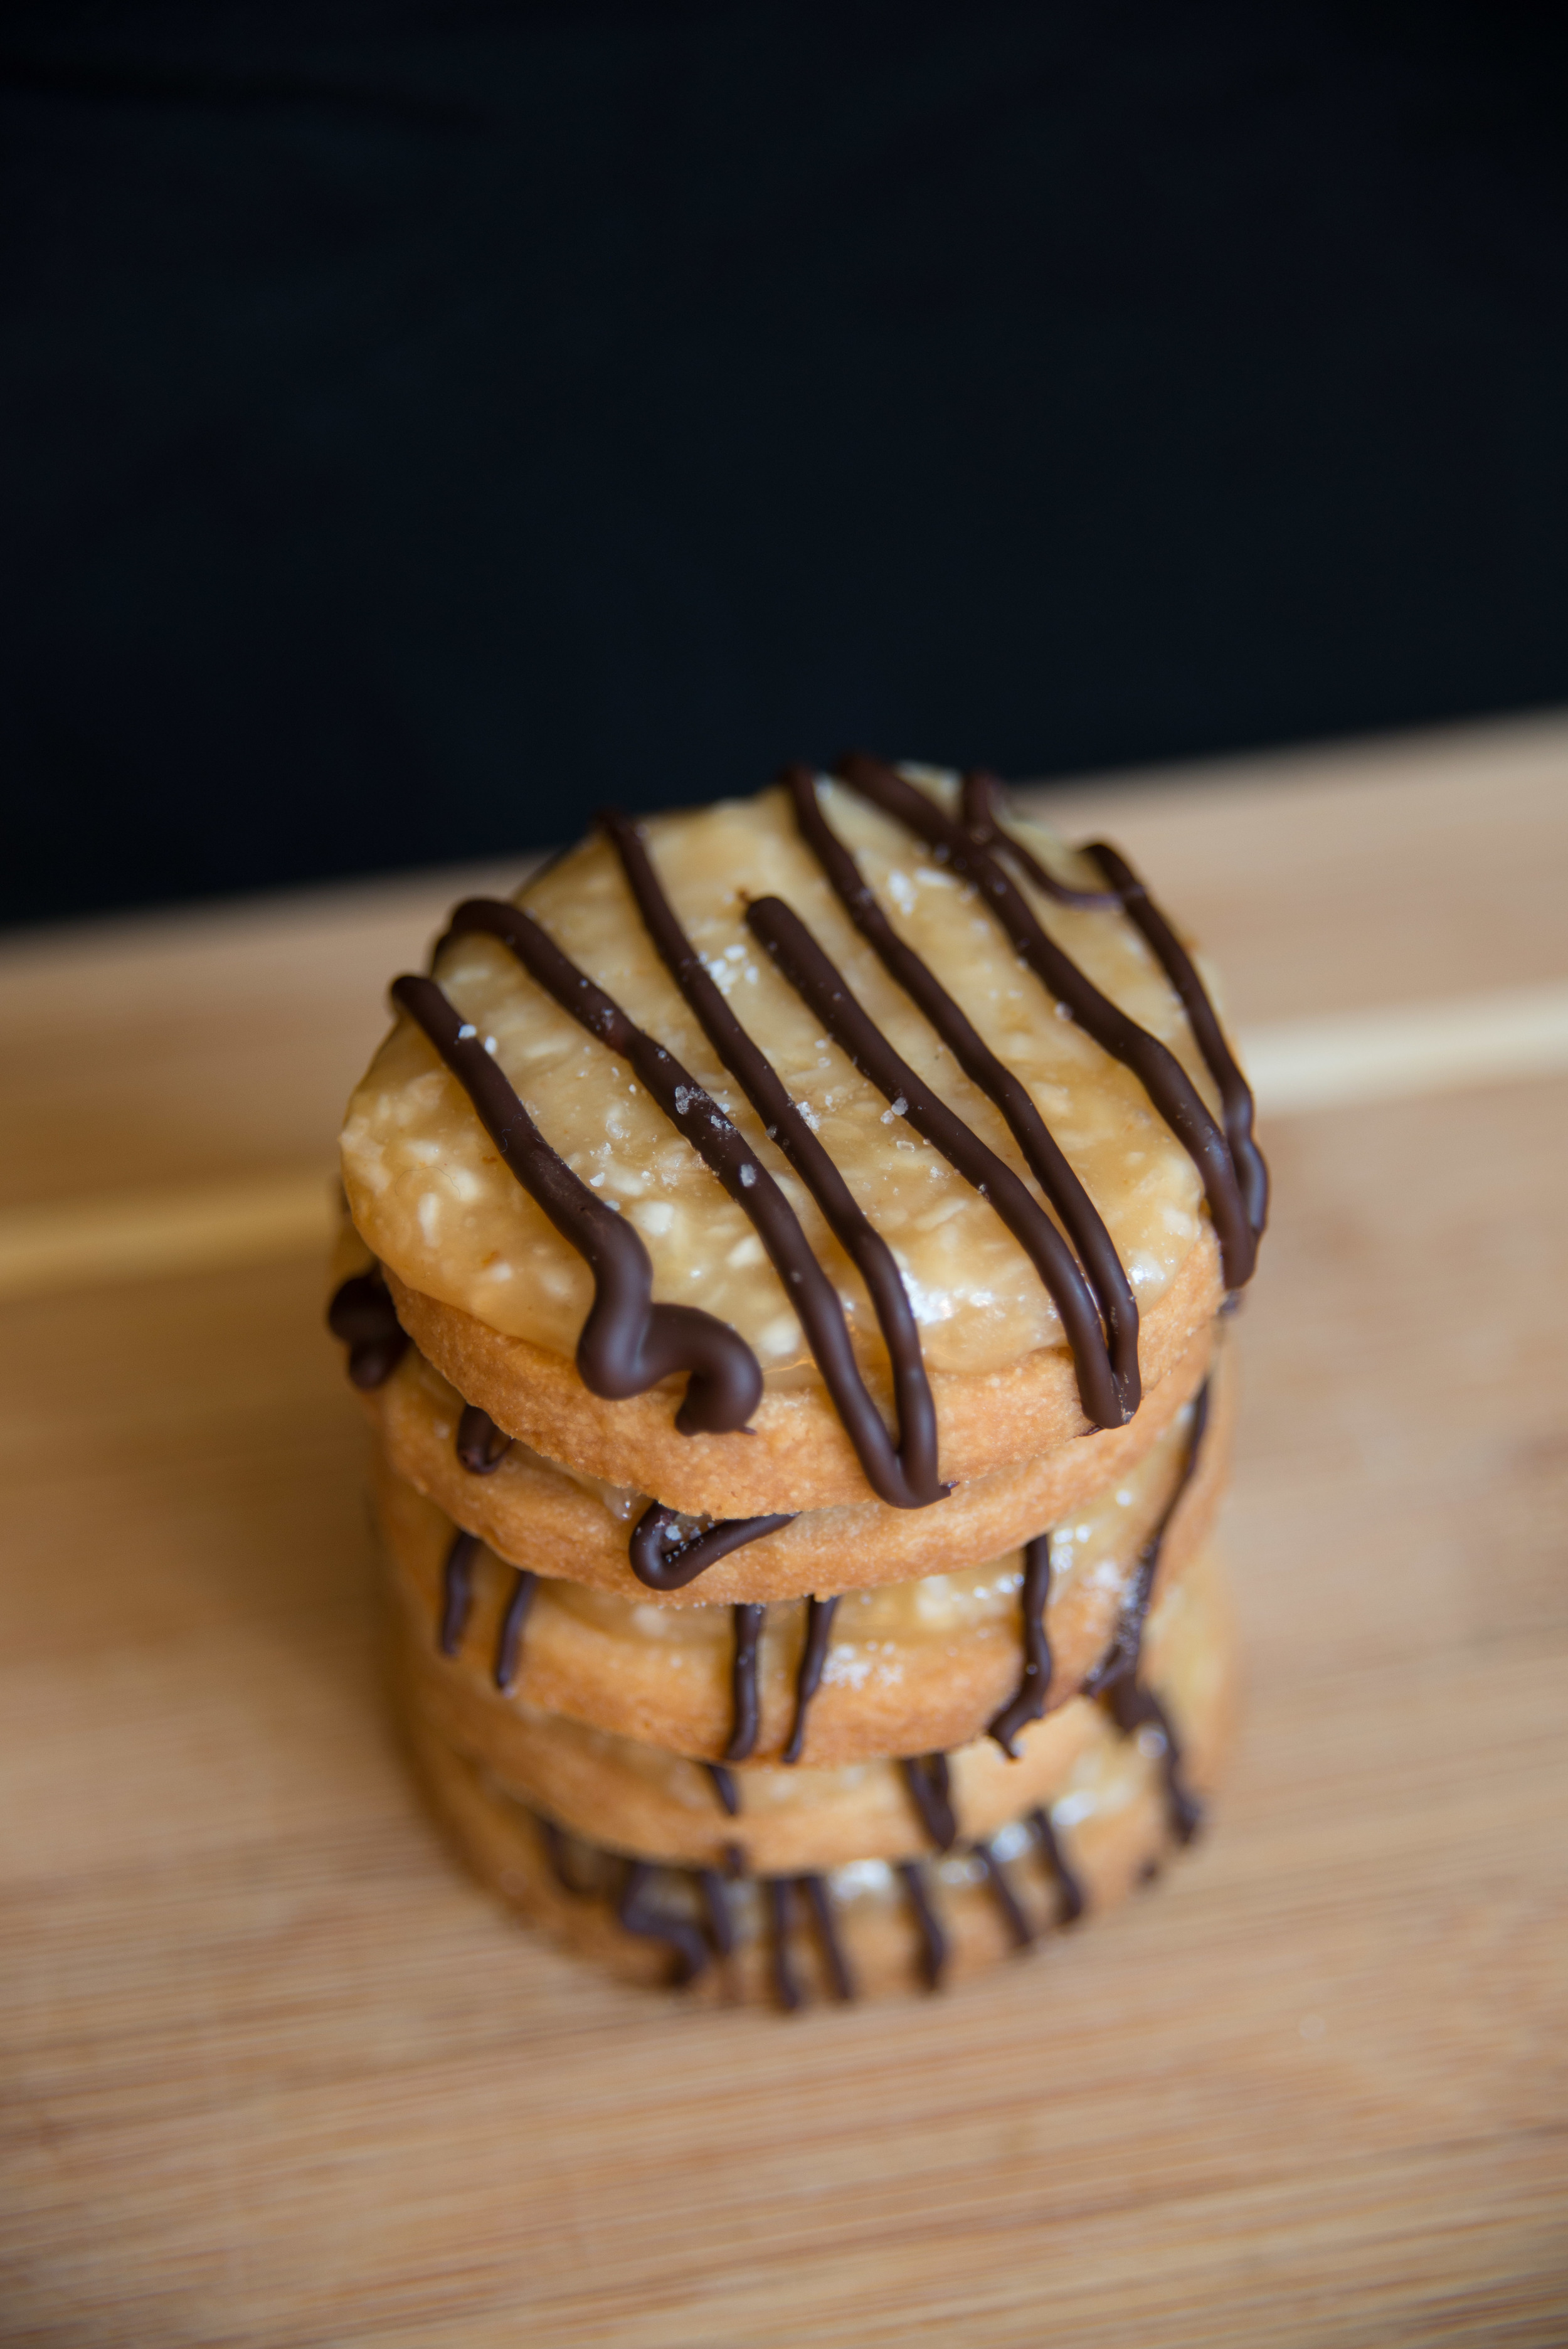
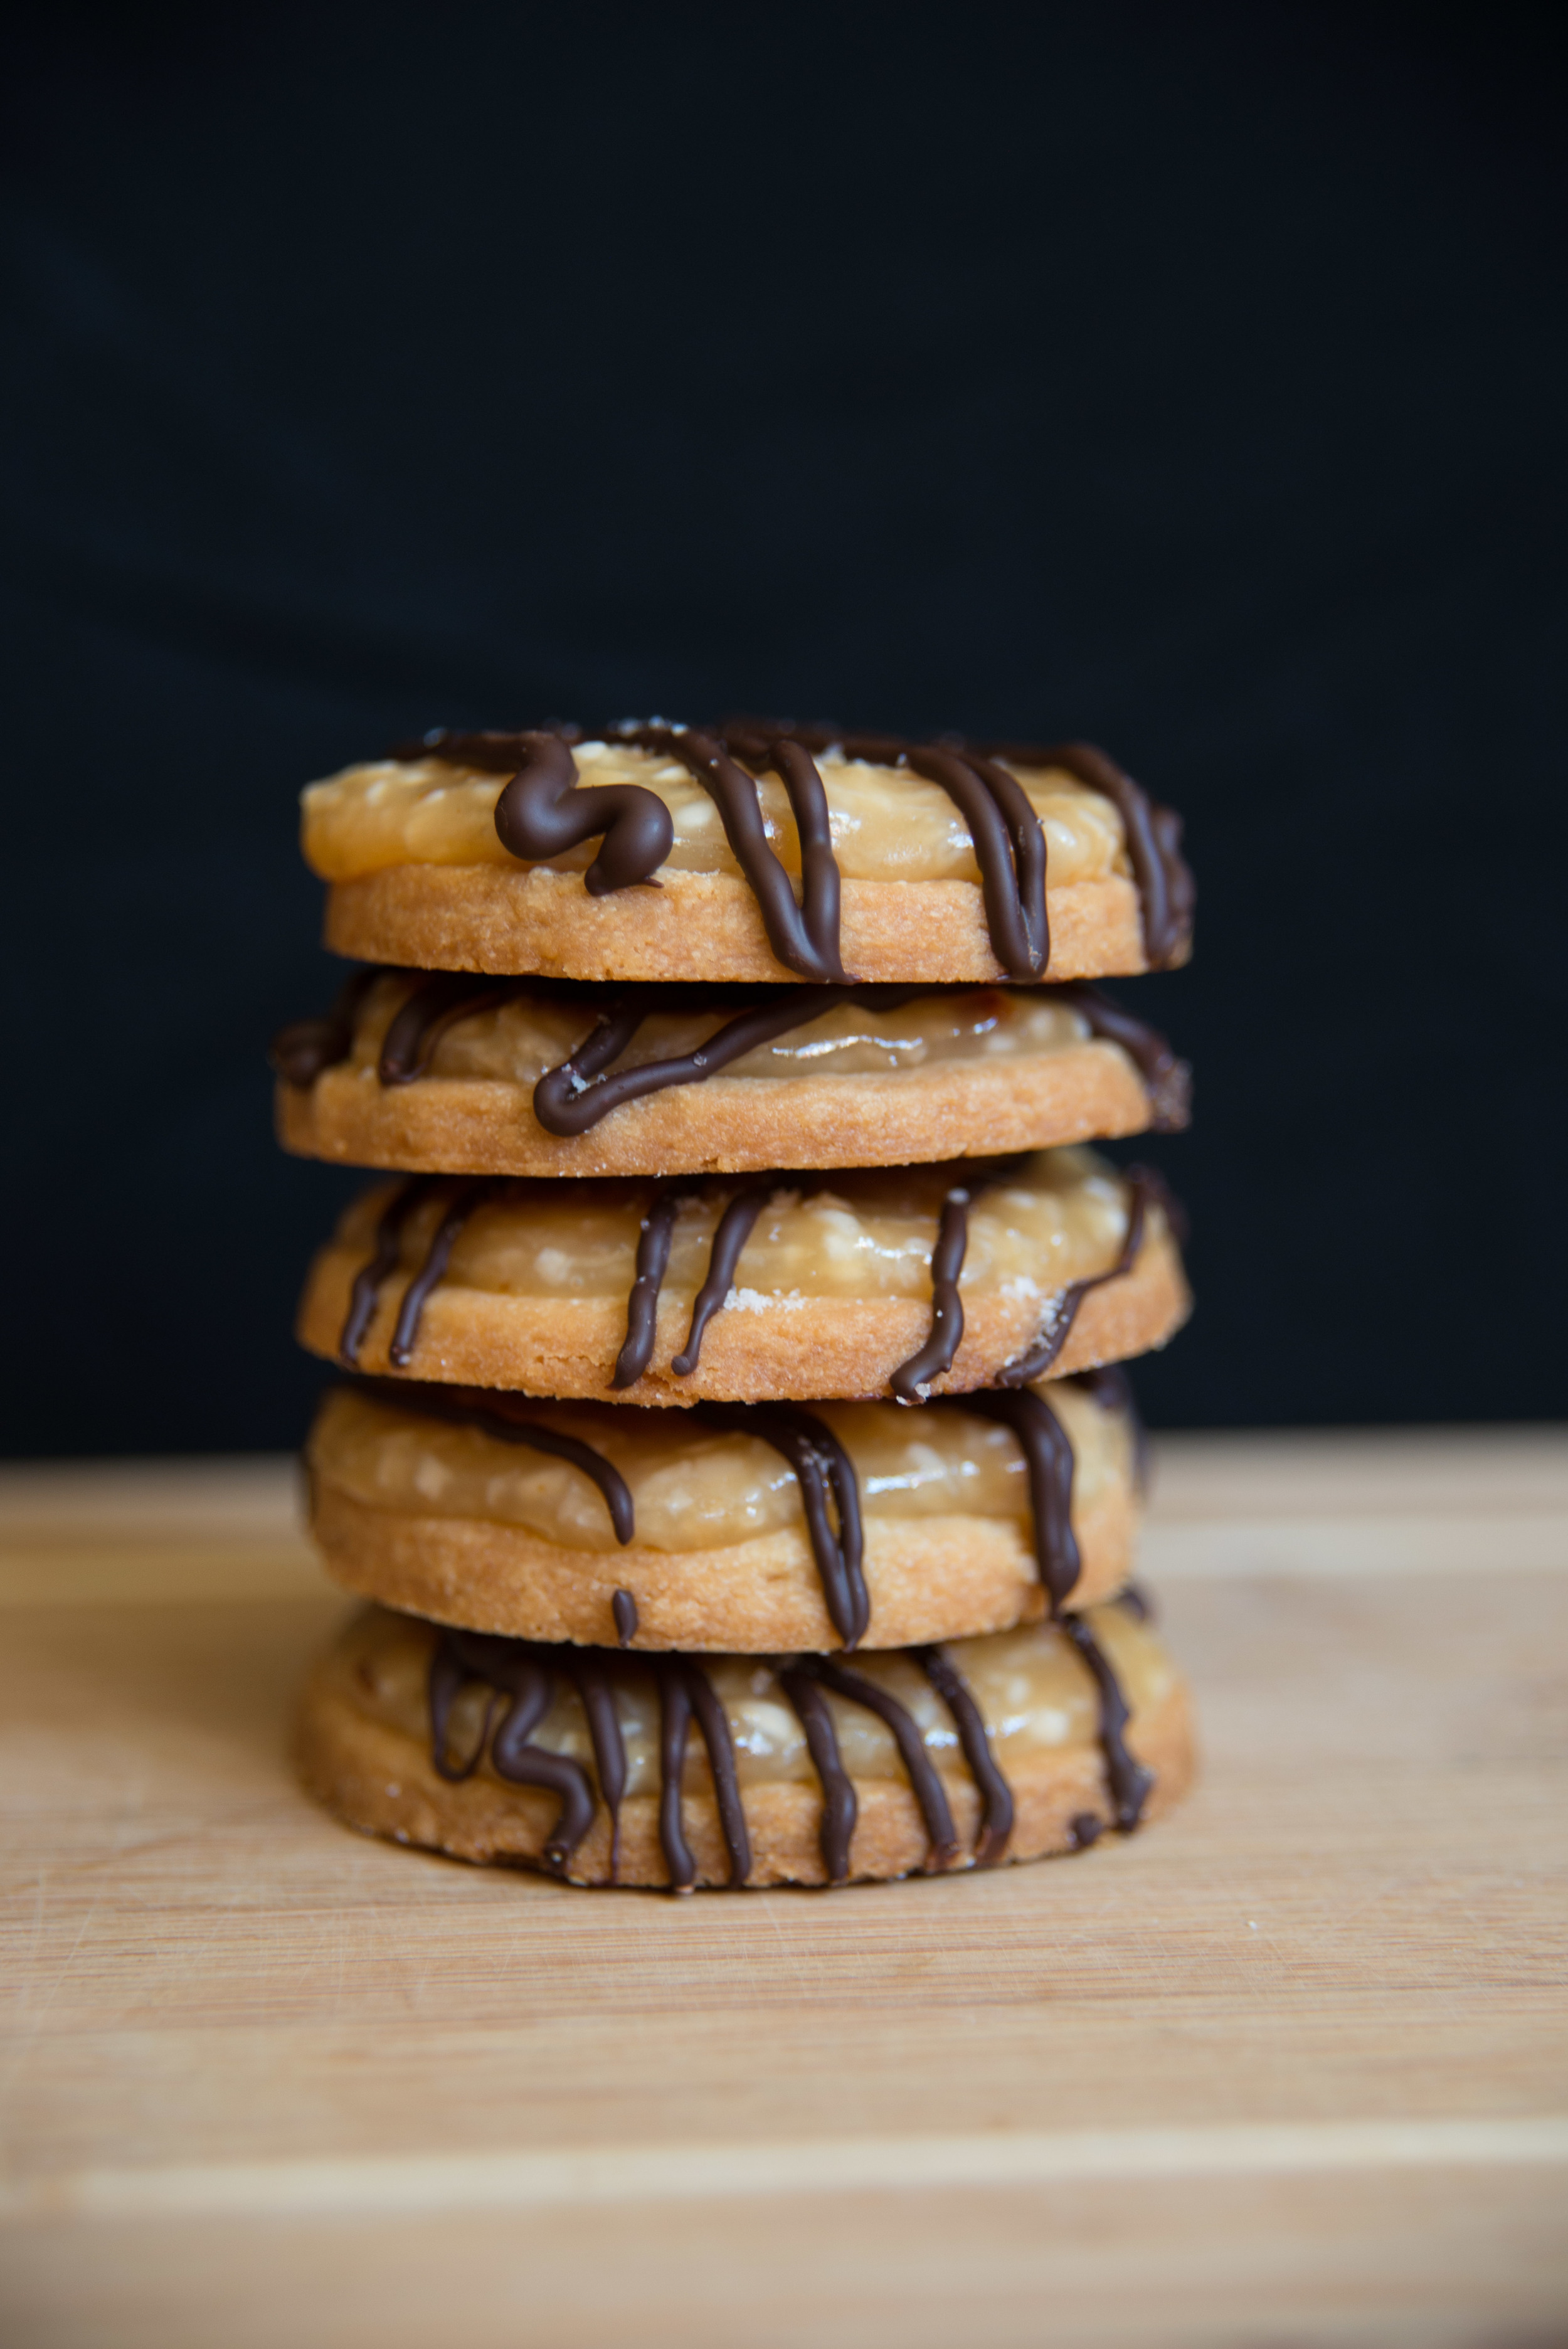
The process is actually quite simple. We make a classic shortbread cookie circle (if you're felling really crafty, cut a hole in the center of the cookies to mimic the originals... but that seemed like a lot of work for very little reward to me), then make a caramel packed with shredded coconut and spoon that on top of the cookies. Top it off with a drizzle of chocolate and a sprinkle of sea salt and you're all set!

So here we have the recipe, broken down into three separate sections so you don't feel too daunted by the task. Believe me, it's going to be worth it!
the shortbread cookies
3/4 cup powdered sugar
1 cup unsalted butter, softened
1 tsp vanilla
2 cups white flour
pinch of salt
- Using a stand mixer with the paddle attachment, an electric mixer, or a strong arm, cream together butter and powdered sugar until it reaches a nice fluffy texture. If my butter is fully softened, I usually run the stand mixer for two minutes or so, longer if i'm starting with butter that is still a little cold.
- Add the vanilla and mix until combined. Then add the flour and salt, and mix until just fully combined.
- Using your hands, reach into the bowl and clump the dough together. Move it to a lightly floured work surface, and roll the dough out to about 1/4in thick.
- Cut the dough into circles using a medium circular cookie cutter, a glass, or whatever you have on hand! You can make them whatever size you prefer.
- Place cookies on a baking sheet covered with parchment or a silicone baking mat. They'll only expand a little bit so you can put them pretty close together.
- Bake the cookies at 360 degrees for about 15 minutes, until the edges are just lightly golden.
- Cool completely on a wire rack.
The Coconut Caramel
Note: If you'd like to make these cookies but don't want to take on caramel making, you could melt down some purchased caramels and mix in the coconut.
1/2 cup heavy cream
2 Tbsp unsalted butter
3/4 cup cane sugar
2 Tbsp corn syrup
2 Tbsp water
1/2 tsp vanilla
1/2 tsp sea salt
1 cup unsweetened shredded coconut
- Melt the butter with the cream over medium heat. When the butter is fully melted, give it a good stir and set it aside.
- Combine the sugar, corn syrup, and water in a high sided saucepan of at least 2 quarts. Stir these ingredients together until fully combined into a thick granular paste. Using a wet pastry brush, rinse the sides of the pan to remove any stray grains of sugar. Without stirring, cook the sugar mixture over medium heat until it reaches 300 degrees.
- Whisk in the cream and butter, then slowly bring the caramel up to between 245 and 250 degrees. Remove from heat immediately.
- Whisk in vanilla and salt, then coconut.
- Allow the caramel to cool slightly, so that you can spoon it on top of the cookies without it spilling off the sides.
Cookie Assembly!
1 cup chocolate chips, melted in a double boiler
sea salt
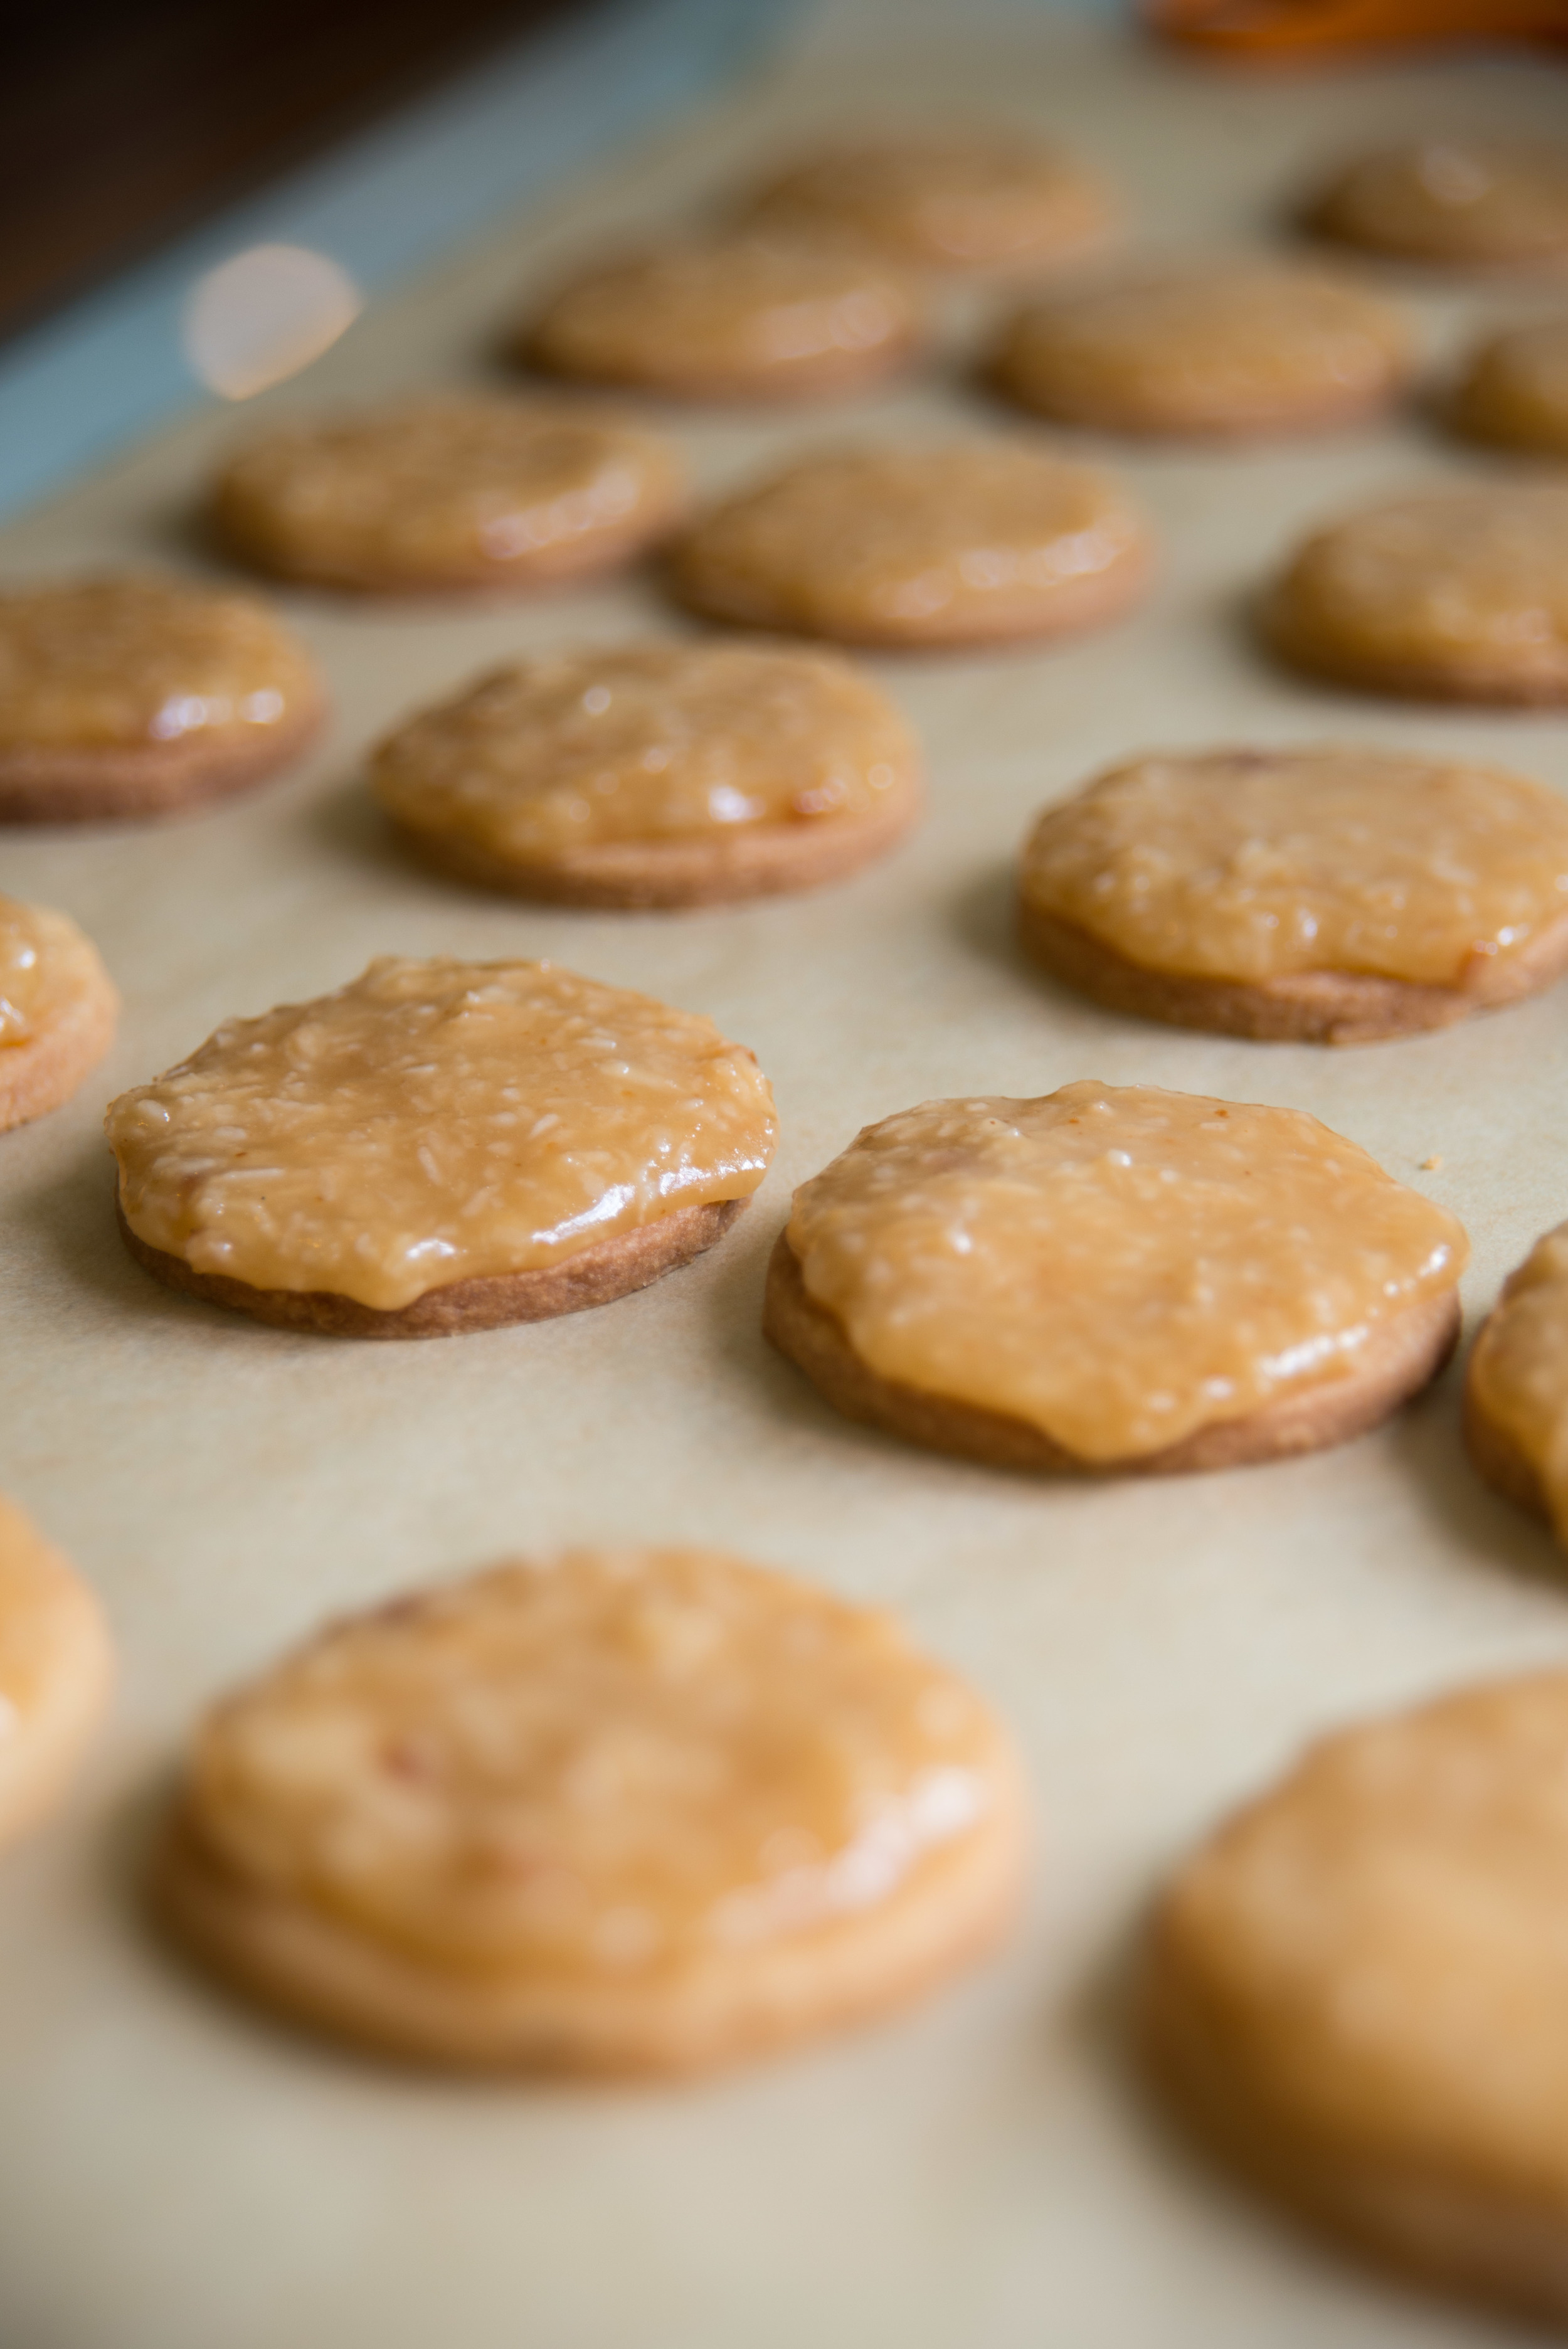
- When the caramel has cooled enough that it will still spoon easily, but won't spill off the sides of your cookies, top each cookie with a bit of caramel. Use a spoon to scoop it on top of each cookie and gently push it as close to the edges as you can, without pushing it over the edge.
- Let the caramel set while you melt the chocolate.
- If you want, dip the bottoms of the cookies in the melted chocolate to more precisely mimic those classic samoas.
- Use a fork, or a pastry bag fitted with a small round tip to drizzle the chocolate over the top of the cookies.
- Sprinkle the cookies with a small pinch of sea salt on each one.
- Cool the cookies in a cool spot in your home or in the fridge until the caramel is solid and the chocolate has hardened.
- Store the cookies in an airtight container, with parchment separating layers, in the fridge. These cookies keep well in the fridge for about a week, but good luck keeping them around for that long!