Viewing entries tagged
food photography

Pork Gyozas (Japanese potstickers)

Comment

Pork Gyozas (Japanese potstickers)

Just about every cuisine has some form of dumpling sitting near the center of what we consider comfort food. Indian cuisine has the samosa. Eastern Europe has the pierogi. Latin America has the empanada. Italy has ravioli. Japan has the gyoza, commonly known throughout Americanized Asian restaurants as the more generic potsticker. 

I can get behind all of these dough-wrapped delights, and slowly I'm learning to make each and every one of them from scratch at home. It's a labor of love to form each and every one of those little pockets - something often done with many hands - but my goodness is it worth it! 

While gyoza wrappers can be found in the freezer section of most Japanese markets, I wouldn't be honoring my inner self if I didn't take the time to make the wrappers from scratch. The recipe is simple, and doesn't take all that much time to bring together. I've even simplified it a little more by rolling out the dough in sheets, where many recipes I've seen call for each individual gyoza wrapper to be rolled individually... efficiency, friends! It makes all of our lives easier. 

But don't worry! I won't judge if you decide to just buy your wrappers at the store. We all have to honor our true selves, and that convenience is what many of us crave! 

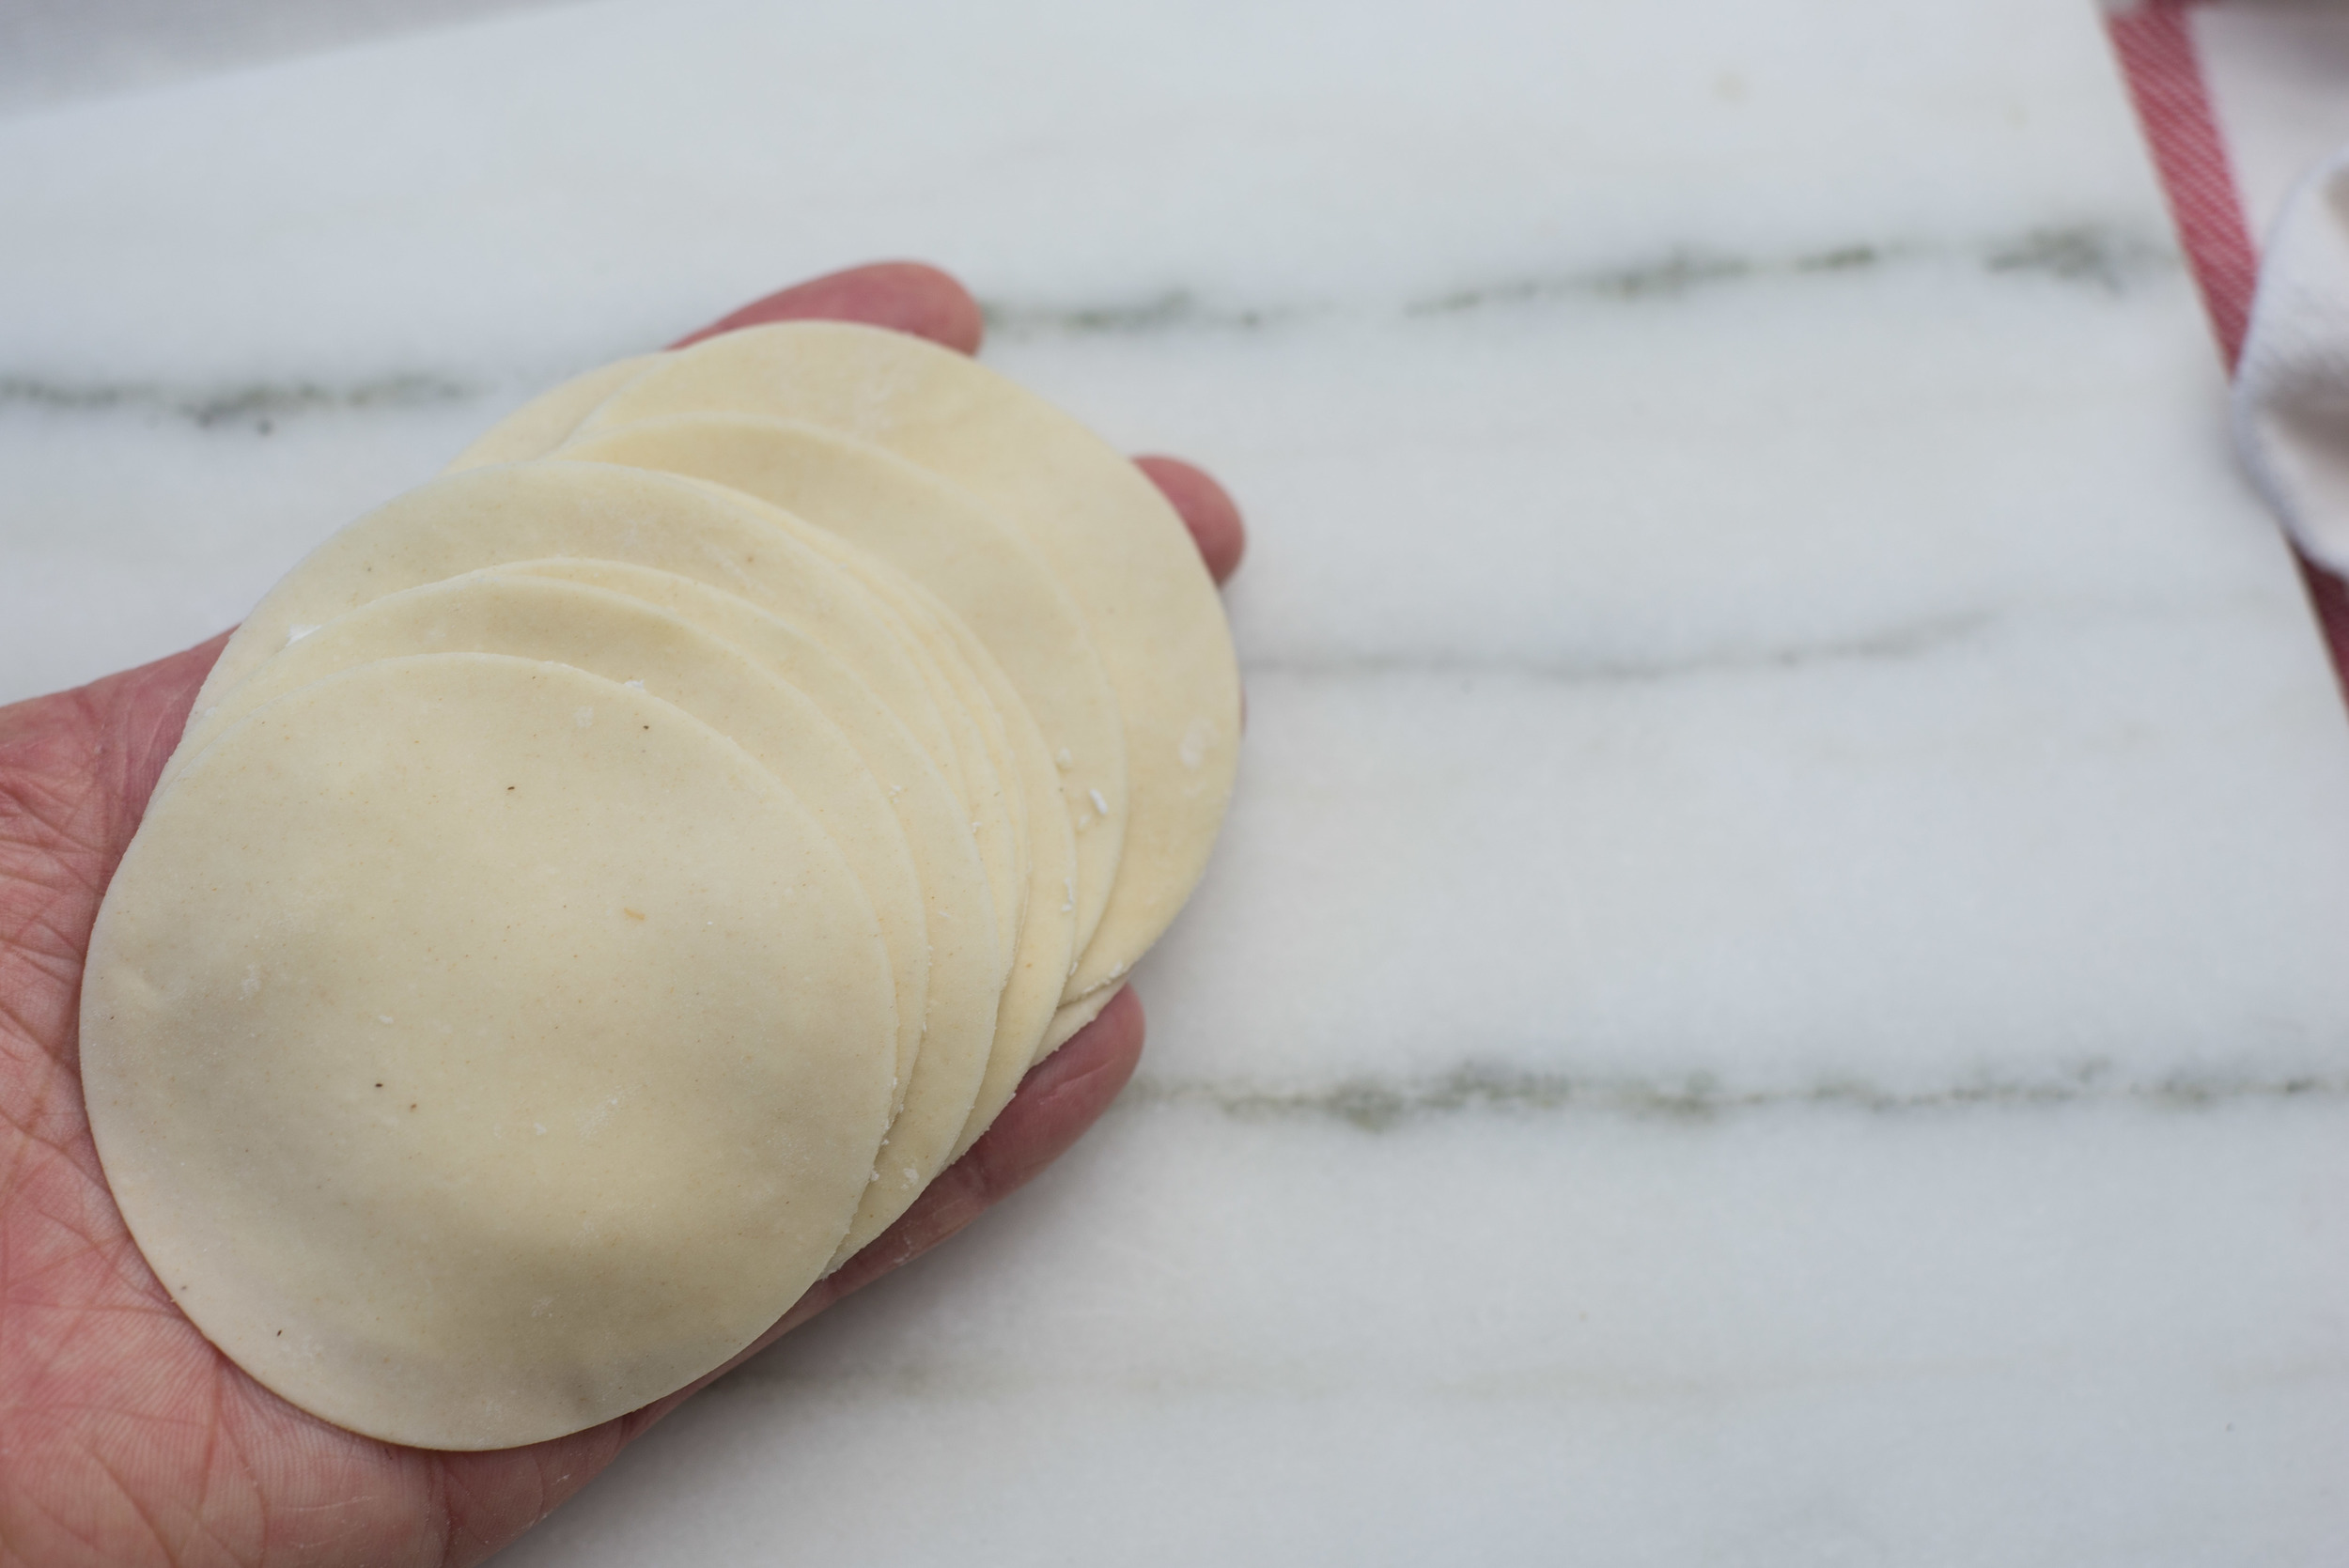
Here we have them! The wrappers start to stack up, ready to be filled with their flavor-packed filling. 

I chose to start by making a classic pork gyoza with cabbage, garlic chives or green garlic (if you're making these during the magical time of spring when it's available), and ginger. The flavor of these beauties is powerful, but pleasing in a way that they should be enjoyed by just about everyone! 

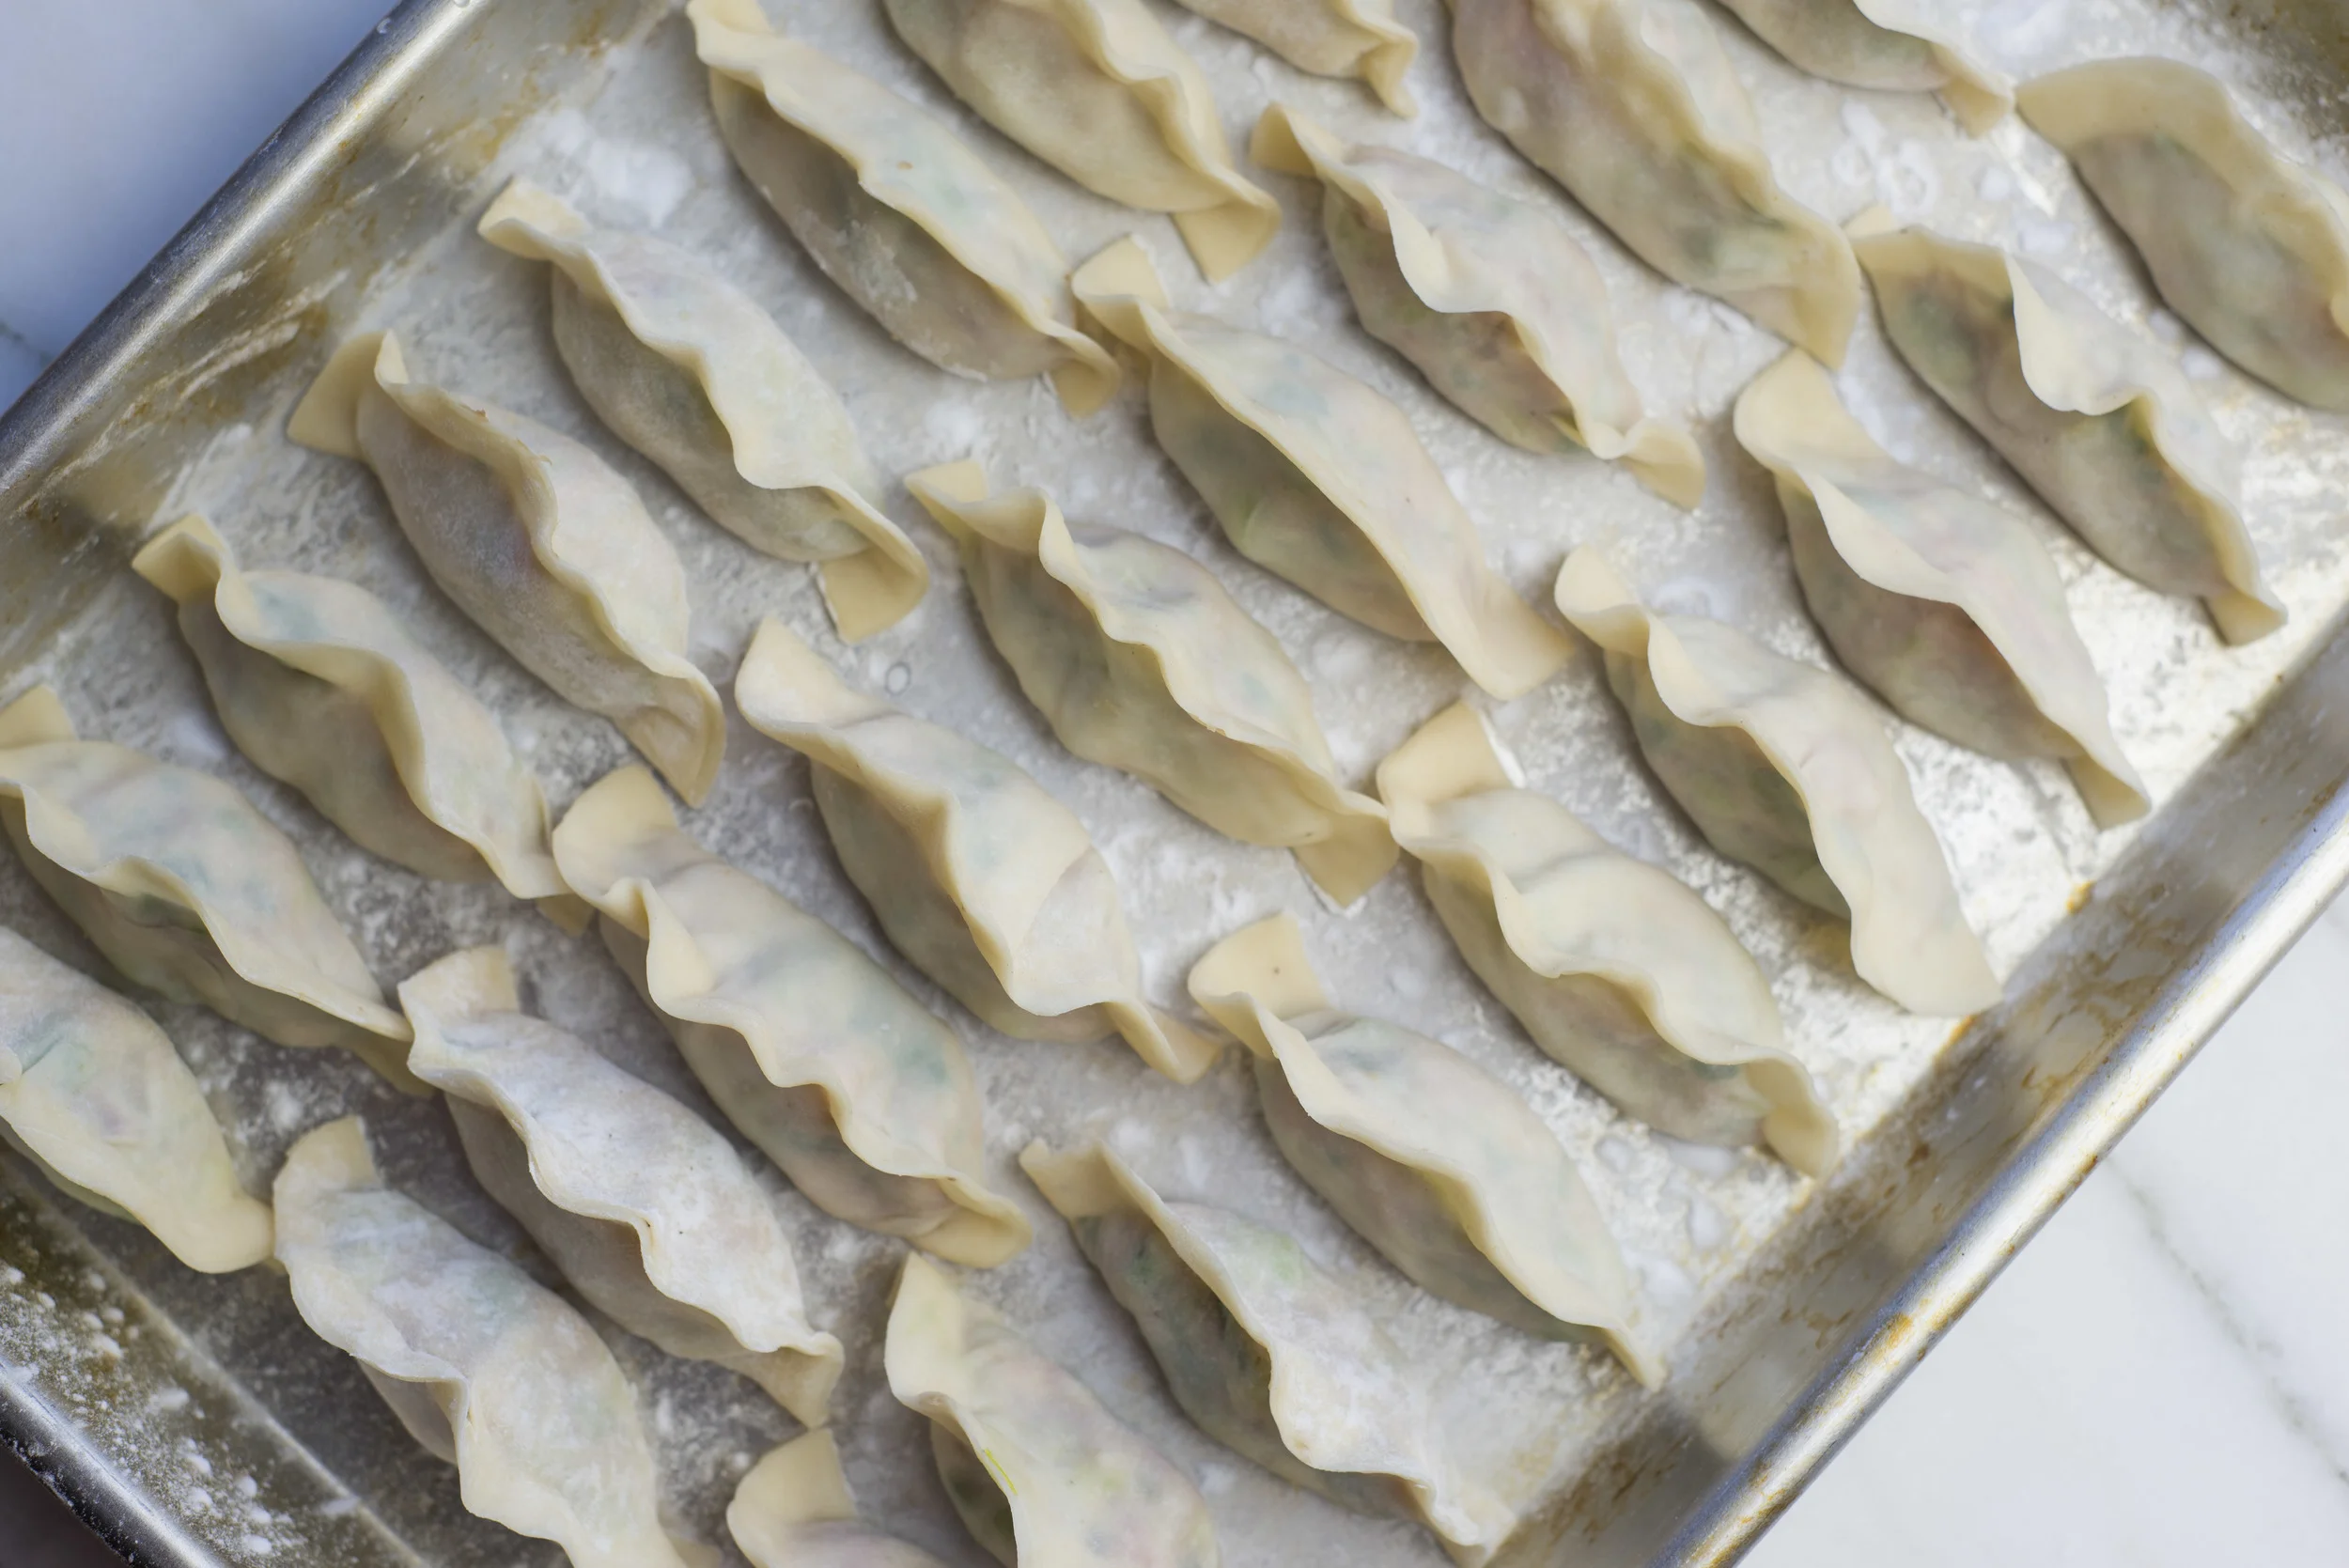
Like I mentioned, assembling any form of dumpling is a commitment to a long process. It's meditative in the best way as a solo-task, and a great way to connect and laugh together with friends or family when done with many hands around the table. 

As I see it, once you're putting the effort into forming gyozas at home, you might as well take the time to make a big batch! This recipe will make about 50 gyozas, enough to serve a large party or be saved for a quick snack or side dish in the future. You can very easily freeze the gyozas and cook them straight from the freezer. Believe me, your future self will thank you! 

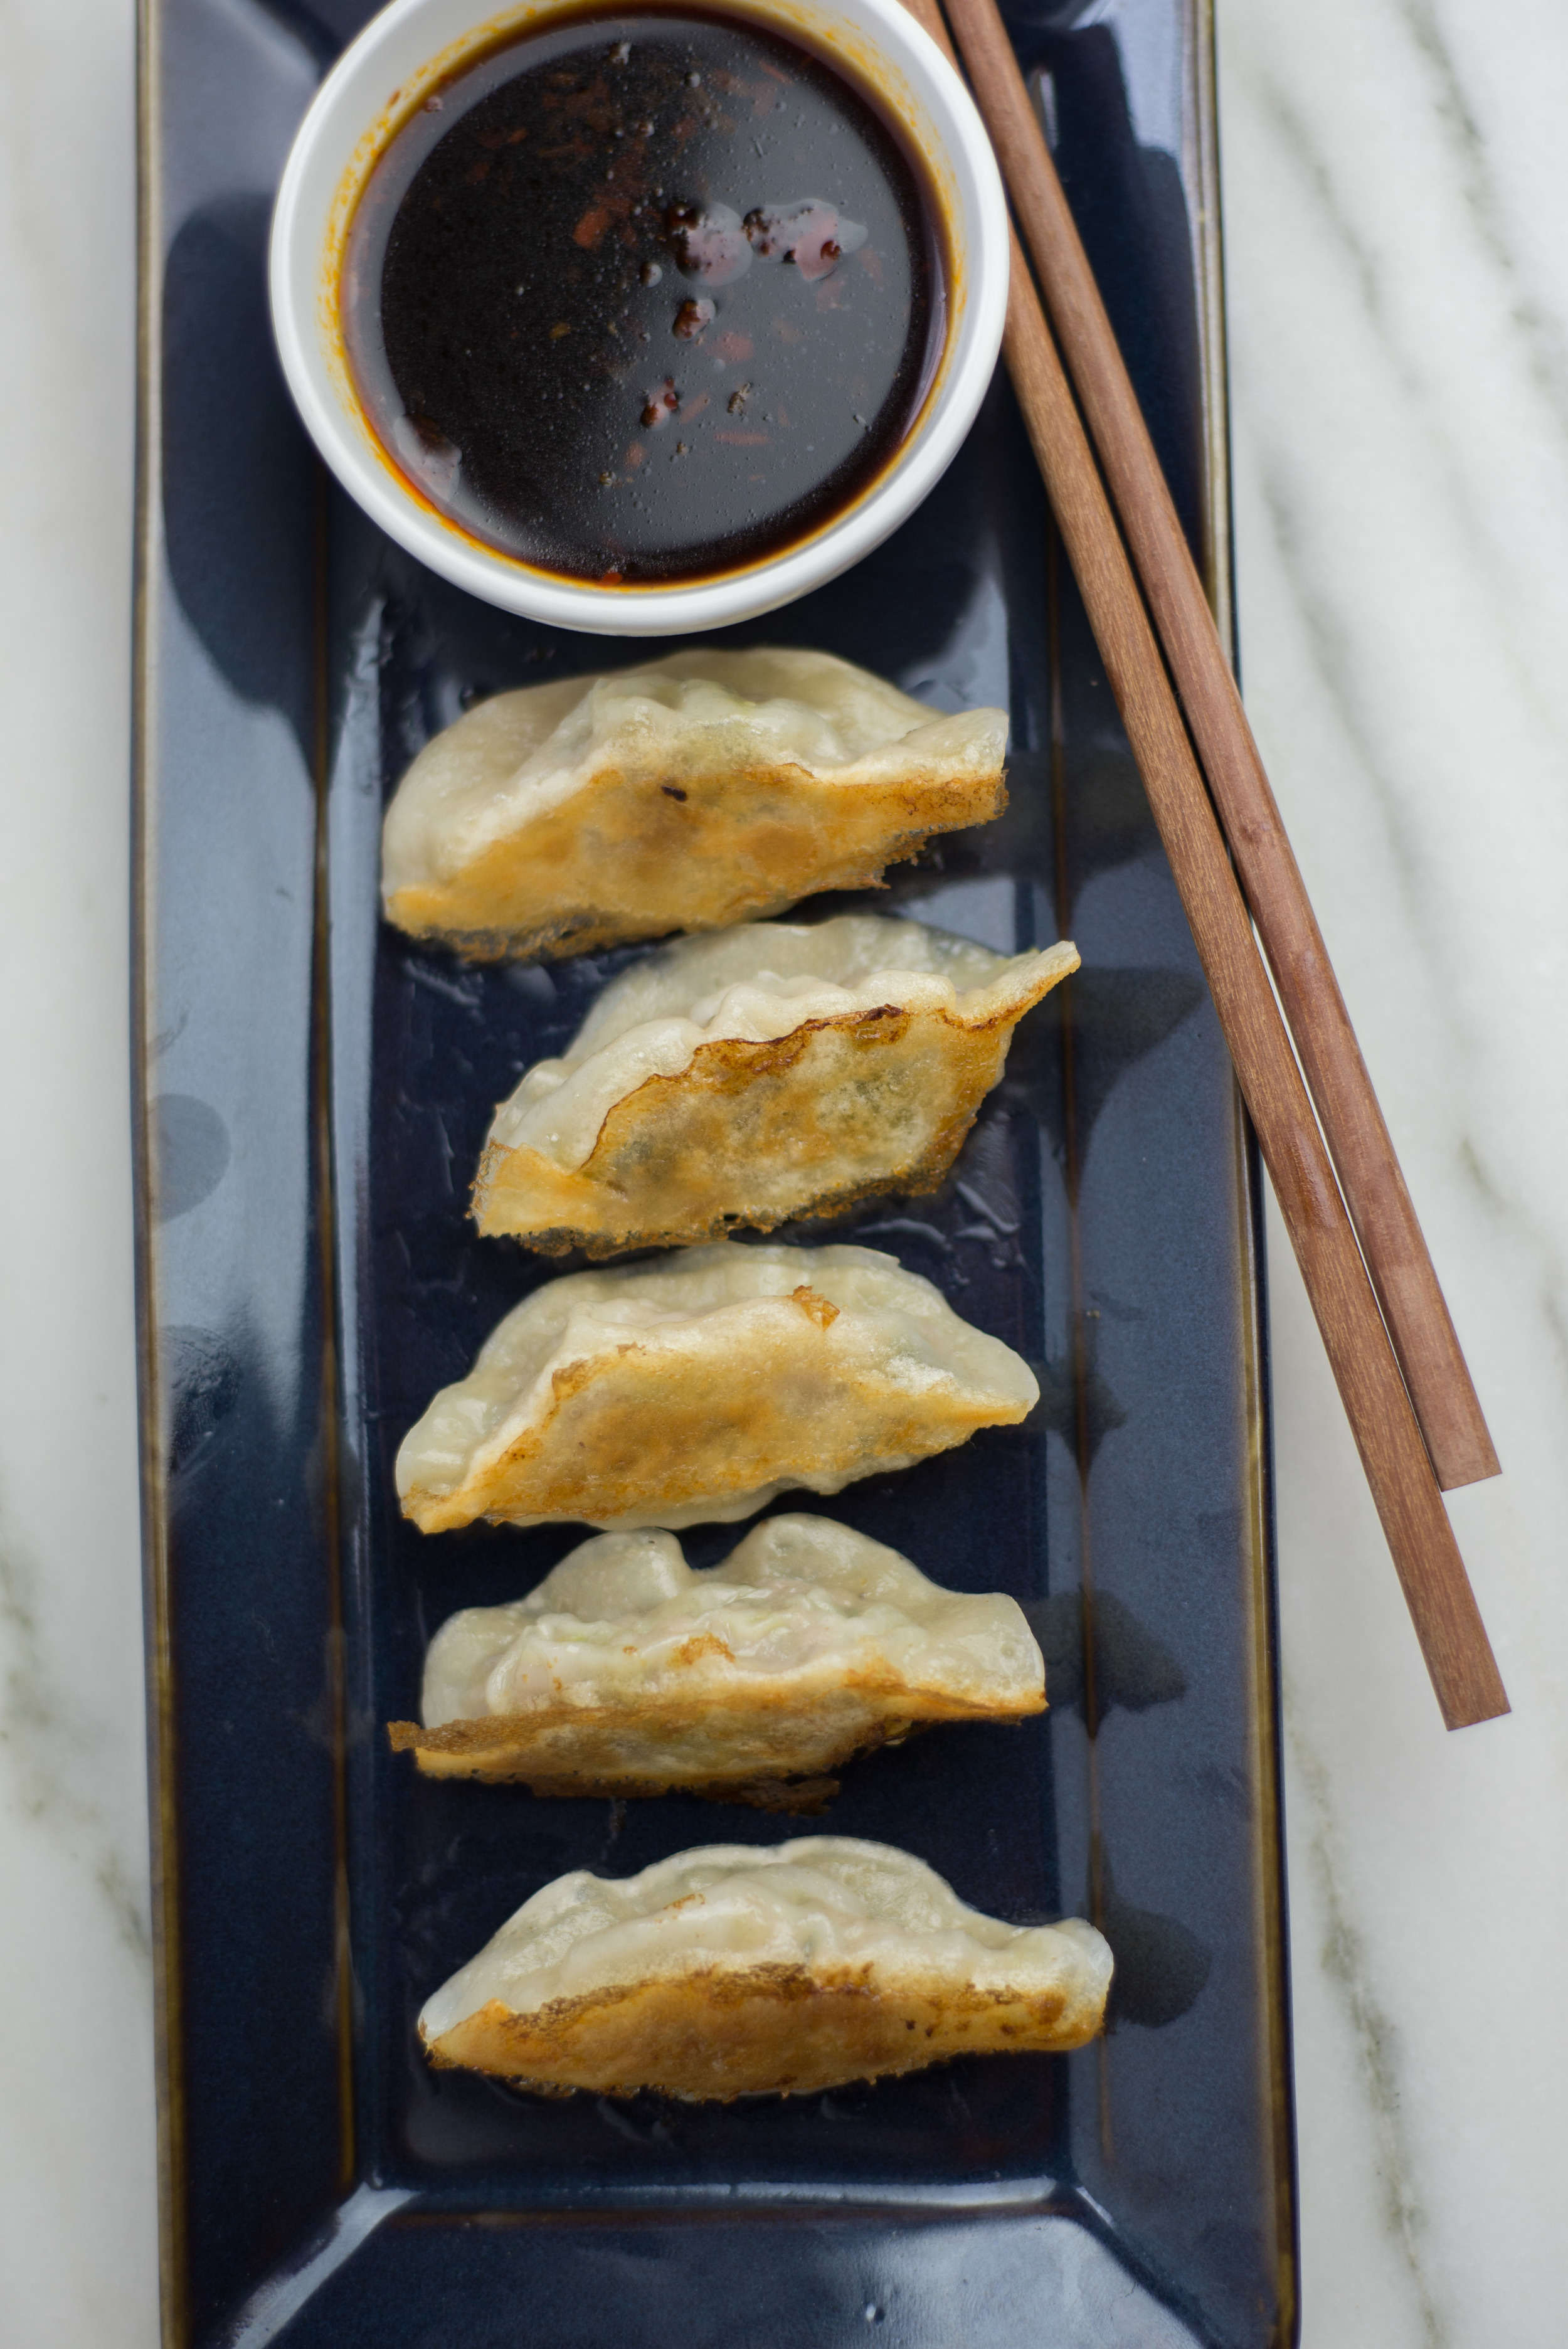
So here they are in all their ready-to-eat glory - crispy on the bottom, and ready to be gobbled right up! 

Homemade Gyoza Wrappers 

 from Just One Cookbook

Note: I know for many of you, making these at home will seem like a huge commitment. I love knowing that I made every part of what I'm eating from scratch, so am generally happy to put in the extra work. If this feels overwhelming and you live near a Japanese market, feel free to use store-bought wrappers! Having spent much of my life in places where ethnic shopping options are slim to nonexistent, having the recipes to make dishes like this from scratch is a life-saver! 

2 cups (240 grams) all purpose flour 

1/2 tsp salt 

1/2 cup boiling water 

potato starch for dusting 

  • Place flour into a medium bowl, sifting it as you put it in or giving it a good whisk to make sure it's nice and fluffy before you start. 
  • In a liquid measuring cup (or small bowl), whisk salt into boiling water until it has dissolved. 
  • Slowly add the water to the flour, stirring with a spatula or wooden spoon as you go. If needed, add additional boiling water in 1 tsp increments, until the dough comes together. You may need to use your hands partway through this process! 
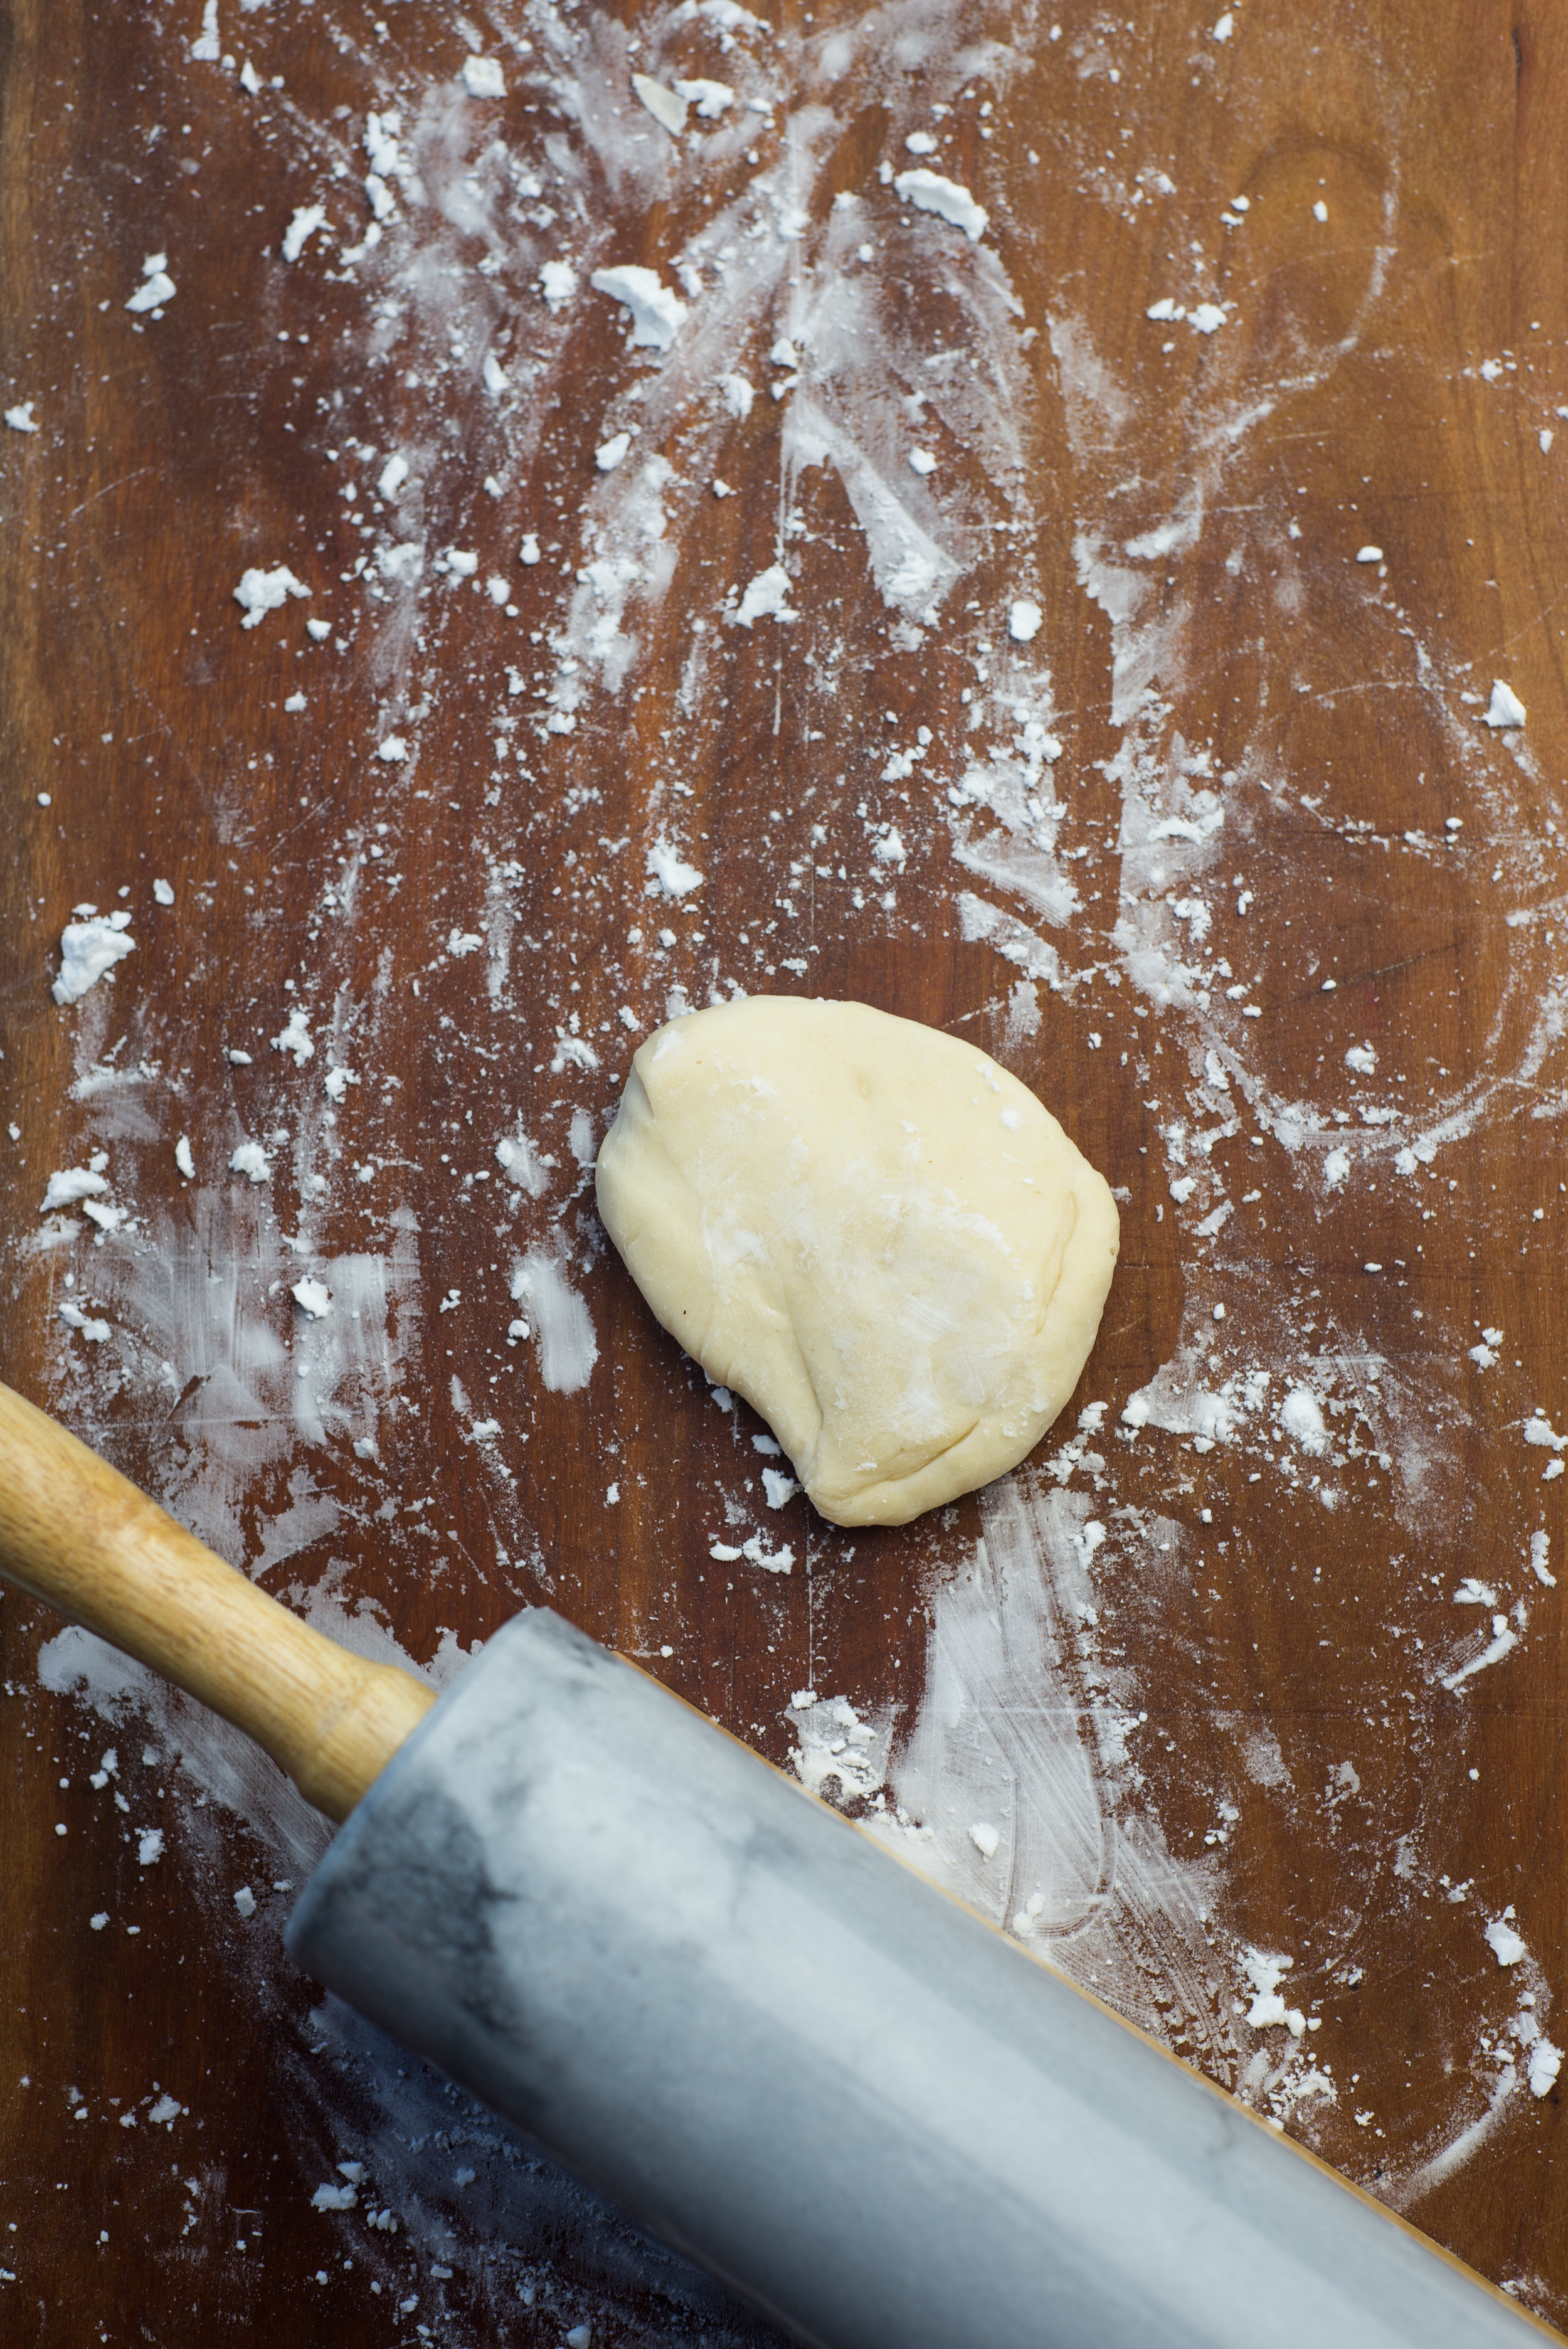
  • Transfer the ball of dough onto a clean work surface and knead for about ten minutes. The dough will be nice and smooth when you're finished. 
  • Divide the dough in half, wrap each half tightly in plastic wrap, and let rest for 30 minutes. 
  • After it's finished resting, start with one half of the dough. Cover your work surface with potato starch and roll the dough until it is just about as thin as you can get it. Use a 3 inch round biscuit cutter, cookie cutter, or glass to cut as many circles as you can. Stack the circles in a damp kitchen towel as you go to keep them from drying out. Squeeze together any extra dough and set it in the damp towel as well. 
  • Repeat this process with the second half of the dough, and then with all the scraps together. 

Gyoza Filling, Assembly, and Cooking 

filling recipe every so slightly adapted from Tadashi Ono's Japanese Soul Cooking

3 cups finely chopped napa cabbage (you can also use green or savoy cabbage) 

1/2 tsp salt 

1 cup garlic chives or green garlic, finely chopped

2 small cloves garlic, minced (if you use green garlic, I would omit this!) 

1 Tbsp grated fresh ginger 

2/3 lb ground pork 

2 tsp soy sauce 

4 Tbsp toasted sesame oil 

1/2 tsp freshly ground black pepper 

1/2 tsp salt 

2 tsp sugar 

3 Tbsp potato starch, divided (plus extra for dusting) 

  • Start by putting the cabbage in a large bowl, and mixing in the salt. Let this mixture sit for about 15 minutes at room temperature. Transfer the cabbage to a large clean kitchen towel, or nut milk bag and wring it out with all your might! You want to remove as much liquid as you possibly can from the cabbage. 
  • Place the cabbage back in the large bowl, and add the rest of the ingredients, reserving 1 Tbsp of the potato starch. 
  • Using your hands, toss all of the ingredients together mixing until they are evenly distributed. Mash the mixture together between your fingers for a few minutes until it holds together enough to be spooned into the dumplings. 
  • Mix the remaining 1 Tbsp potato starch with 3 Tbsp of warm water in a small dish. This will act as your glue to close the dumplings. 
  • Hold one of the wrappers in your hand, then dip a finger into your potato starch mixture and wet the entire edge of the wrapper with the liquid.  Place about 1 Tbsp of filling in the center of the wrapper, then fold it in half, squeezing together the wrapper to seal it up. 
  • Place finished gyozas on a plate that has been lightly dusted with potato starch. Any that you're not planning to eat right away, freeze on a baking sheet then toss into a freezer bag. Fast and easy gyozas for busy nights in the future! 
  • Now, for cooking the gyozas. Heat a pan big enough to fit however many you would like to cook over high heat for about 5 minutes. You want it to be fully heated! I recommend using a non-stick pan if you have one (or a cast iron skillet). Add about 1 Tbsp of sesame oil to the pan and spread it around. Place the gyozas into the pan with the seam side up and let them cook for about 30 seconds, then add 2/3 cup water and quickly cover the pan. Let them cook for about 4 minutes (8 minutes if you're cooking them from frozen). At this time, most of the water should have cooked off. Remove the lid and cook for 1 additional minute. Carefully scoop them up and onto the plates! 
  • If you're a fan of Hane, the crispy skin often found on Japanese gyozas connecting them all together, add 1 1/2 Tbsp of flour to the 2/3 cup water before adding it to the pan. I have a horribly uneven stove, so the liquid pools over on one side of the pan. This makes the hane cook unevenly, and it really just won't happen well. My biggest suggestion if you decide to cook the hane is to use a non-stick pan. It'll make your life much much easier. 
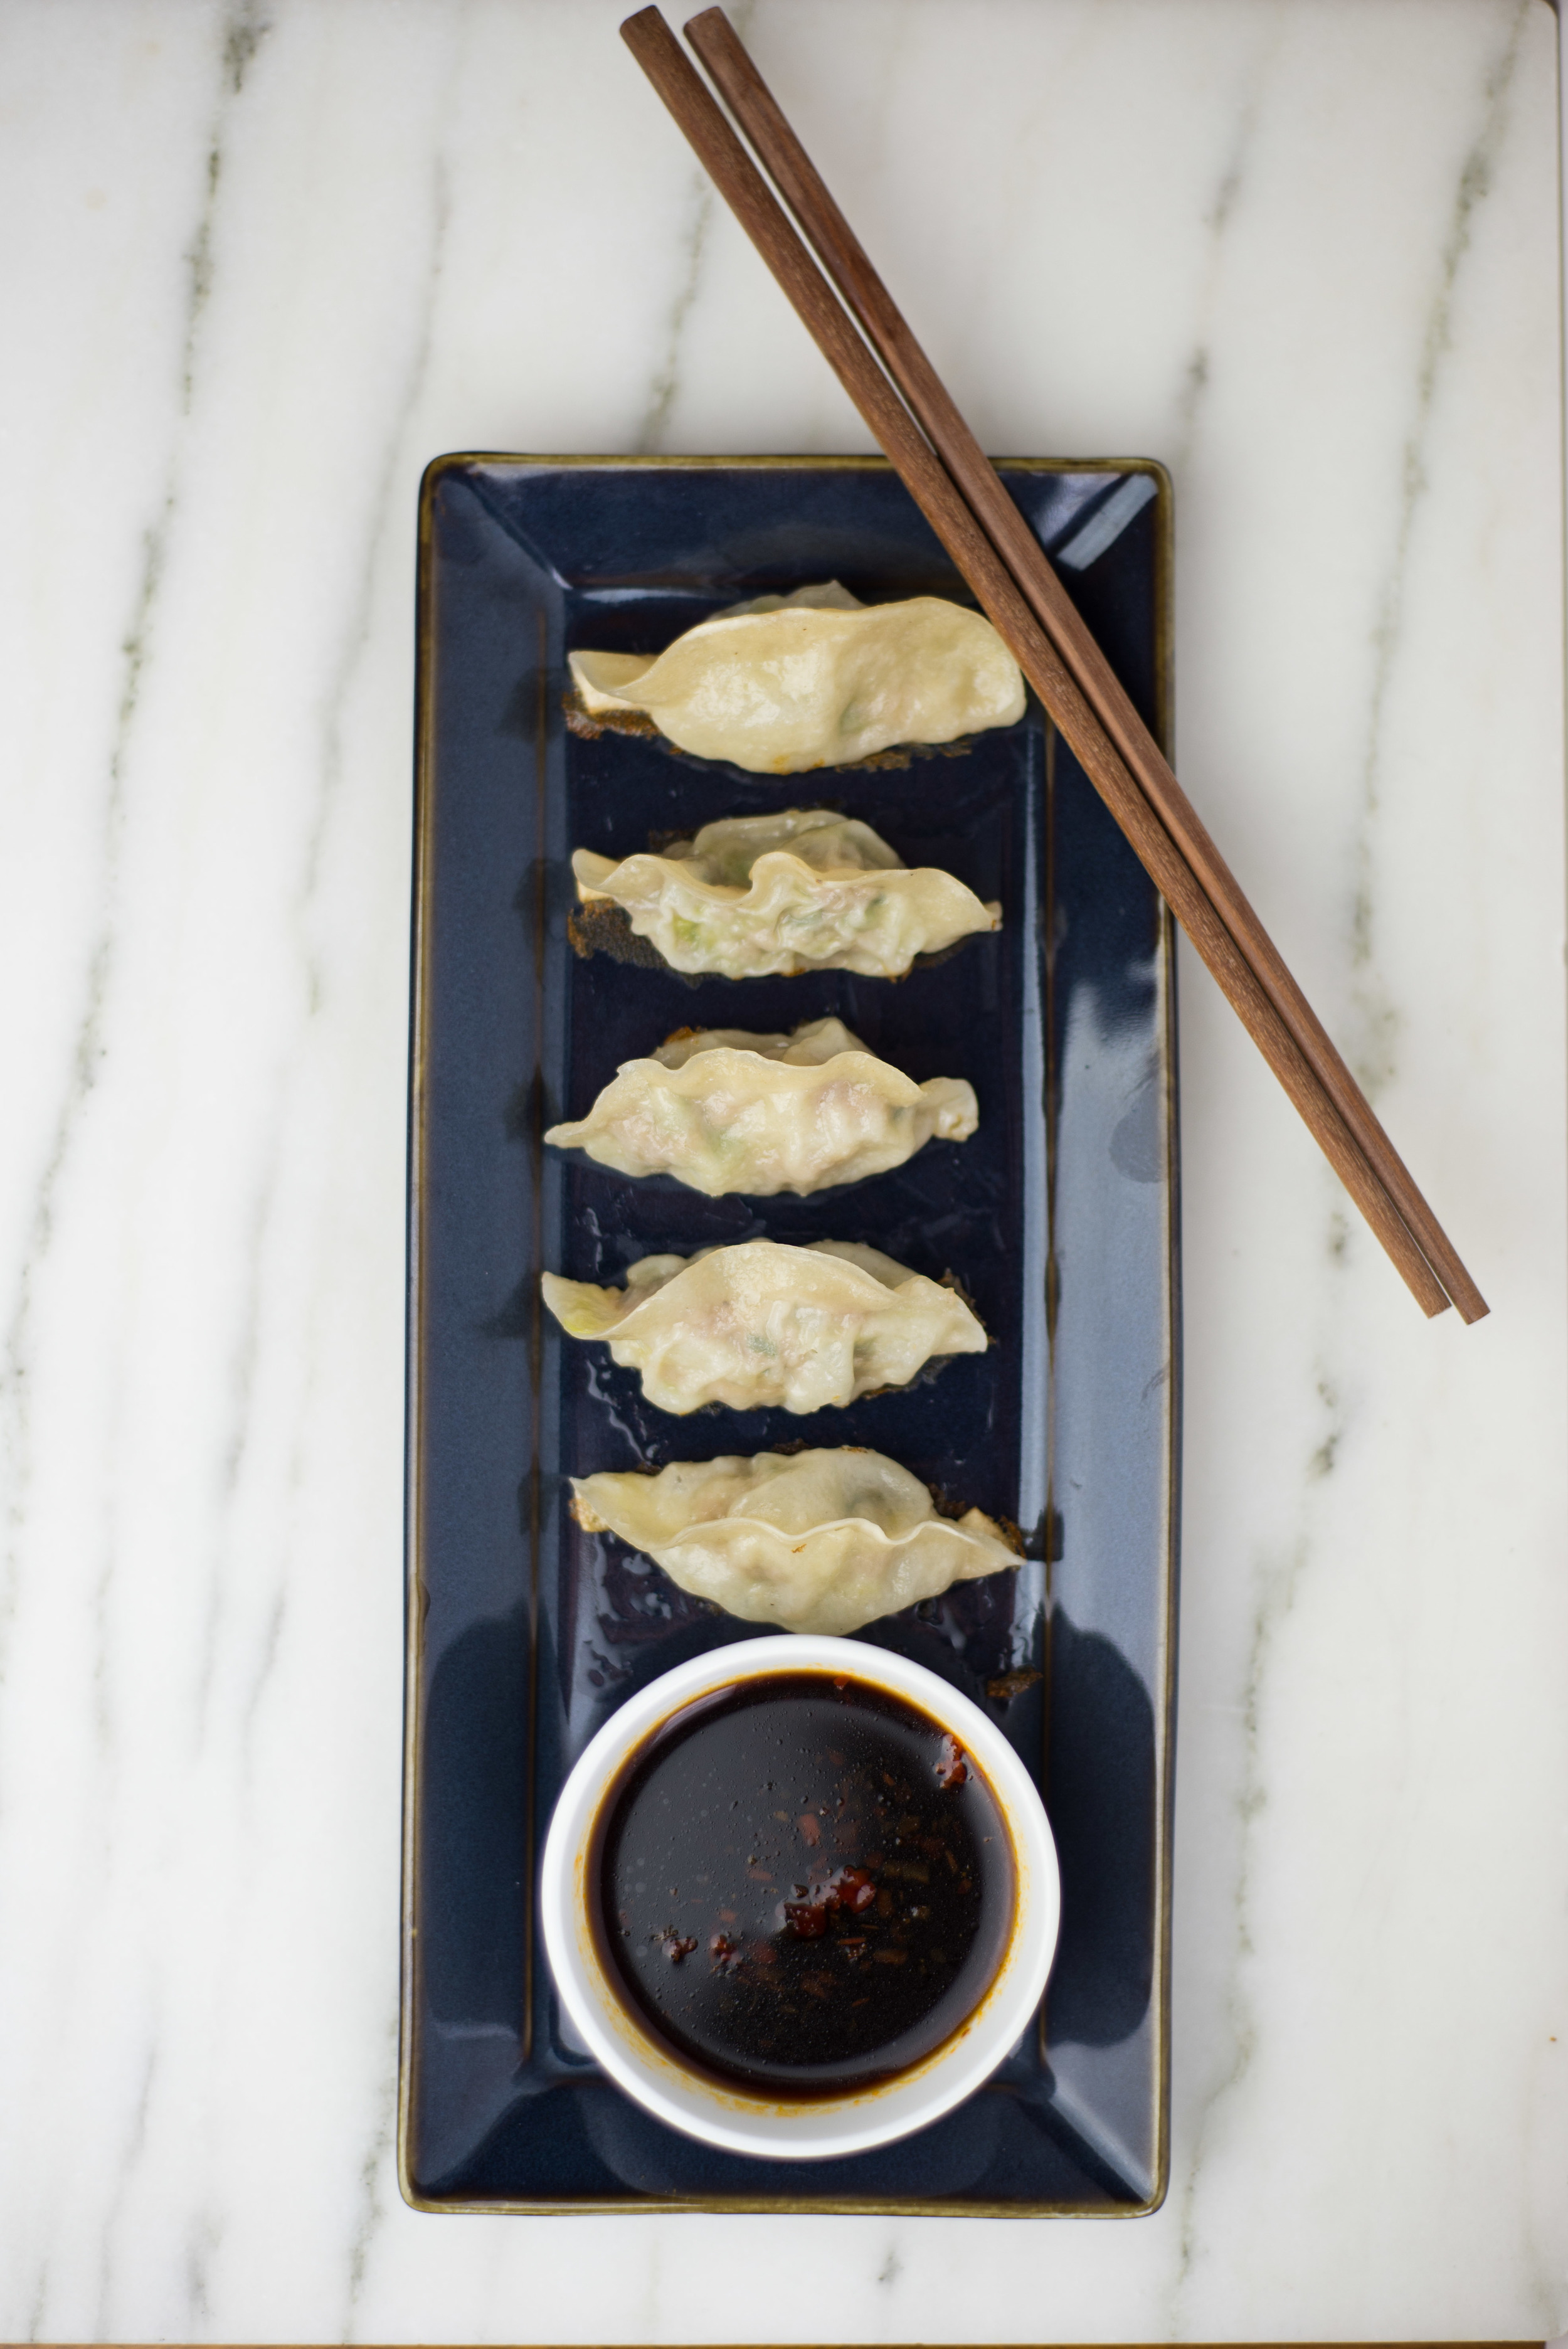
Dipping Sauce 

1/4 cup soy sauce 

2 Tbsp rice vinegar 

1 Tbsp chili sauce, or another spicy condiment you have on hand 

  • Whisk all the ingredients together, and serve alongside your gyozas for dipping! 


Comment

Smoked Butter Blueberry Crisp

Comment

Smoked Butter Blueberry Crisp

A little while back I was looking though old photos, as it's always fun to revisit the little snippets of life that can so easily get lost in the hustle of the everyday (especially if you take as many photos as I do!). I was totally halted by the below photo of Boss Mouse Cheese's smoked butter - an ingredient that regularly graced my table when we lived in Michigan.

The kick-ass Sue Kurta makes some crave-able cheeses, but she also cold smokes these beautifully tied packets of butter in a custom built smoker her sweet dad helped her create. It's the most magical ingredient for, well, just about anything you might use butter for! Sautéed morels, smokey tempeh strips, slathered on toast with peach jam, the options are endless. 

So after stumbling upon this photo, I couldn't help but start to crave that smoky buttery goodness. A quick search didn't result in any discoveries of smoked butter happening in Portland (and they say this is a food city...), so I had Sue mail me a magical bounty of butter. You too can have her mail it to you, just visit the website! This is the first of the creations, but I'm so looking forward to having a stash of smoked butter in the freezer to indulge myself in. 

You'll also see it with this pretty red string - a pile of magic! 

Find her at the farmers market, and Sue rightly recommends you slather your spring asparagus in smoked butter... in fact writing this post is a reminder that I have both smoked butter and asparagus in the fridge - why don't I have a plate of smoked butter asparagus next to me?! Better write faster so I can indulge! 

Anyways, smoked butter has long been a favorite ingredient of mine and baking with it takes things to a whole new level of special! This recipe is all about the simplest of fruit desserts, the humble crisp, dressed up a bit by simply replacing our butter with Sue's smoked butter. 

It's packed with jammy blueberry goodness and a subtle smoke. 

We pile all our berries into a baking dish (I'm obsessed with this beautiful pie plate my babe's aunt bought for us on her annual venture to the Fiestaware tent sale). Then toss them with a few other simple ingredients and set it aside while we make the topping. 

The topping gets sprinkled on top of the blueberries... 

You really can't go wrong with a crisp topping packed with smoked butter : ) Once we have a nice littler layer on top of the berries we toss it in the oven, set a timer, and get on with whatever else we need to do... or watch a little netflix while we wait... whatever floats your boat. 

And voila - crisp! 

Smoked Butter Blueberry Crisp 

notes: While smoked butter makes this simple fruit crisp a decadent and special treat, this recipe will also work well using unsmoked unsalted butter. You can use frozen or fresh blueberries to make this, but I suggest defrosting the blueberries before starting. Baking from frozen blueberries will likely lead to a wetter, yet still totally delicious, crisp). 

about 5 cups blueberries 

1/3 cup sugar 

1 Tbsp lemon juice 

3 Tbsp cornstarch 

1 cup whole wheat pastry flour, or all purpose flour 

1/2 cup brown sugar 

1 tsp baking powder 

1/2 tsp cinnamon 

1/4 tsp sea salt 

8 Tbsp smoked butter (I used Boss Mouse Cheese butter), or unsalted butter 

  • Fill a 9in pie dish or 8x8 baking dish with blueberries. I like to fill it just about to the top for as fruity a crisp as possible. 
  • Add sugar, lemon juice, and cornstarch to the blueberries and stir to coat the berries. Set aside. 
  • In a medium bowl, whisk together flour, brown sugar, baking powder, cinnamon, and salt. 
  • Cut the butter into cubes, then add it to the flour mixture. Using a pastry cutter (or two knives), cut the butter into the flour until only pea sized clumps of butter remain. If needed, use your fingers to break up any bigger pieces of butter. 
  • Spread the topping evenly over the blueberries. 
  • Bake at 350F for about 35 minutes, until the fruit is bubbling away and the topping is a golden brown. 

Comment

Hazelnut Chia Pudding - two ways!

Comment

Hazelnut Chia Pudding - two ways!

Today I'm excited to share a few of the magical secrets (sort of) of chia seeds! Of all the "superfood" "health craze" foods out there, chia seeds are by far the one I can get behind in the biggest way. They are SO much fun to create dishes with, and packed with omega 3's, which just about everyone could use more of. 

While I love to toss chia seeds into all sorts of dishes, their ability to make this crazy easy pudding is what truly classifies them as magic in my world. I'll include some more notes about how many things you can do with this basic recipe, but for the sake of simplicity today I'm sharing a straight up hazelnut chia pudding as well as one packed with some dark chocolate powder for a nutella-esque yet totally healthy treat. 

Chia seeds' magic comes in the way they interact with liquid when soaked. The outer shell absorbs some of the liquid to create a gel-like texture. So when you mix together enough chia seeds with any liquid, you end up with a pudding-like texture of delicious. All it requires is a minute or two of whisking, and a few hours in the fridge. MAGIC! 

I'll be honest, the first time I stumbled across a reference to chia pudding, I didn't waste much time at all whipping up my first batch... and I was immediately hooked. If chia seeds weren't so darn expensive, I'd probably still be eating chia pudding every morning of the week for breakfast. It's not only totally delicious, but it's so packed with nutrients that it's a great start to the day and keeps you full for hours! 

The best part? This pudding is incredibly flexible, and easy to experiment with. The constant you need to keep an eye on is your balance of chia seeds to liquid, but as long as you maintain that balance - the options are endless! Use any type of dairy/nut-milk you want, or coconut milk! Mix in some pureed fruit to make a fruity version, change up the sweetener or sweetness level, add whatever flavor you like! Or... pack that pudding full of chocolate for a totally healthy dessert : ) 

For the sake of these photos, I kept things simple... but this pudding can also be topped with anything you like. I love having it for breakfast with a little granola and fruit sprinkled on top! 

This chia pudding will be on the thick side, and can easily be made thinner by decreasing the amount of chia seeds added to the mixture! 

Hazelnut Chia Pudding

2 cups hazelnut milk 

2/3 cup chia seeds 

4 tsp vanilla 

1/4 cup maple syrup 

1/4 cup cocoa powder (optional, for chocolate version) 

  • Combine all ingredients in bowl or jar, and whisk together for about a minute until the chia seeds remain suspended in the liquid. 
  • Refrigerate for a few hours, or overnight, until a pudding texture has formed. 
  • Enjoy! 

Hazelnut Milk 

1 cup hazelnuts 

2 cups water 

  • Optionally soak hazelnuts over night or for a few hours in water. This allows for a better extraction of all that hazelnutty goodness, but the milk can be made just as easily without this step! 
  • In a blender, blend the nuts and water together (use the soaking water if you soaked the nuts!) on high power for about a minute. You want the nuts to be very broken down and the liquid to look super milky! 
  • Using a nut milk bag, cheese cloth, or a fine mesh sieve, strain the milk into a container. Be sure to squeeze all the liquid you can out of the nuts! 
  • Store any extra nut milk in the fridge for later use! 

Comment