I’ve never quite fancied myself an expert vegan or gluten free baker, but as more and more people have unique diets, it seems only right that any baker would have a few tricks up their sleeves for when a special occasion requires making something to satisfy a friend with dietary restrictions.
So when my friends over at Grocer’s Daughter Chocolate asked if I could put together a recipe for brownies that was both vegan and gluten free, it seemed like the perfect time to practice. After a few tries, I think I’ve settled on a recipe that will make any brownie lover happy!


Brownies are actually a great recipe to make gluten free because they don’t rely on very much flour, but my go-to recipe is heavily reliant on butter and eggs to create a fudgy texture. This version creates a great balance between fudgy and cakey with the use of flax eggs and coconut out.
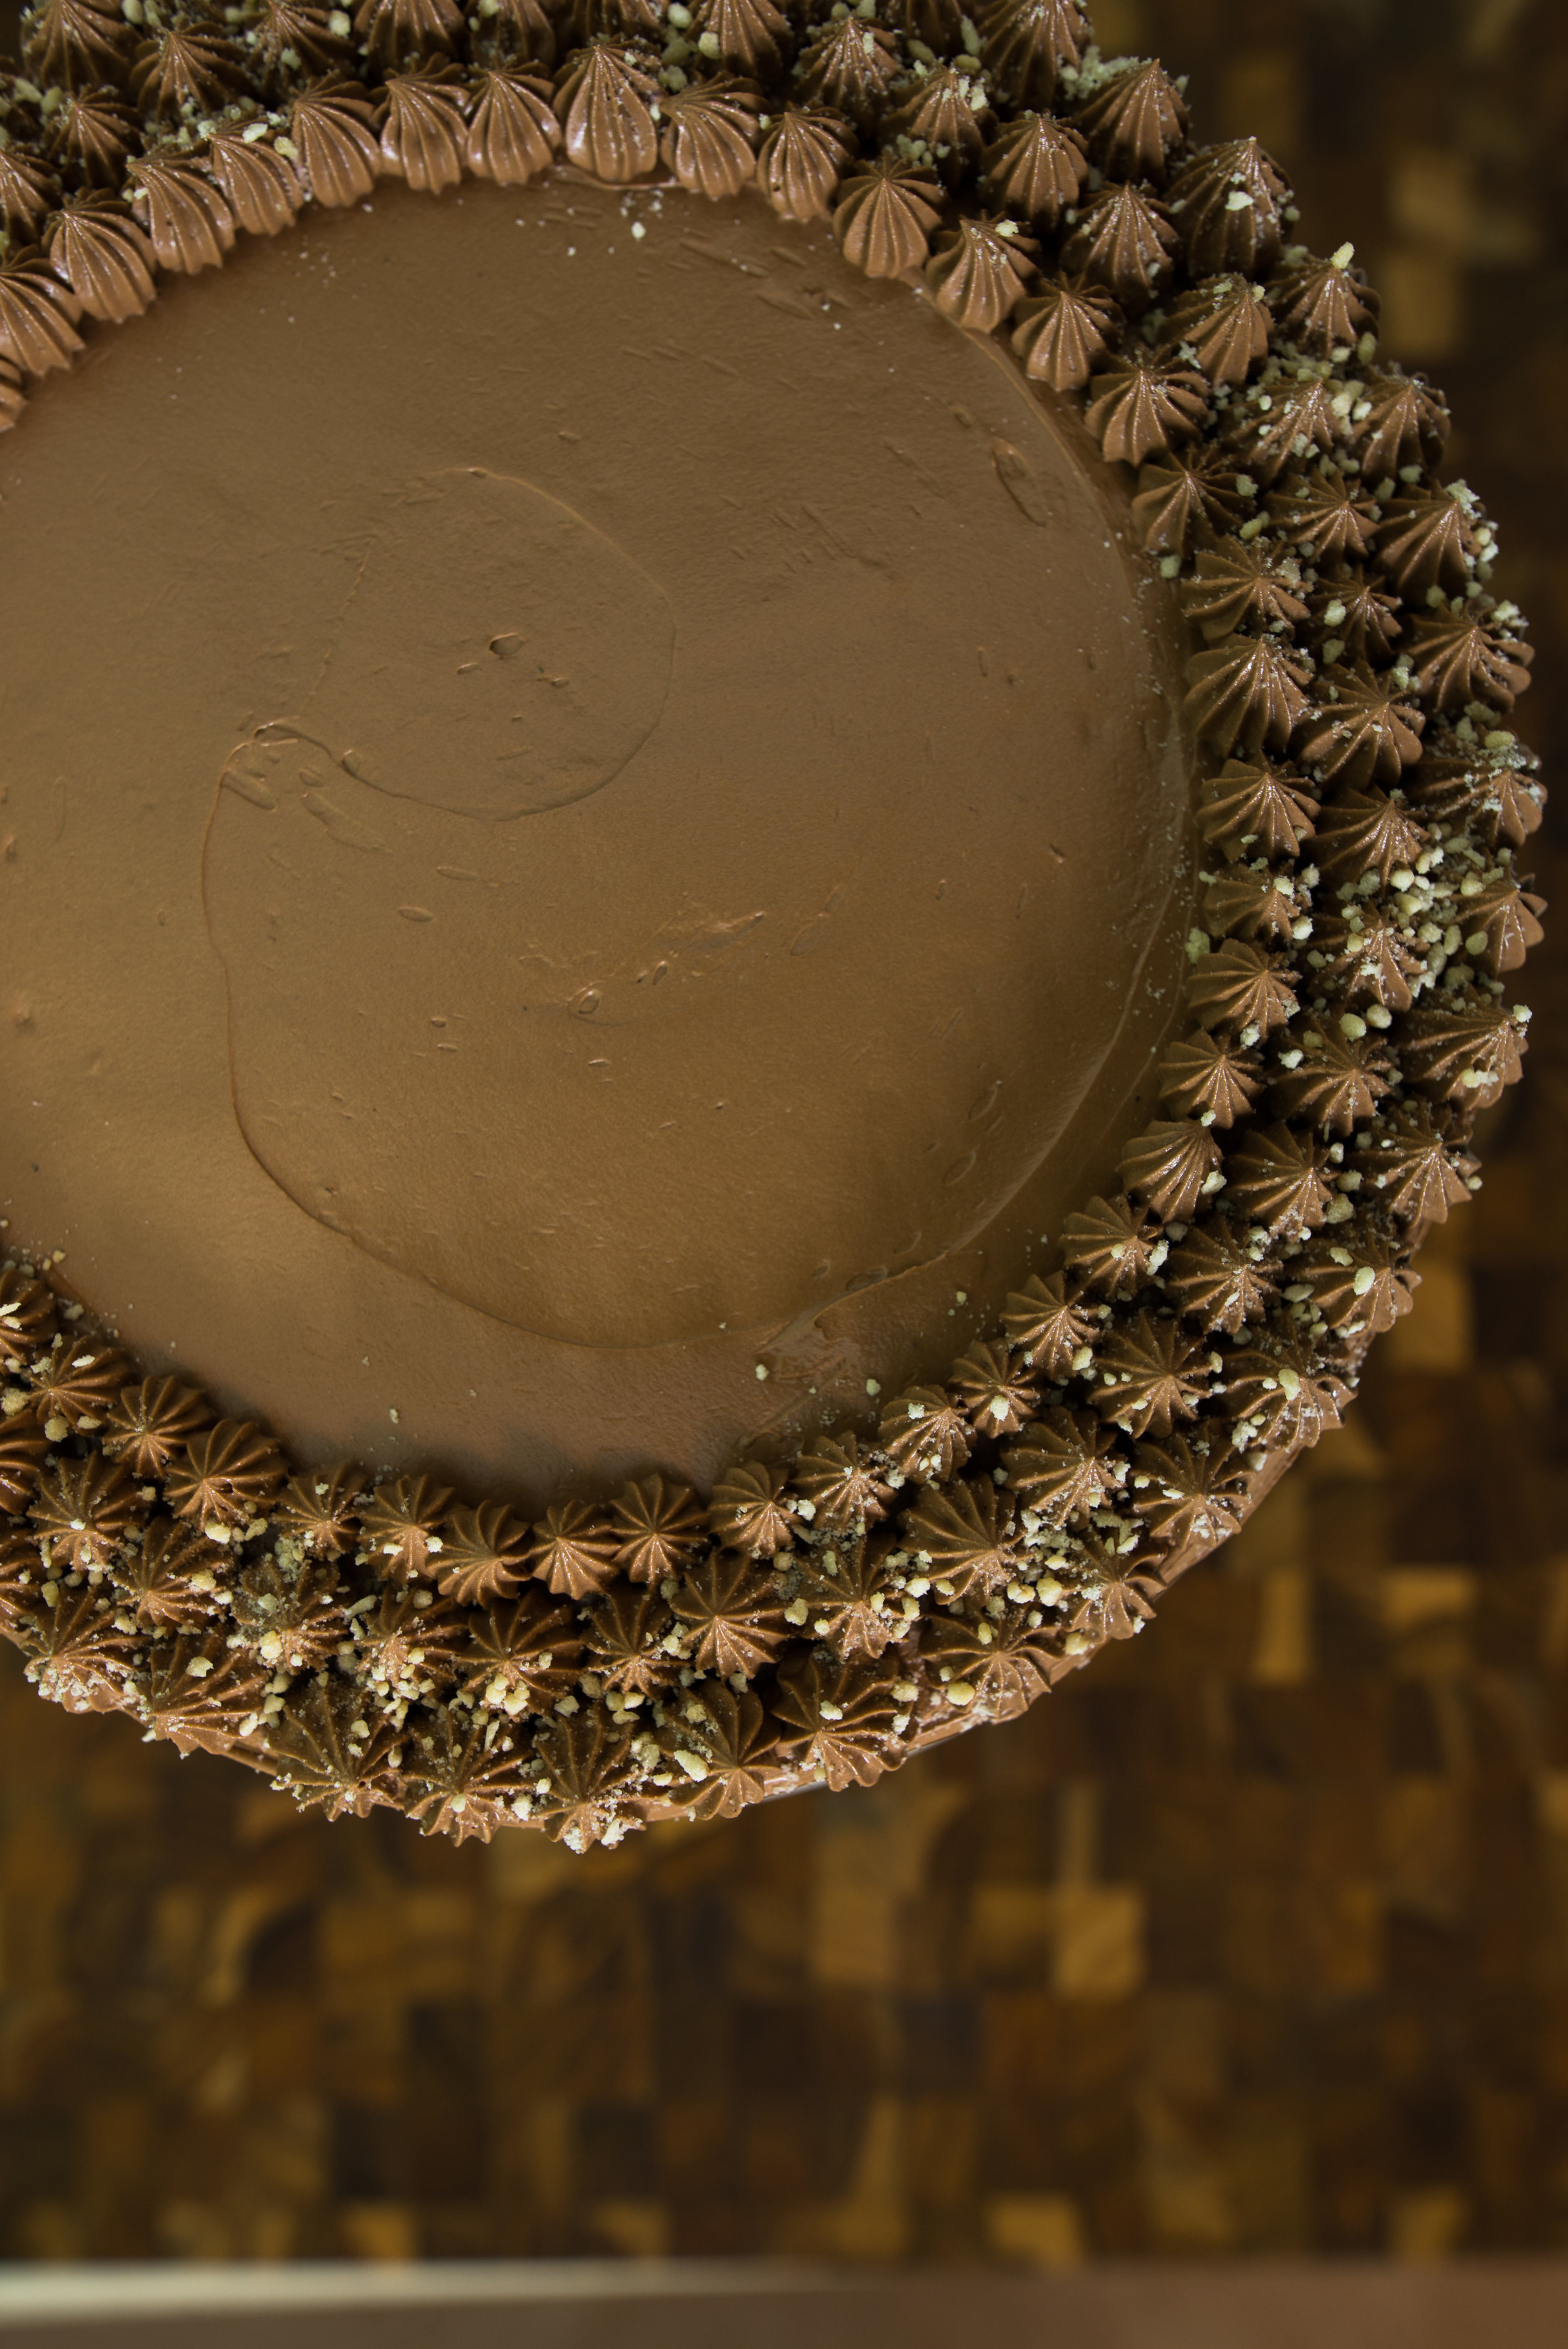
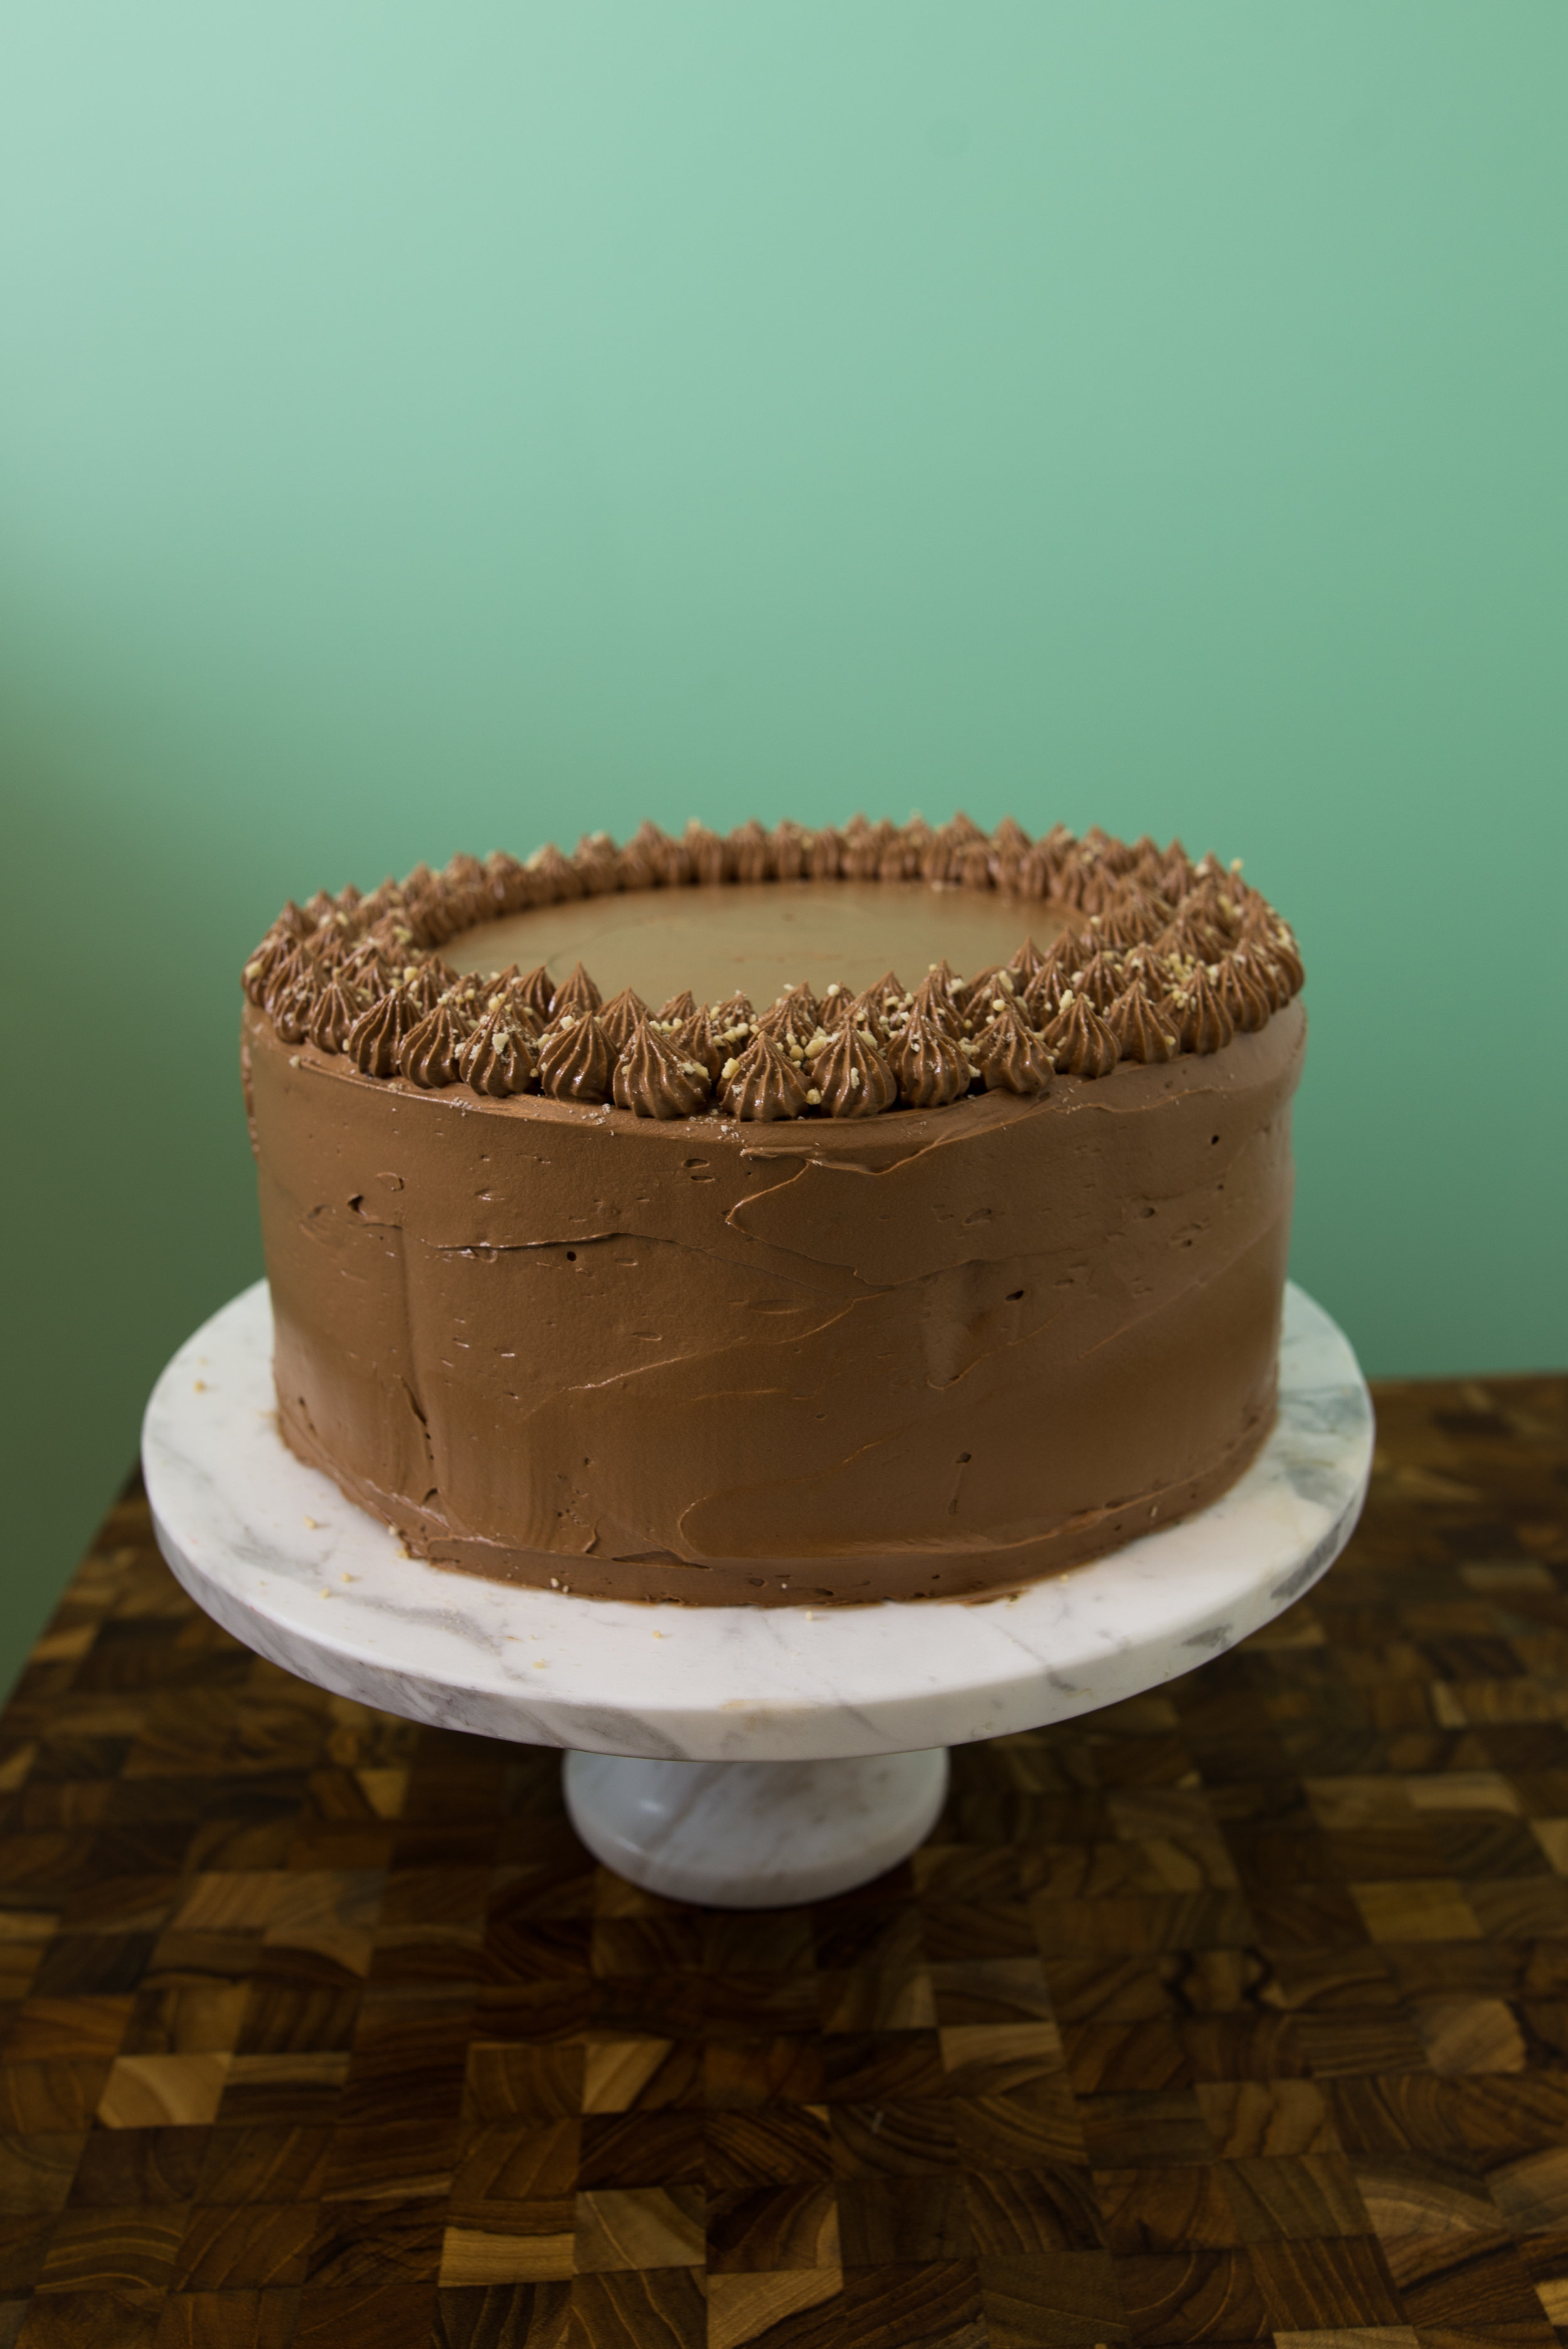
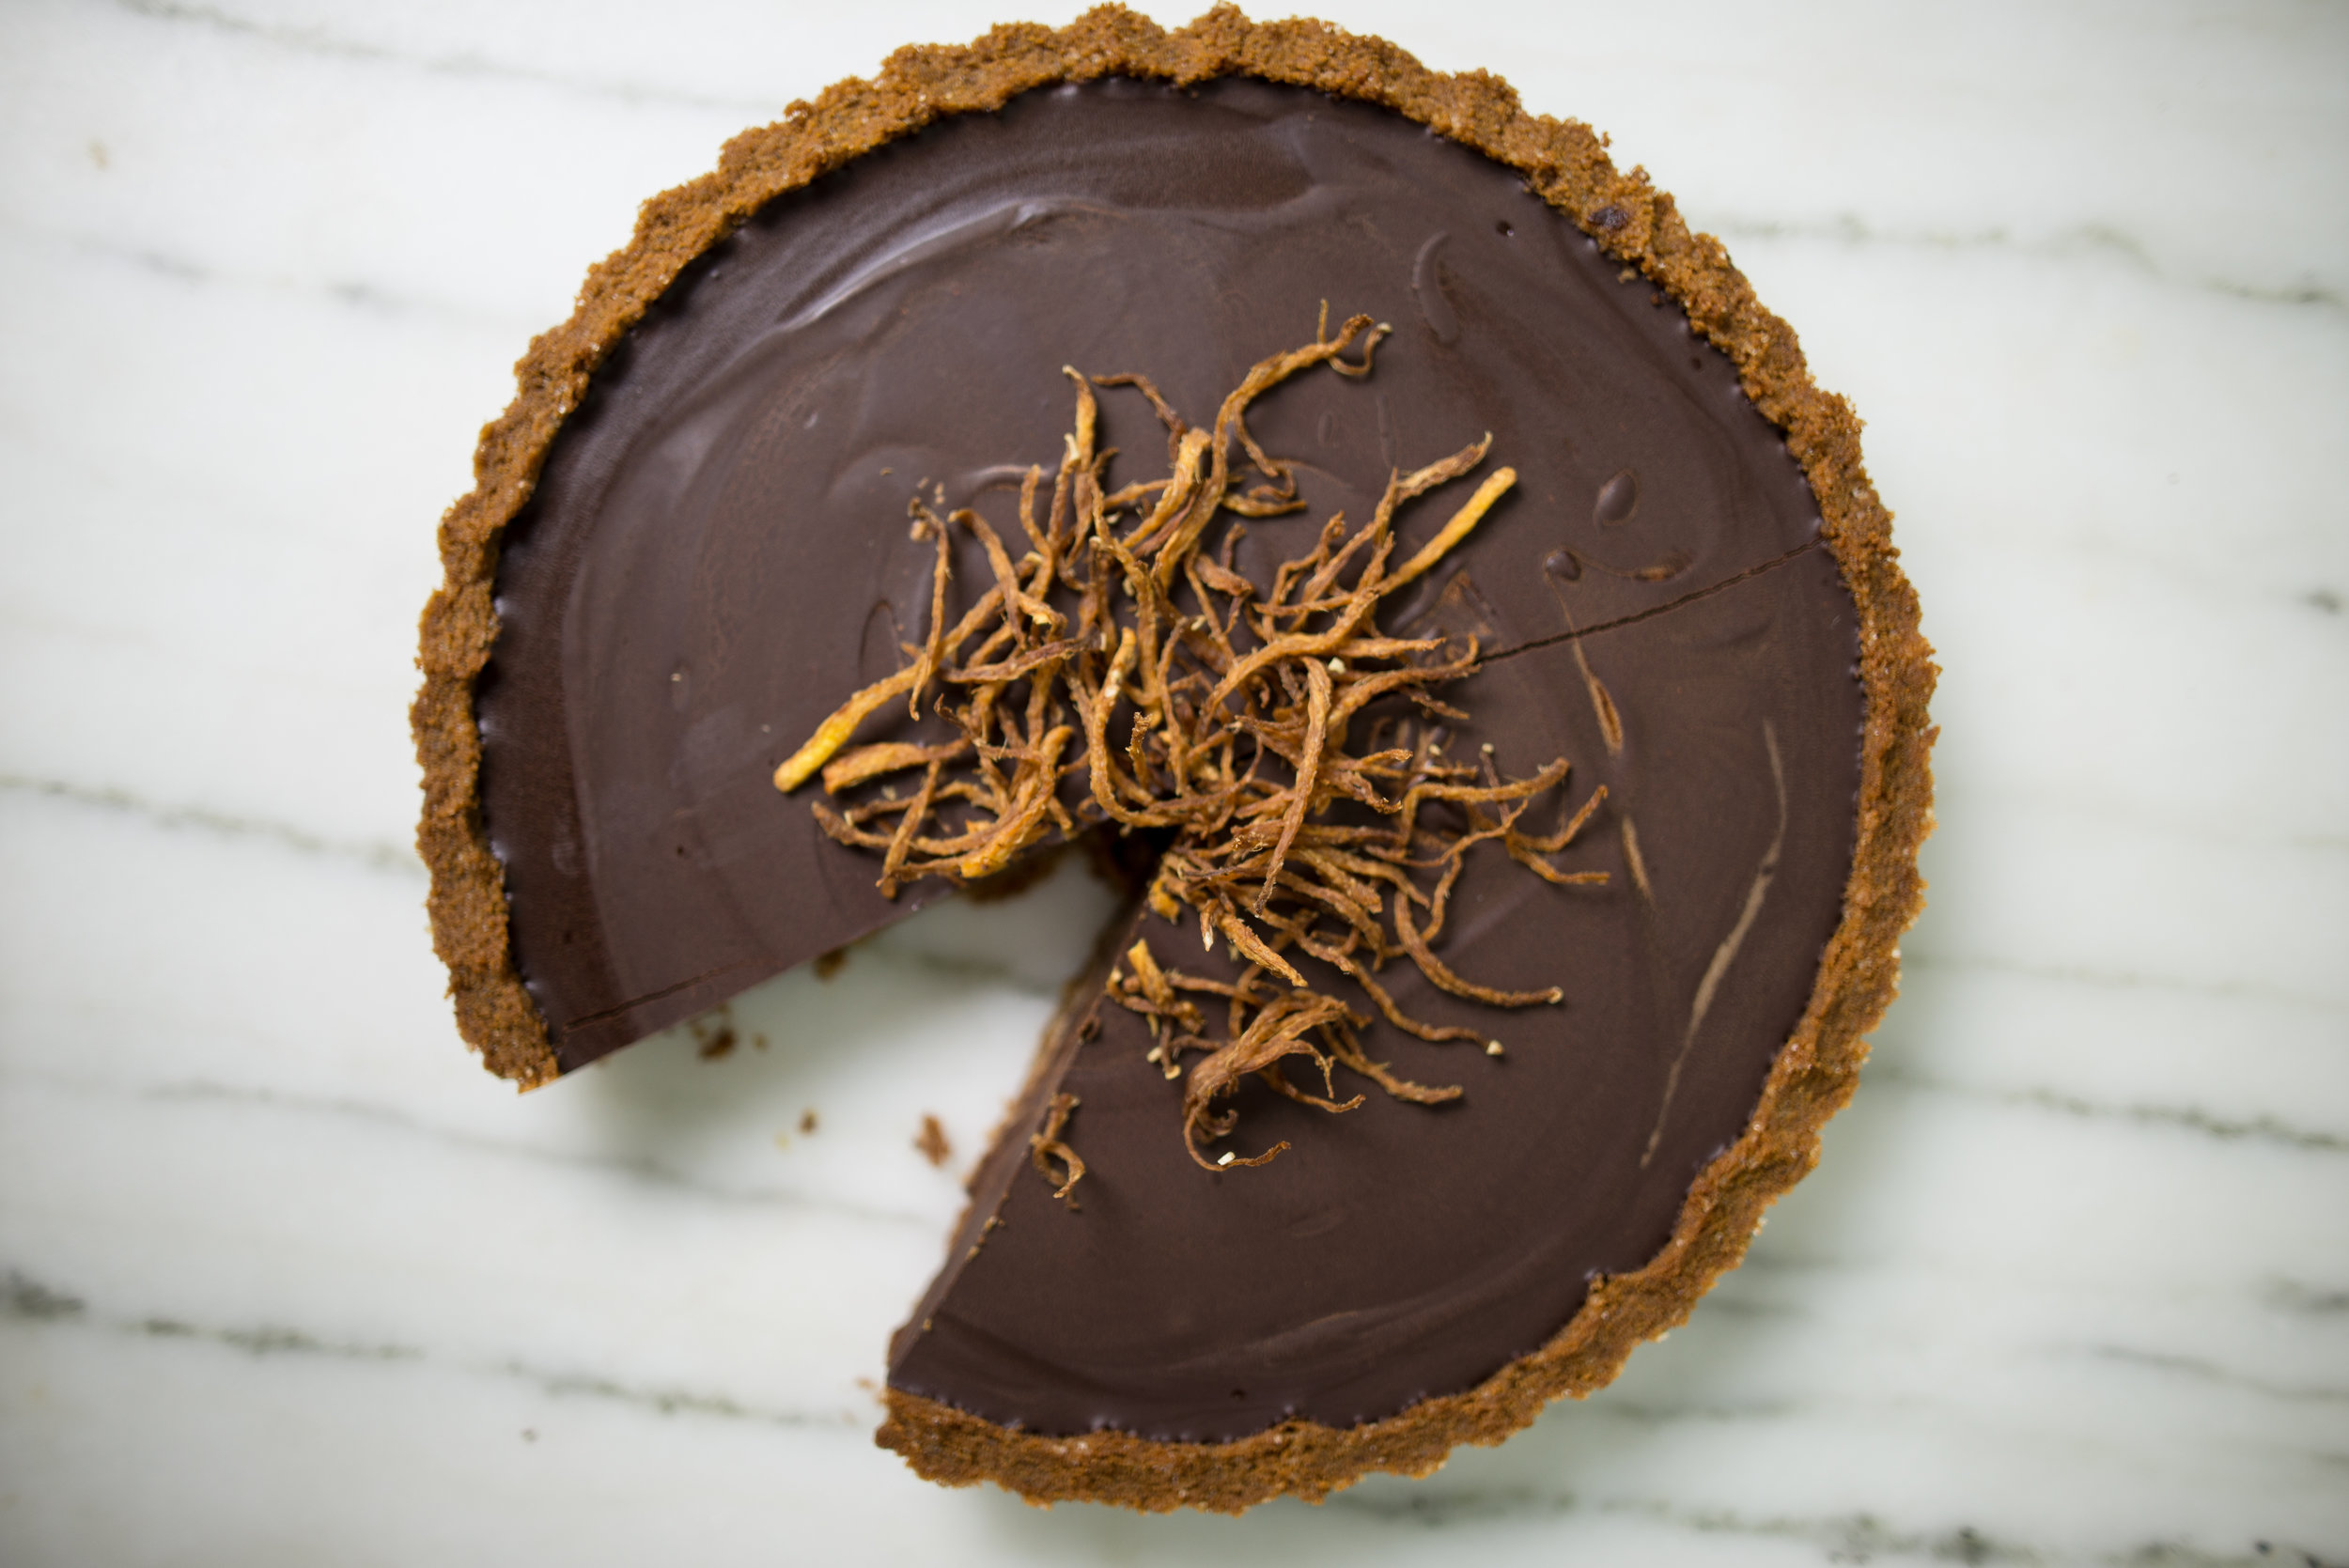
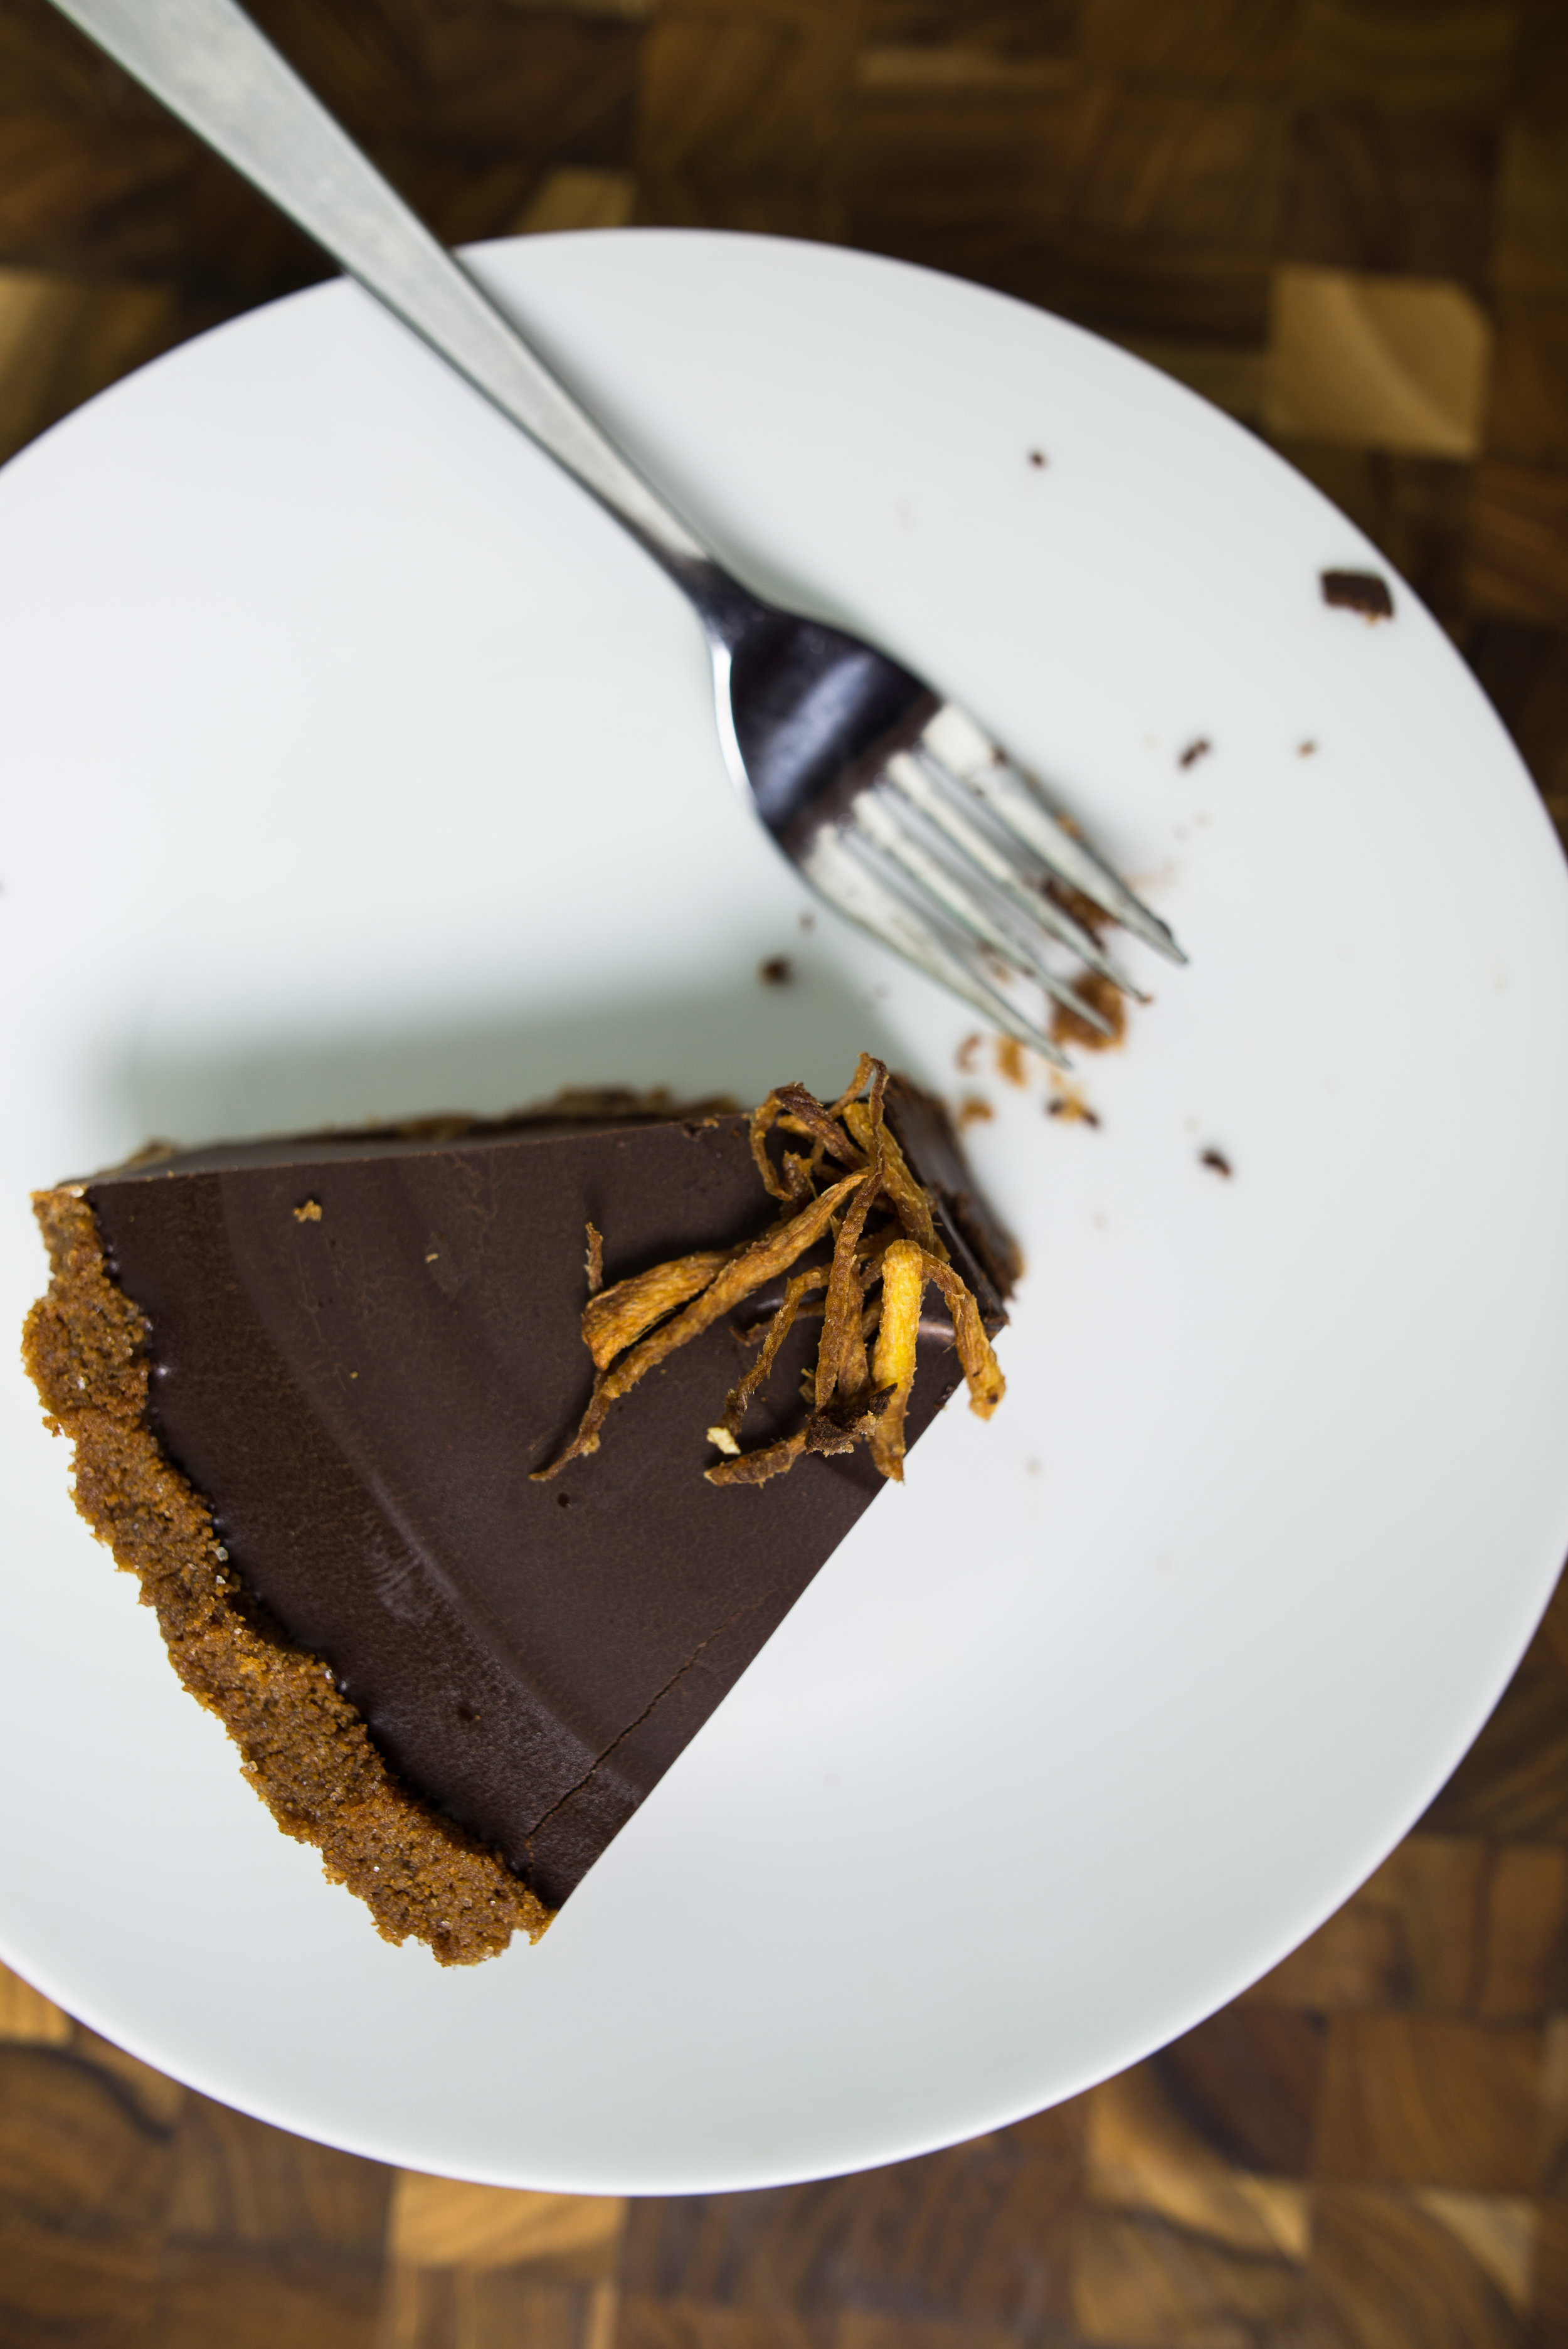
Let’s get to it! A few photos of the end result, then you’ll find the recipe. Enjoy!


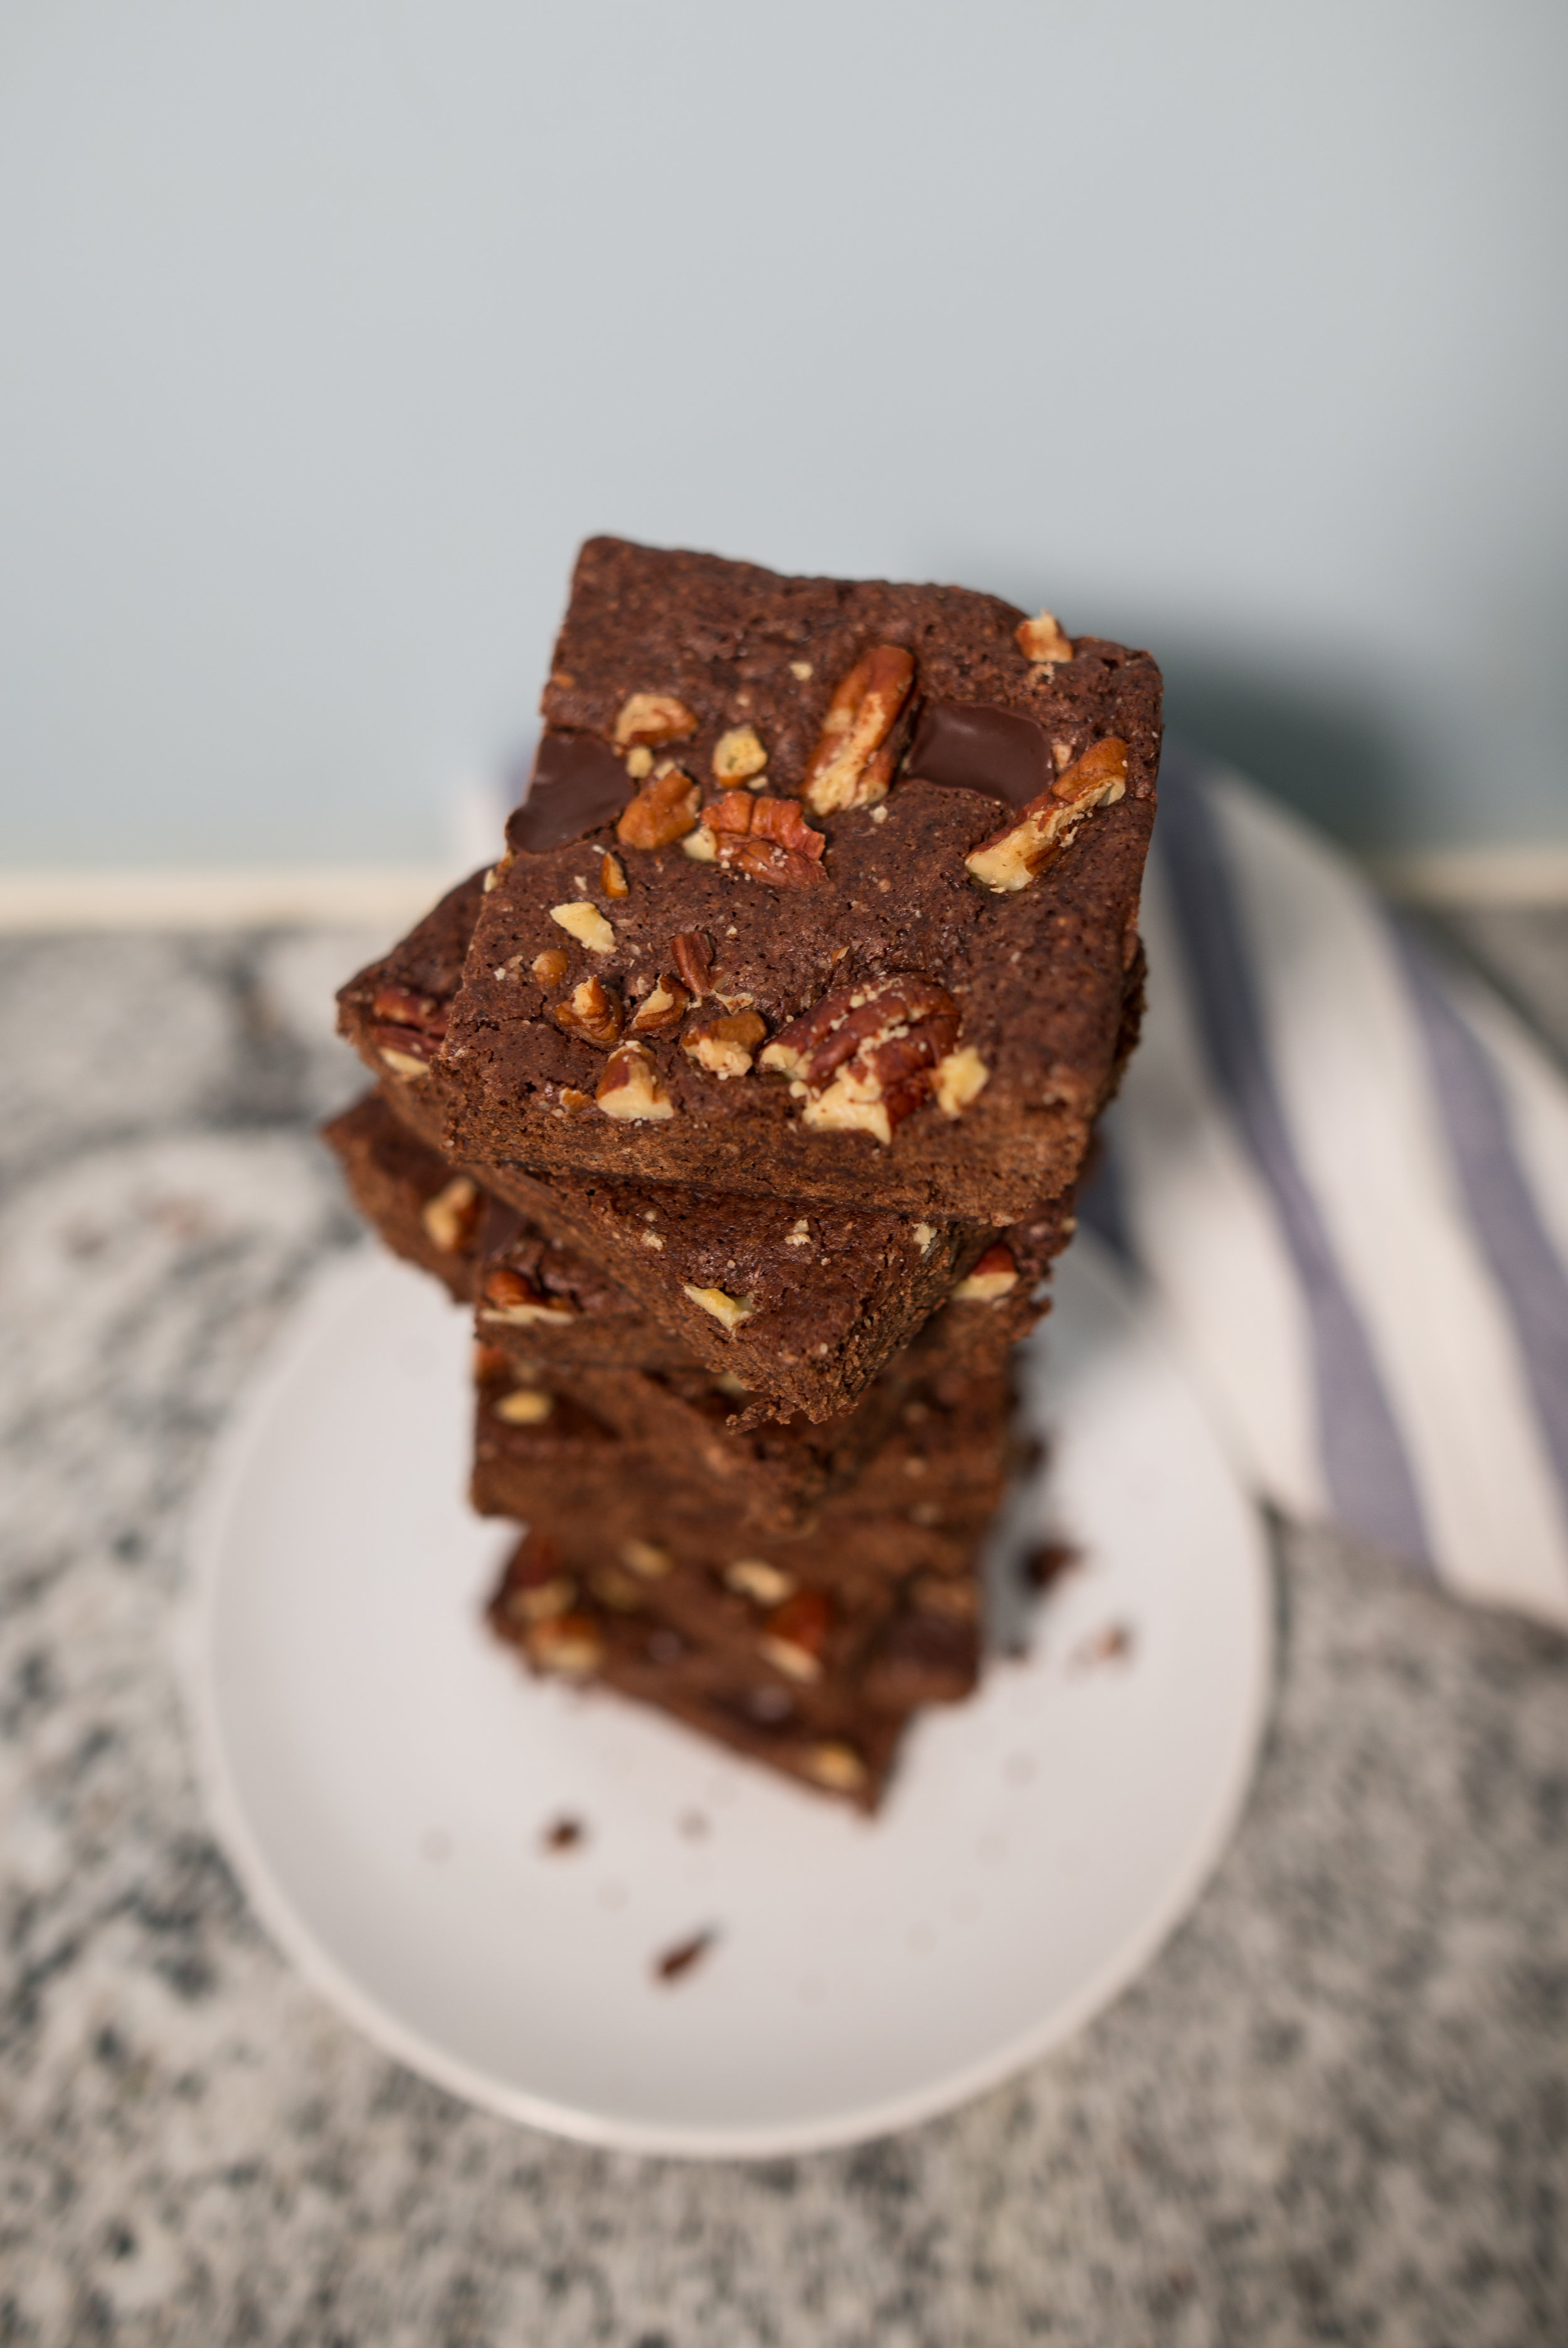
Vegan Gluten Free Brownies
Ingredients
2 Tbsp ground flax seeds
5 Tbsp water
3/4 cup gluten-free flour blend (I used the measure for measure blend from King Arthur Flour)
1/4 cup almond meal
3/4 tsp baking powder
1/4 tsp sea salt
1/2 cup coconut oil
1/2 cup sugar
1/4 cup maple syrup
1 tsp vanilla extract
1/2 cup Grocer’s Daughter Cocoa Powder
Handful of pecans
Handful of Grocer’s Daughter Chocolate Discs (I recommend the 64% Fortaleza)
Instructions
Preheat oven to 350 degrees F
Prepare an 8x8in baking pan. Spray the bottom and sides with spray oil. Cut a sling of parchment paper to cover the bottom and two of the sides, leaving a little extra so you can lift the brownies out of the pan. Coat the parchment paper with spray oil.
Whisk together the flax and water in a small bowl and set aside. Whisk occasionally as you work through the recipe, until it begins to thicken.
Combine flour blend, almond meal, baking powder and sea salt in a mixing bowl. Whisk until evenly mixed then set aside.
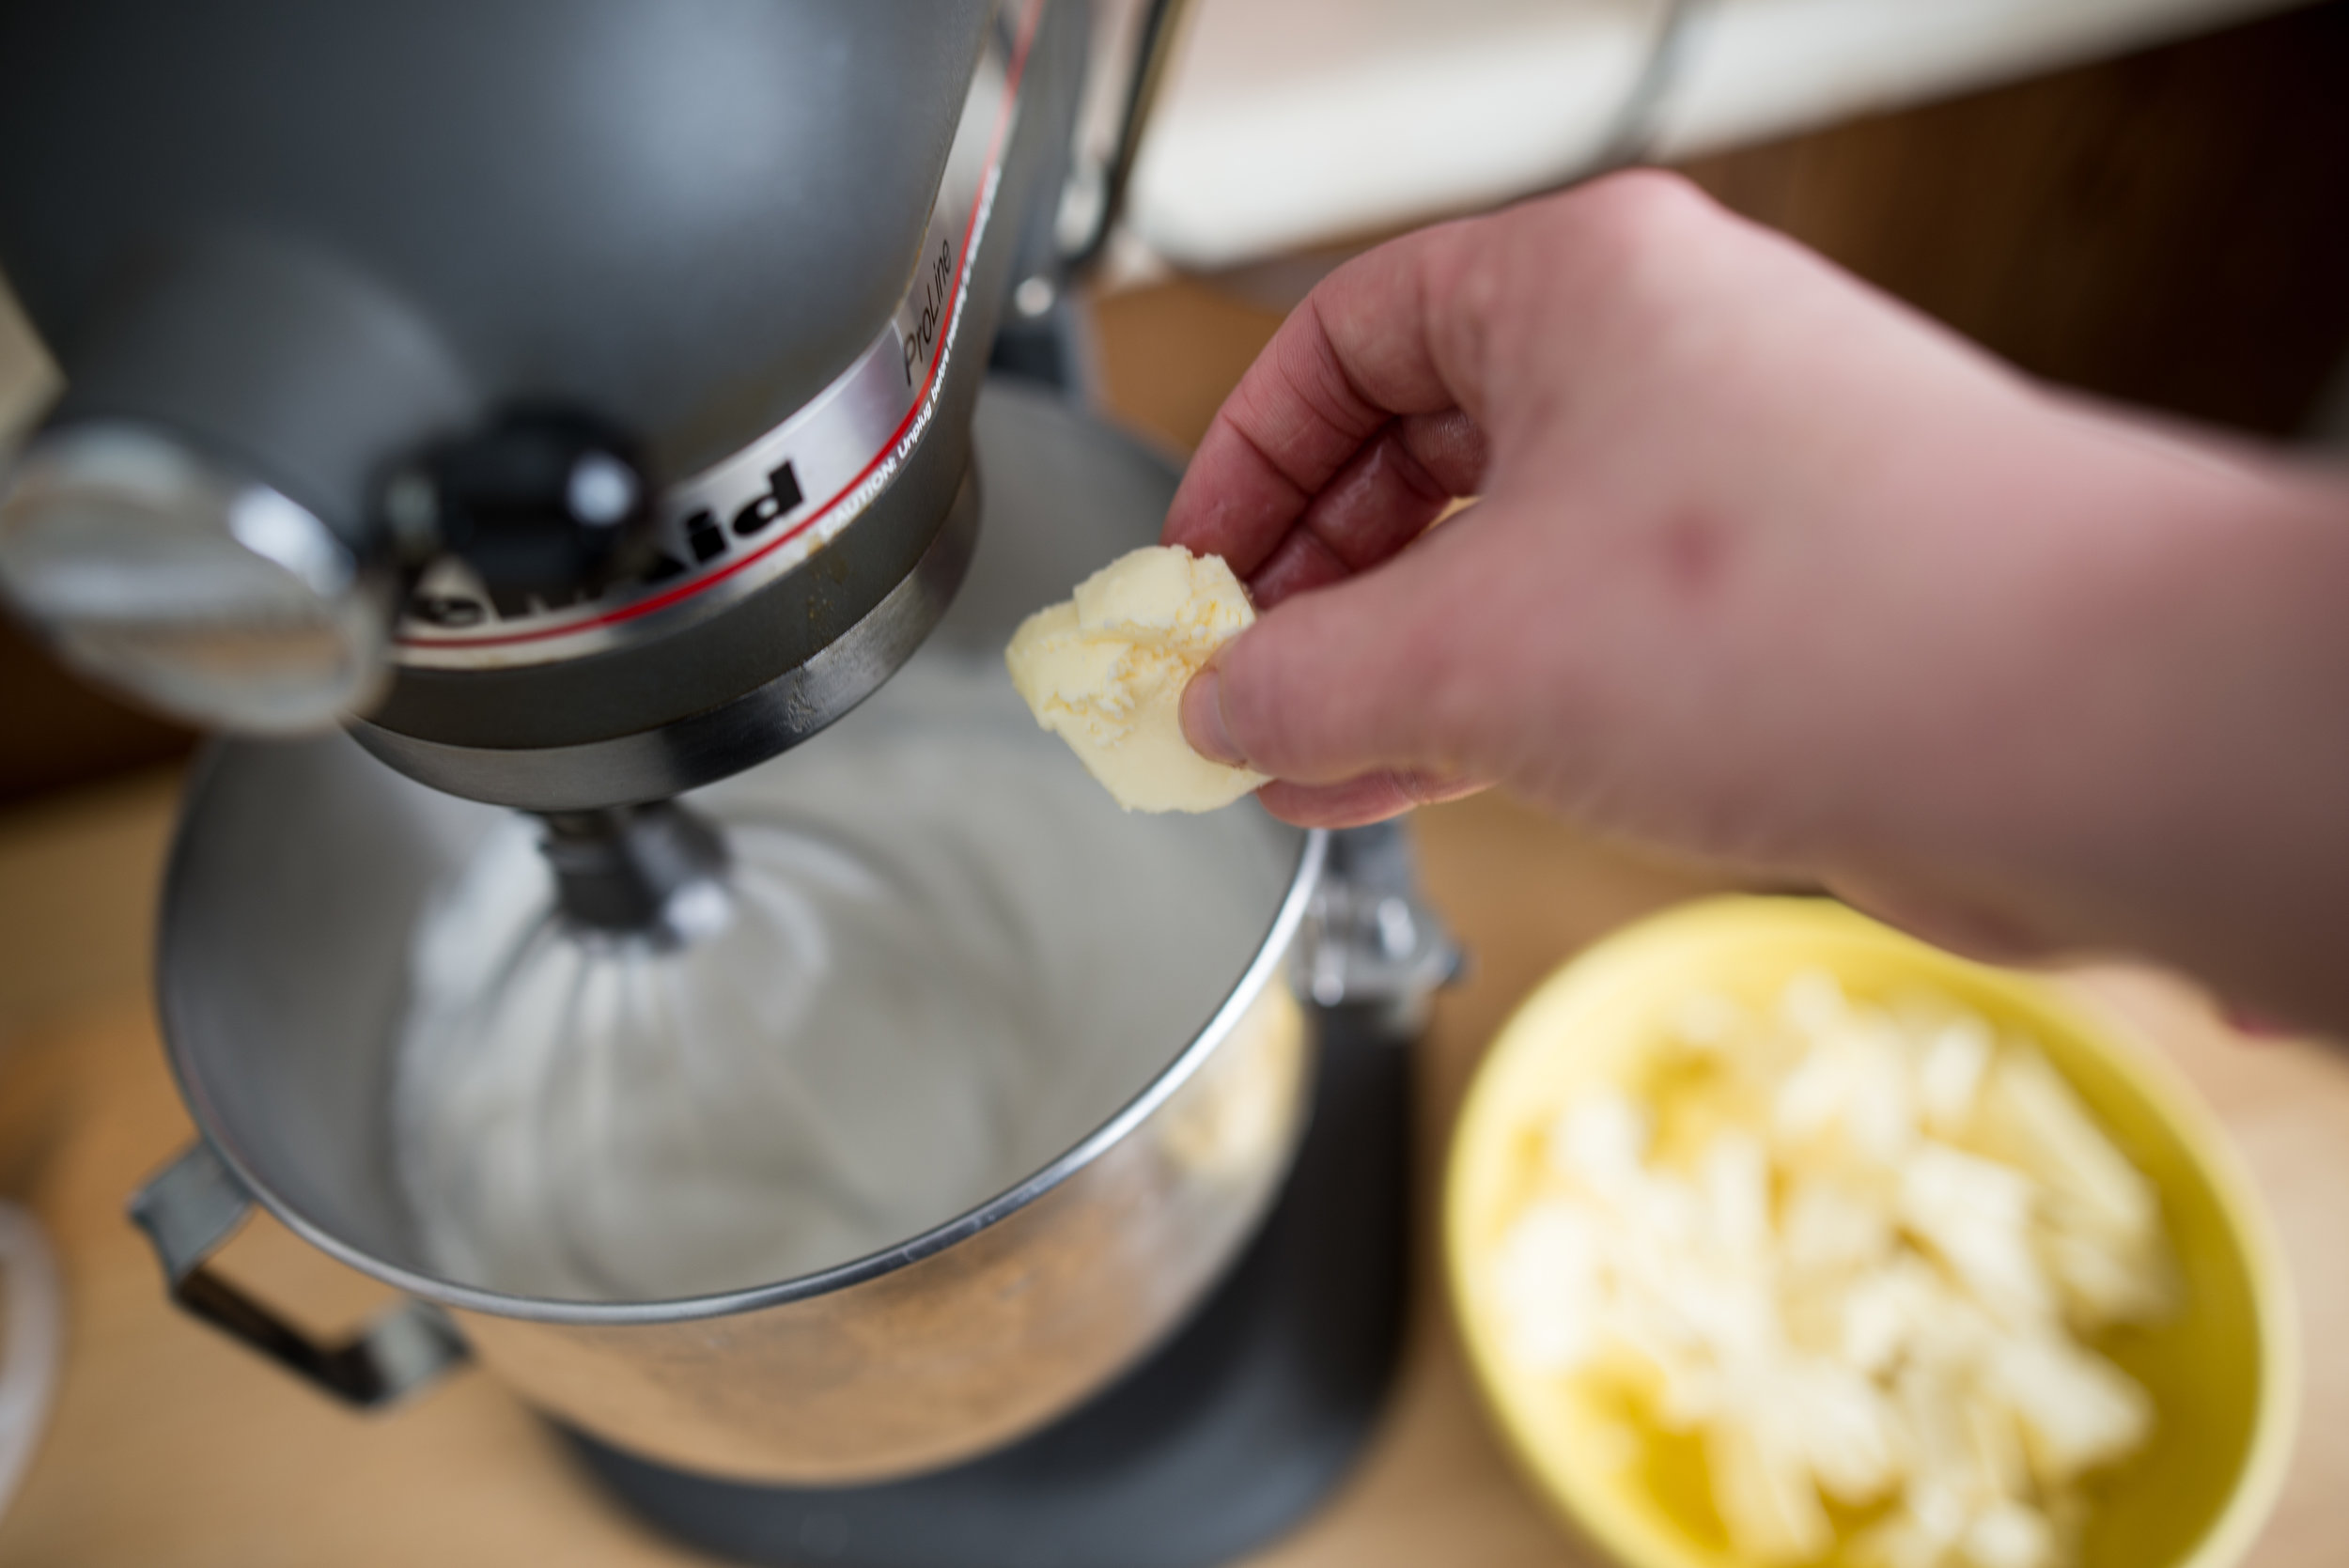
Melt the coconut oil on the stove or in the microwave.
While it’s melting, combine sugar, maple syrup and vanilla in a large mixing bowl.
Add the warm coconut oil to the sugar combination and whisk to combine. Whisk in the flax seed mixture.
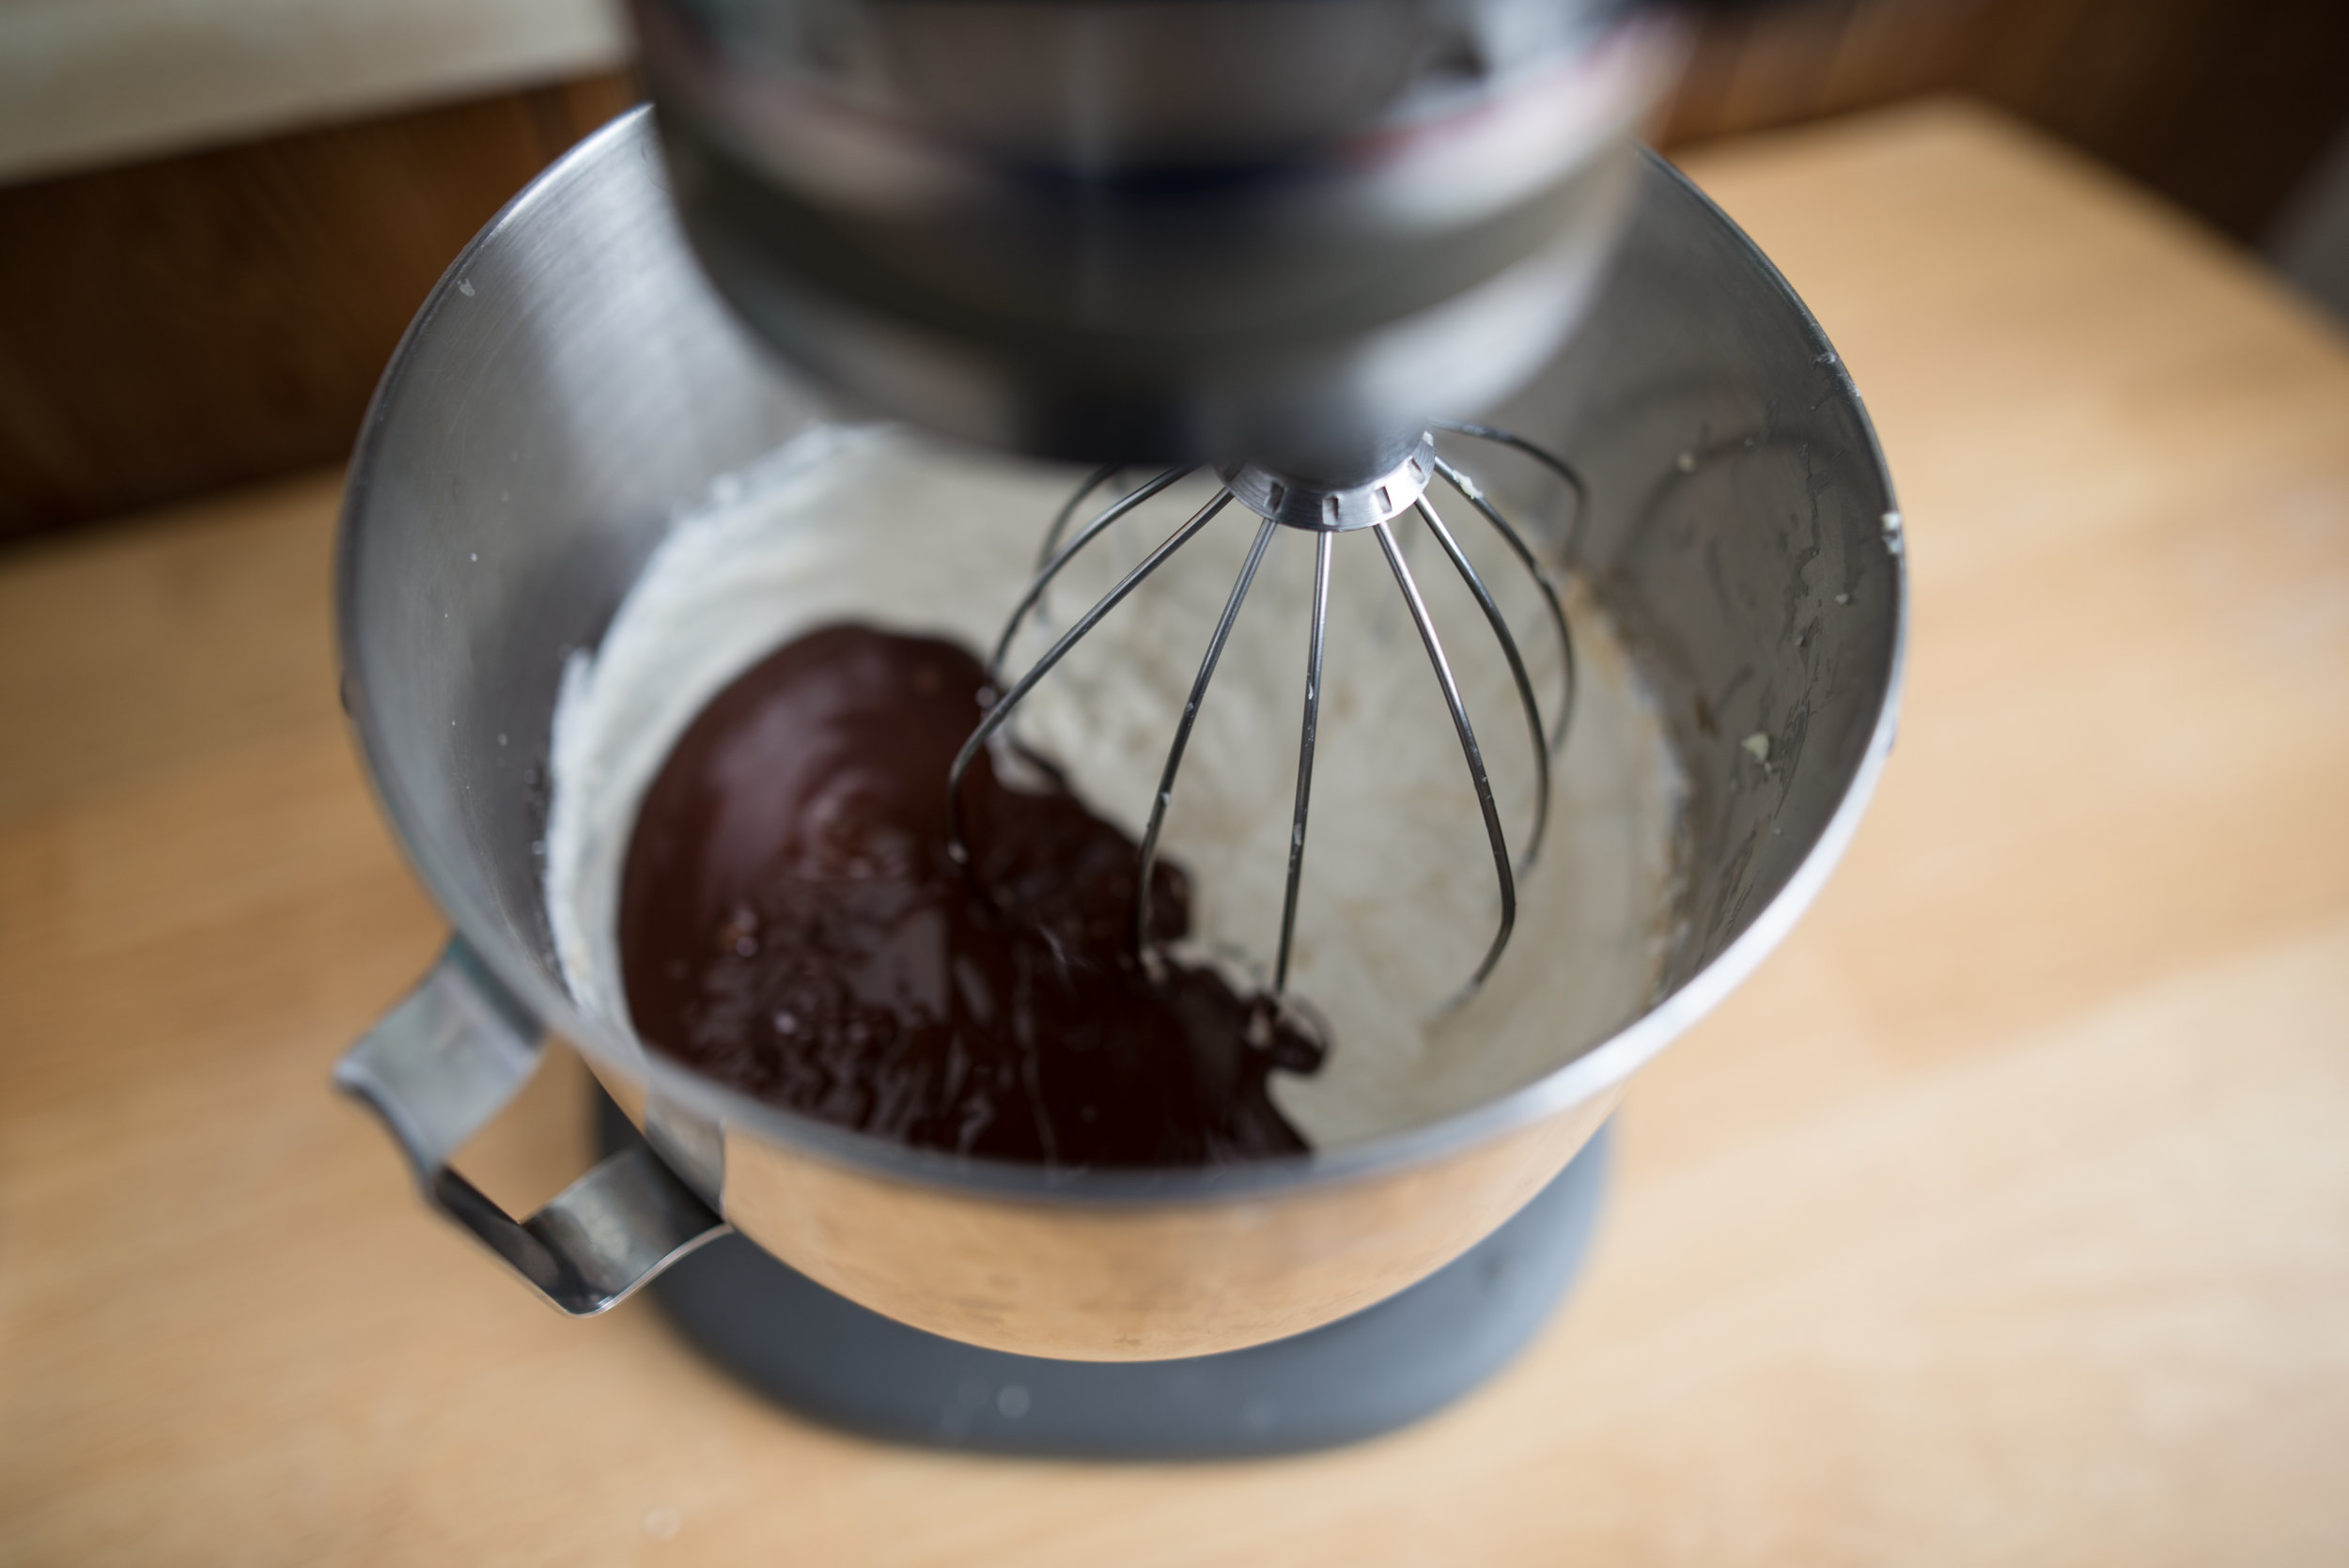
Sift the cocoa powder into the wet ingredients and whisk to combine again.
Using a rubber spatula, fold the dry ingredients into the wet ingredients until just fully combined.
Pour the batter into the prepared pan and spread to create an even layer. Sprinkle the top with pecans and chocolate disks.
Bake for 17-22 minutes, until a toothpick comes out clean.
Let cool in the pan for at least 45 minutes.
Run a knife along the two edges not covered with parchment paper, then lift the brownies onto a cutting board. Use a knife to cut into squares.