Vanilla Bean Marshmallows

Comment

Vanilla Bean Marshmallows

Fluffy satisfying and oh-so vanilla-y marshmallows, friends! These are the treats dreams are made of! 

I first tried to make homemade marshmallows a few years ago, while I was likely trying to do a few other things at the same time. I didn't read the instructions carefully and promptly did not divide the water as all marshmallow recipes call for... Without enough ingredients to fully double the recipe, I tried to just keep going but it resulted in a gooey unsuccessful mess. Don't do this, friends - read the recipe before you start like a smarty-pants baker! 

Anyways, I paid much closer attention creating this recipe for you, and the result was fluffy, dreamy, cloud-like mallows that I promptly devoured (but not before packing away some to mail to my loving friends!). Mallows make a great mail-able baked good because they last a long time and won't break in the mail! Plus, whoever you mail homemade marshmallows to is going to love you forever. That's just a given. 

My inspiration to try my hand at marshmallow making once again was inspired by a refilled stock of my favorite vanilla - Vanilla Bean Crush from Sonoma Syrup Co. This luscious vanilla is a high quality and flavorful extract studded with vanilla beans. It gives you all the satisfaction and flavor of using whole vanilla beans in your baked goods without actually using whole beans. 

Marshmallows are basically a whipped sugar and gelatin mixture, so they're a blank slate waiting to take on whatever flavor your give them - making them the perfect vehicle for a truly great vanilla. So if there's anything I can do to steer you in the right direction (aside from, you know, making sure you actually follow the recipe like I did not the first time around), it's to be sure you're using a high quality vanilla. You won't be sorry, I promise! 

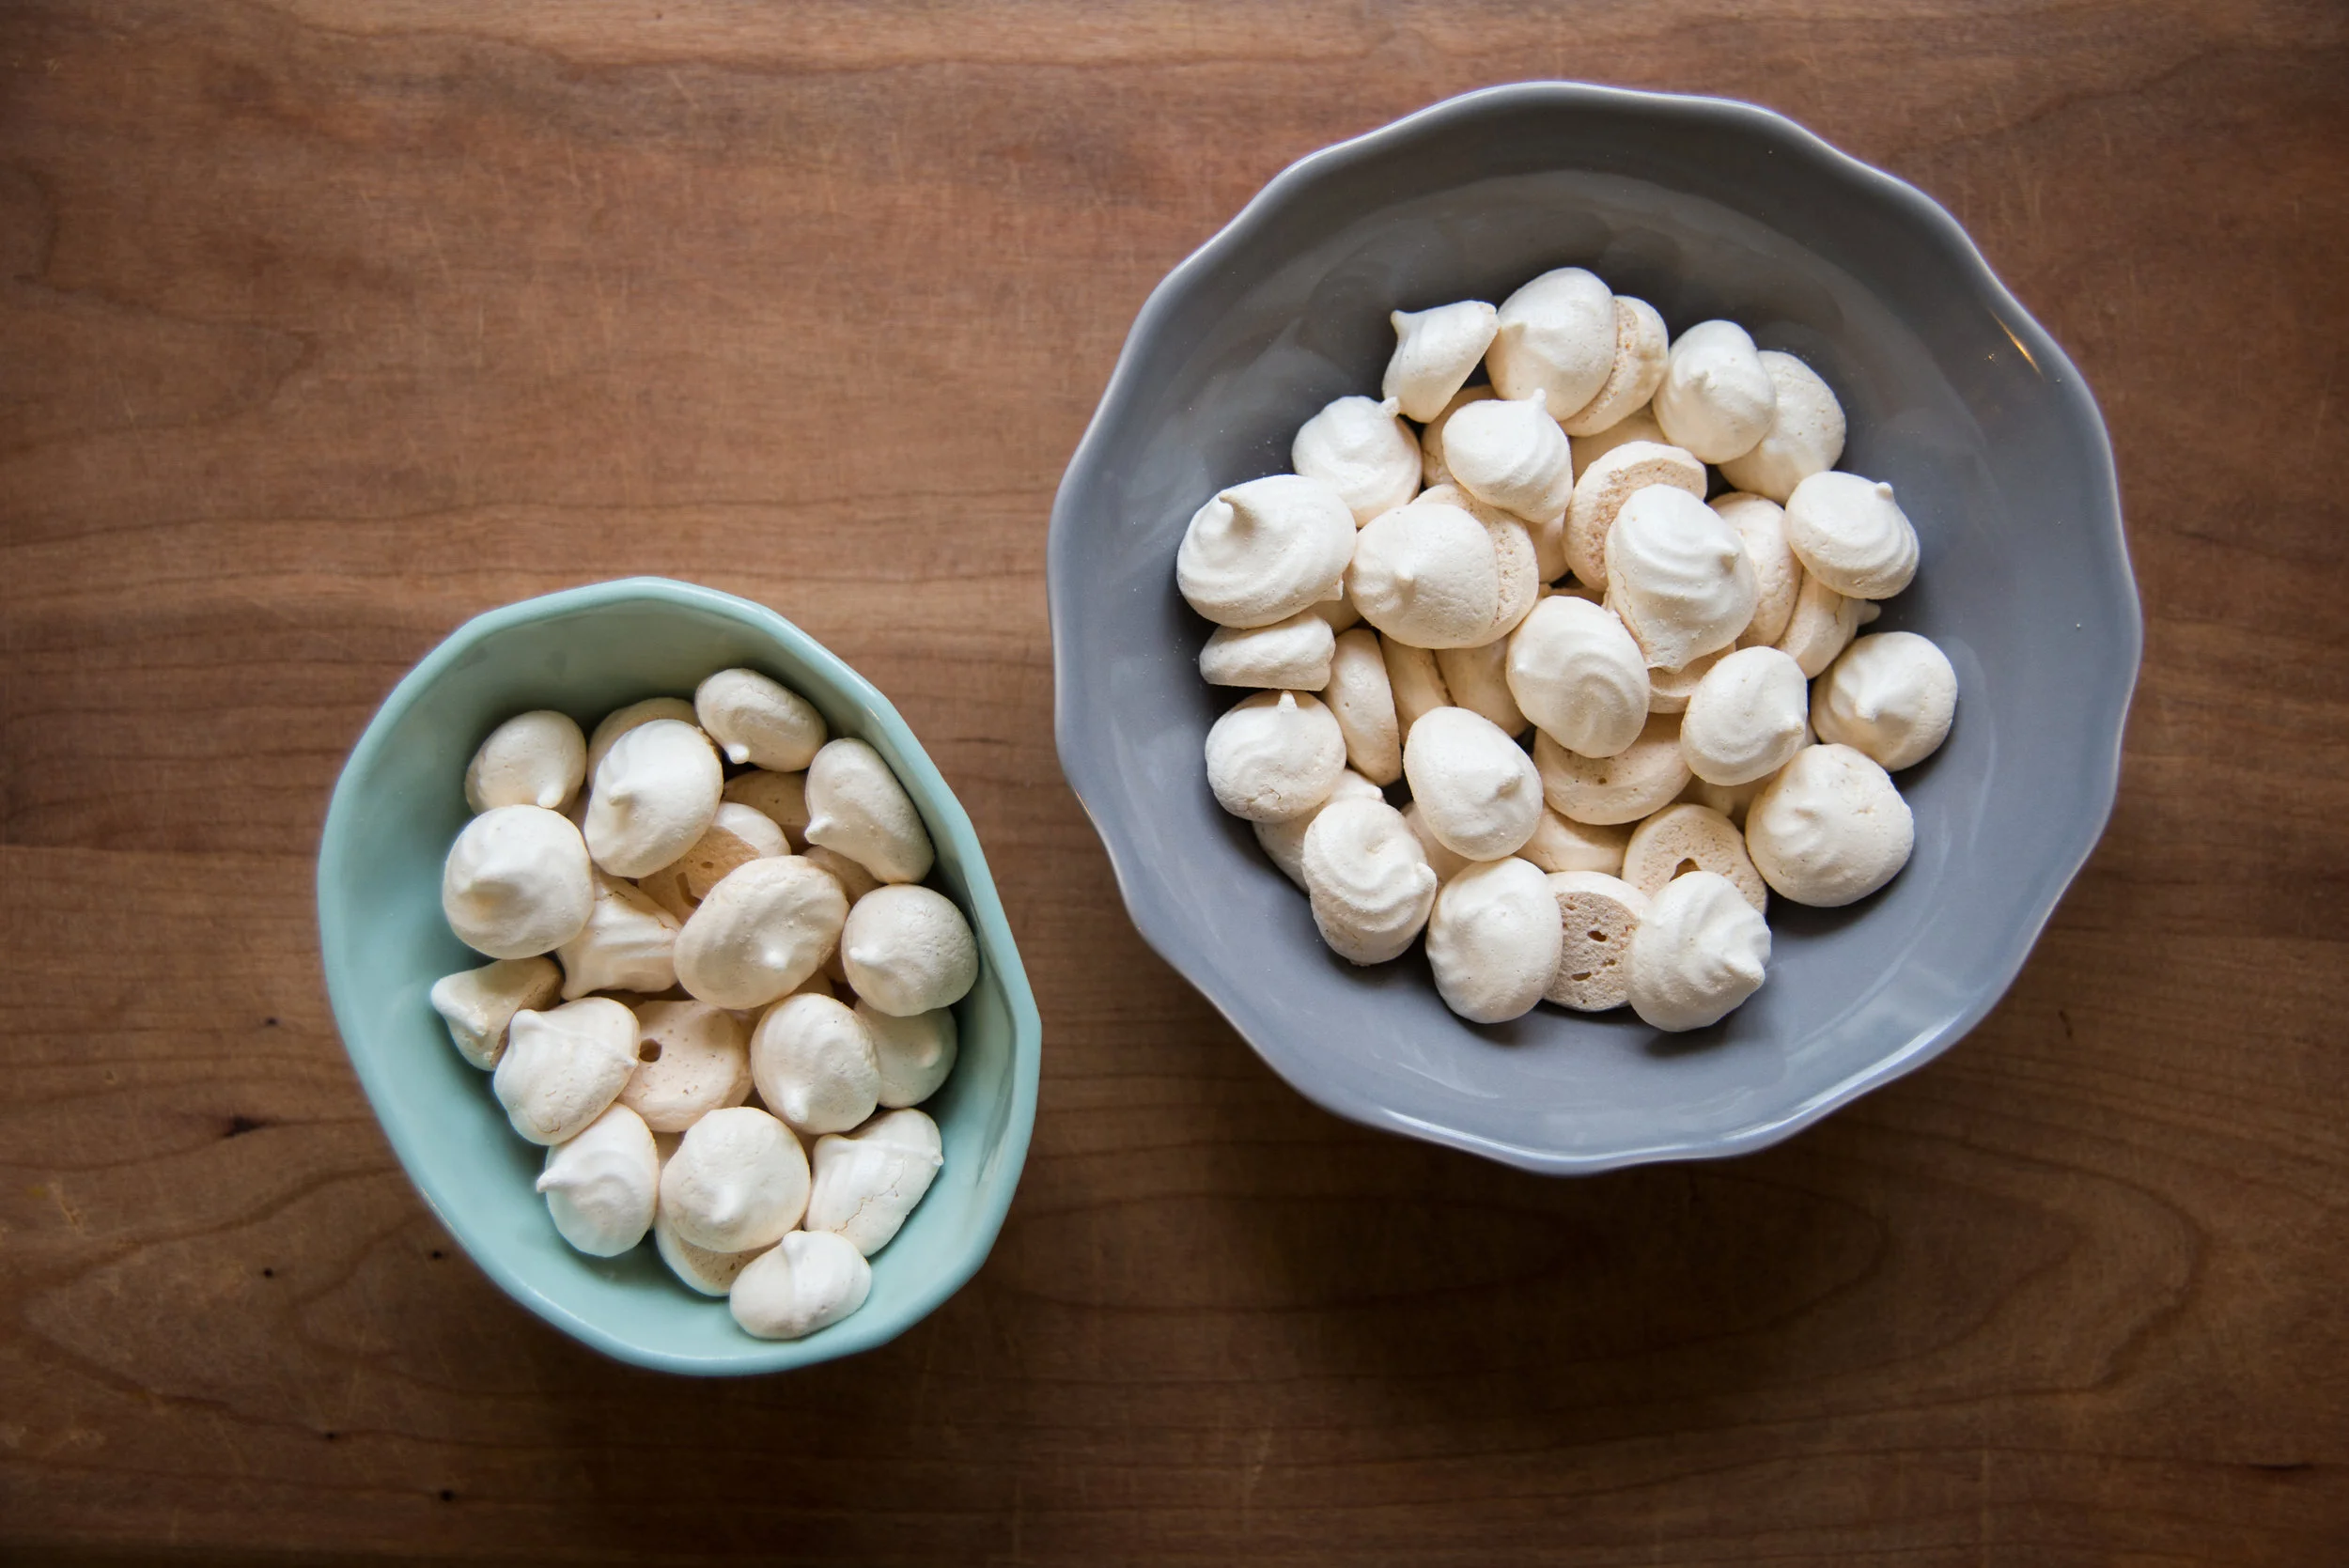
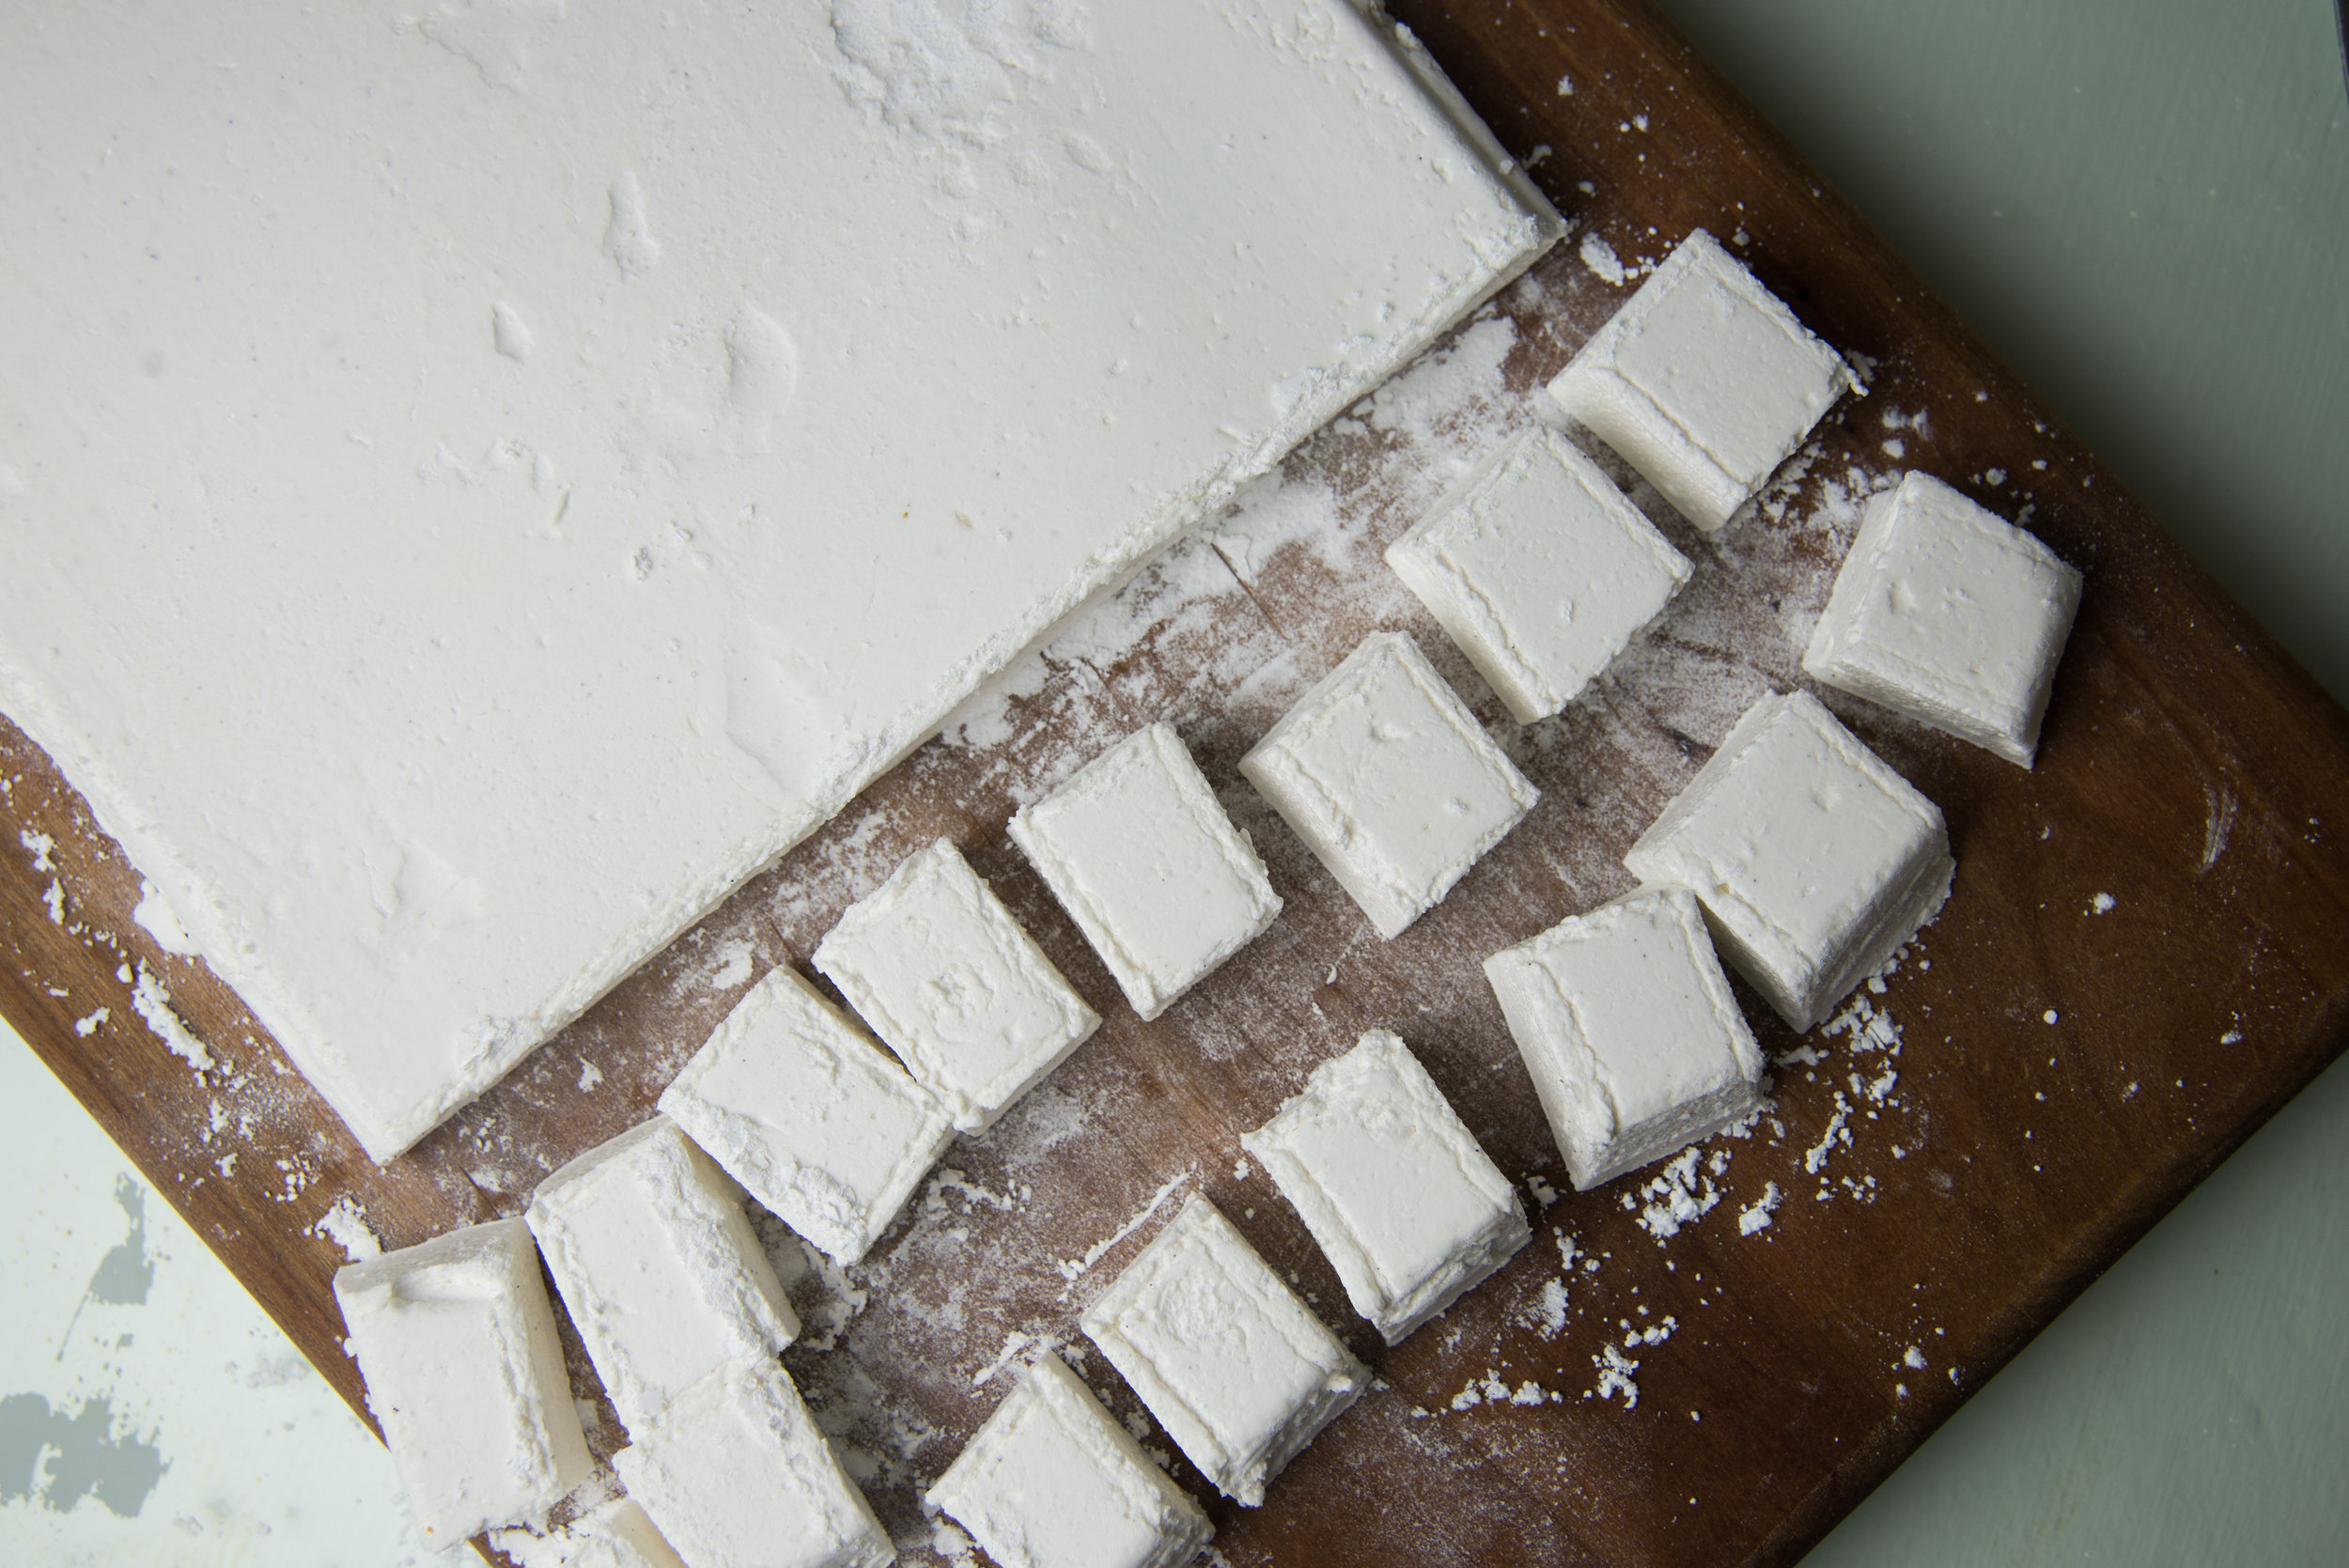
Marshmallows are fun because you can cut them into whatever shapes you please! I didn't want to restrict myself to just one type, so I made a few. Classic cubes, which are the easiest mallow to cut. Giant circles perfect for placing just one big marshmallow atop a mug of cocoa. And little circles cut into crescent moon shapes - at the request of my sweet babes (he's a genius sometimes!).

Cubes are surely the most efficient shape to choose but cut shapes are a lot of fun, and you can snack on all the scraps while you work! 

This is the perfect project for the holiday season. Cold weather is made infinitely better with a cup of hot chocolate topped with homemade marshmallows. And your family and friends will surely be happy if you show up with a sweet little package of marshmallows (or send them one in the mail!). 


Vanilla Bean Marshmallows

This recipe was just slightly adapted from Alton Brown's classic marshmallow recipe.  

note: When substituting maple syrup for light corn syrup, the marshmallows will take on a distinct maple flavor.

3 packages / 3 Tbsp unflavored gelatin

1 cup cold water, divided

12 ounces granulated sugar 

1 cup light corn syrup or maple syrup

1/4 teaspoon kosher salt

3 Tbsp vanilla extract

1/4 cup confectioners' sugar

1/4 cup cornstarch

Nonstick spray

  • Combine 1/2 cup of the water and gelatin in the bowl of a stand mixer. Give it a quick stir, and it will take on the consistency of applesauce! Let it sit while you take on the next step.

  • Combine the remaining 1/2 cup water, sugar, corn syrup, and salt in a saucepan that holds at least 2 quarts. Cover and cook over medium high heat for about 5 minutes, then uncover and clip a candy thermometer onto the pot (or if you're me and don't have one, hold your Thermapen patiently, ha!). If you see any granules of sugar on the side of your pot, use a wet pastry brush to clean them up. When the mixture reaches 240 degrees, remove it from the heat.

  • Head straight over to your mixer and put on the whisk attachment. With the mixer running on a low speed, slowly pour the syrup down the side of the bowl. Once you've added it all, cover the mixer with a clean town to prevent spatter and turn the mixer up to high.

  • After a minute or two, you can remove the towel as the mixture will have thickened. You'll want to mix for a total of about 13 minutes, adding the vanilla about a minute before the mixing is finished. When you're done, the mixture will be thick and fluffy - yum!

  • While the marshmallow is whipping, combine the corn starch and powdered sugar in a small down and mix it together. Lightly coat a 9x13 pan with oil, then coat it with the powdered sugar mixture like you're flouring a pan to make a cake.

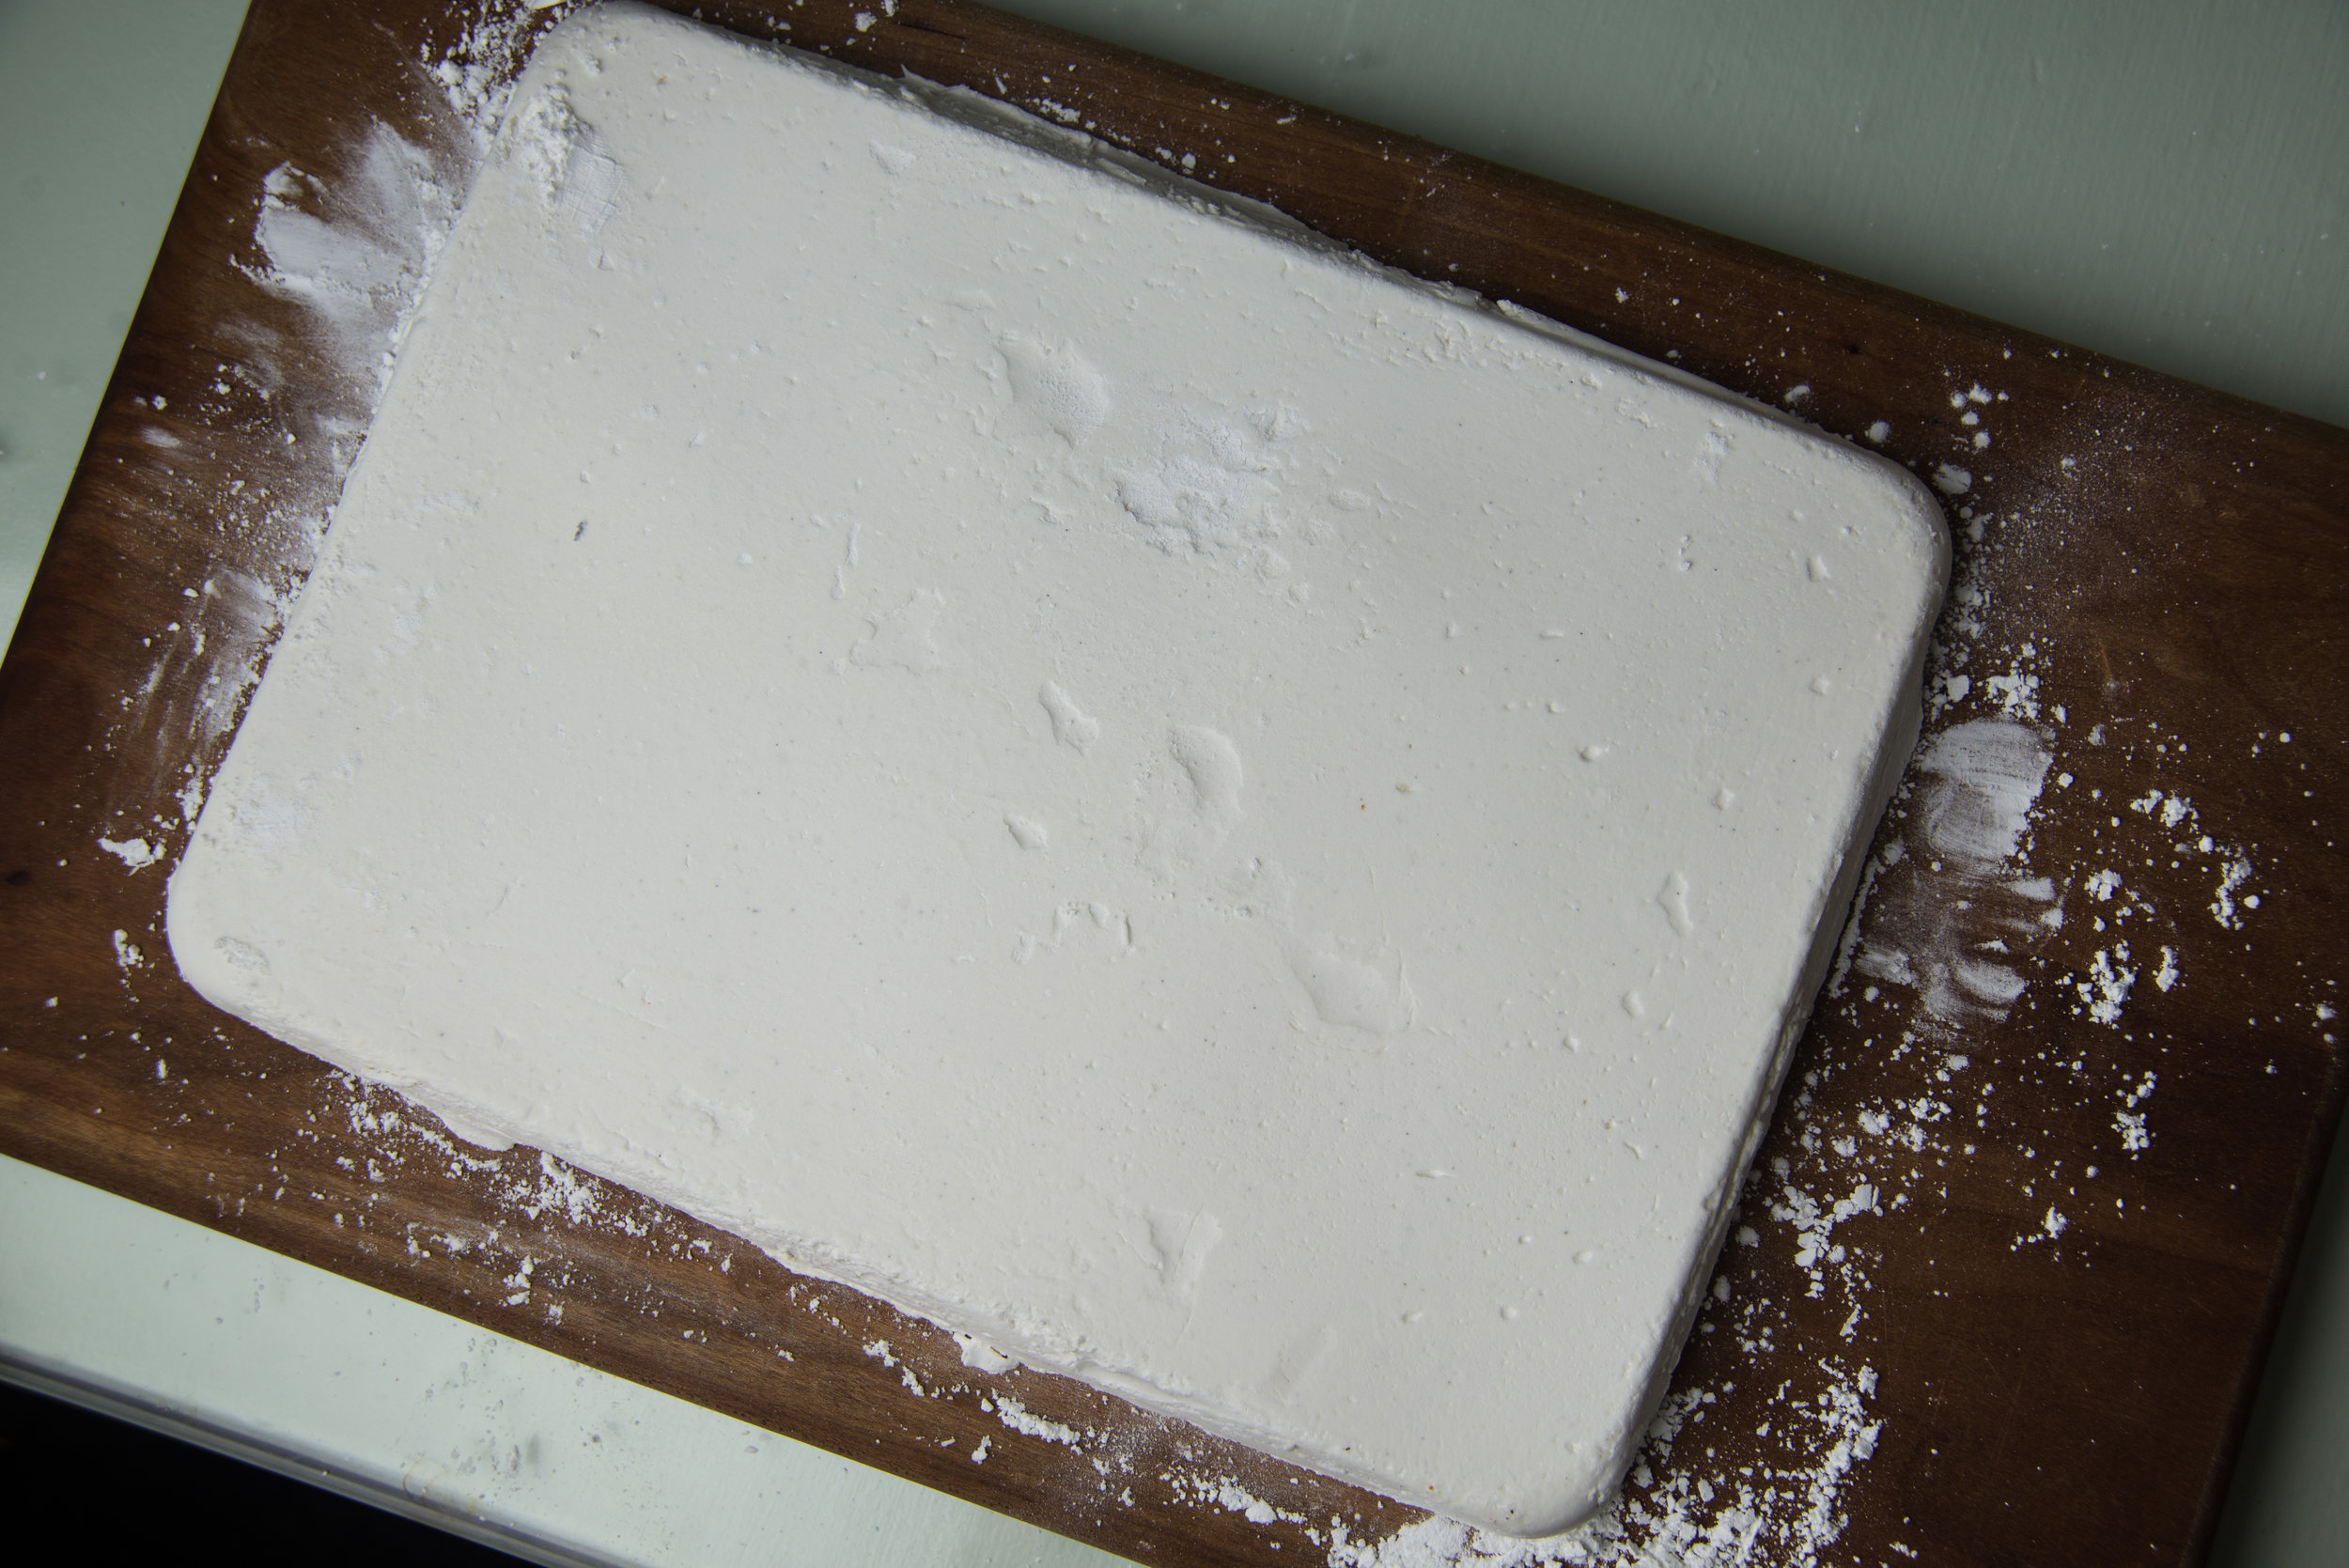
  • When marshmallow is finished whipping, scoop it into the prepared pan and do your best to spread it evenly. Lightly coat the top of the marshmallow in the powdered sugar mixture and use your hands to finish pressing the mixture into the pan.

  • Let the marshmallows cure for 8-24 hours before cutting. Just set them aside, uncovered.

  • Turn the pan out onto a cutting board and cut the marshmallows using a knife, biscuit cutters, or cookie cutters into whatever shape you please!

  • Coat the marshmallows in the powdered sugar and store in an airtight container.


Disclaimer: I have received free product or money from businesses highlighted in this article - which helps me keep this blog alive. I take great pride in the advice I share here on Toot Sweet, and would never recommend a product to you that I'm not over-the-moon excited about, or that I wouldn't purchase for use in my own kitchen. 

Comment

Cranberry Curd

Comment

Cranberry Curd

I already spilled my guts about my love for curd (and eating it straight from the jar) when I shared my recipe for meyer lemon curd last winter, so I won't make you endure that love fest all over again. I'll just say that curds are the dreamiest of toast toppings - at the same time tart, sweet, and creamy. 

When I got some 100% cranberry juice to experiment with from the fine folks at Starvation Alley, curd was of course at the top of my long list of recipes to develop! Bonus - naturally pink foods are always more fun! 

Starvation Alley grows organic cranberries in their Long Beach, WA cranberry bog and cold presses 100% cranberry juice from their farm and other PNW farms which are organic or transitioning to organic. Growing cranberries requires pumping water from the neighboring watershed into the bog for harvest then returning it to the wild, meaning that the pesticides sprayed on conventional cranberries go straight back into our beloved watershed. I couldn't be more proud of the work Starvation Alley is doing to help more cranberry farms go organic! 

I've said it before, but I'll say it again. When eating curd, it's easy to assume that it must be a fussy and difficult thing to make - but the reality is that just 15 minutes in front of the stove and a good fine mesh strainer will have you decadent curd in no time! 

The biggest secrets lie in using a double boiler (aka a bowl over a pot with a little simmering water in the bottom), constantly stirring so it cooks evenly, and straining the mixture when you're finished to remove any little clumps of egg that might have cooked too much. 

I've always been a big fan of curd on toast, for it's ease and simplicity. And the fact that I better be speedy if I want enough curd to remain for a more in depth project! That darn obsession with eating it by the spoonful be damned! 

That said, curd makes a great filling for cake layers and this curd will sit beautifully in mini tart shells or puff pastry cups. It won't, however, be perfect for a full sized tart, for that requires a stiffer curd that will hold its shape when cut (aka, it needs way more butter!). 

So make this curd, then let your imagination run wild - or eat it all by the spoonful like I prefer to do, the world of curd is your oyster! 

Cranberry Curd 

1/4 cup + 2 Tbsp unsweetened 100% cranberry juice (I used Starvation Alley!) 

2 Tbsp lemon juice 

1/4 cup sugar 

2 eggs 

2 egg yolks 

3 oz / 6 Tbsp unsalted butter, cut into cubes 

pinch sea salt 

  • Whisk together all ingredients in a small mixing bowl and place over a pot with a few inches of water in the bottom, being sure the bowl isn't touching the water. 
  • With the pot over medium heat, cook the mixture, whisking constantly. A few minutes after the butter melts, the mixture will start to thicken. When it does, pour the curd through a fine mesh strainer and into a jar. It will thicken more as it cools. 
  • Store curd, covered, in the refrigerator. 


Disclaimer: I have received free product or money from businesses highlighted in this article - which helps me keep this blog alive. I take great pride in the advice I share here on Toot Sweet, and would never recommend a product to you that I'm not over-the-moon excited about, or that I wouldn't purchase for use in my own kitchen. 

Comment

Holiday Spice - Nutmeg Almond Merengue Cookies

Comment

Holiday Spice - Nutmeg Almond Merengue Cookies

I first fell in love with making merengue cookies when I found myself frequently searching for something to do with egg whites left over from ice cream making. That said, since we downsized our kitchen and the ice cream maker didn't make the cut (hold on sweet ice cream maker, I'm coming back to you in just a few short months!!), I've found myself looking for excuses to use yolks and treat myself to a batch of these cookies : ) 

These airy, crisp, and lightly sweet beauties are like crack to this work-from-home lady... in fact,  I had to insist we didn't eat more than two each last night because I knew if we put the open container between us I wouldn't have enough to photograph today. And we still went back for seconds. In the midst of photographing the recipe and editing the photos, I ate most of them.

I have no shame. 

Of course after any binge on these babies, one must tell themselves - they're mostly air. Because they are! So it's totally fine. 

I've made a lot of flavors of merengue in my days (remember the gorgeous strawberry kisses?), but there is something intensely satisfying about this holiday almond nutmeg version. It's the lightest festive treat you'll find this year! 

note: You could surely replace the freshly grated nutmeg with a ground nutmeg, but you'll get the best flavor possible with a freshly ground version - it's one of my favorite spices to use whole! Simply purchase whole nutmeg, and grate it with a fine grater like a Microplane.

Nutmeg Almond Merengue Cookies

3 large egg whites 

3/4 cup sugar 

1/4 tsp corn starch 

1/2 tsp almond extract 

1/2 tsp vanilla extract 

1/2 tsp freshly grated nutmeg  

  • Using a stand mixer fitted with a whisk attachment or a handheld mixer, whip egg whites, sugar, and corn starch until stiff peaks form. 
  • Whip in the extracts and nutmeg until they're evenly distributed. 
  • Fit a pastry bag with a medium star frosting tip. If you don't have a tip, you can just scoop small piles of the batter onto your baking sheet, or use a plastic bag with the corner cut off to form small mounds. 
  • Fill the pastry bag with merengue, and form small swirls on a baking sheet lined with parchment or a silicone baking mat. They can be very close together as they won't swell, just make sure they aren't touching! 
  • Bake at 200 degrees for about 2 hours, then let cool with oven door cracked. cookies should be dry to the touch before turning off the oven, and one big crunch once cooled (tasting is the best way to test them!). If for some reason your cookies still have some gooeyness to them once cooled, just turn the oven back on for another half an hour or so, then let them cool again. 
  • Store these in an air-tight container to keep them at their crispiest!  

Comment