Viewing entries in
frozen treats

roasted cherry ice cream

1 Comment

roasted cherry ice cream

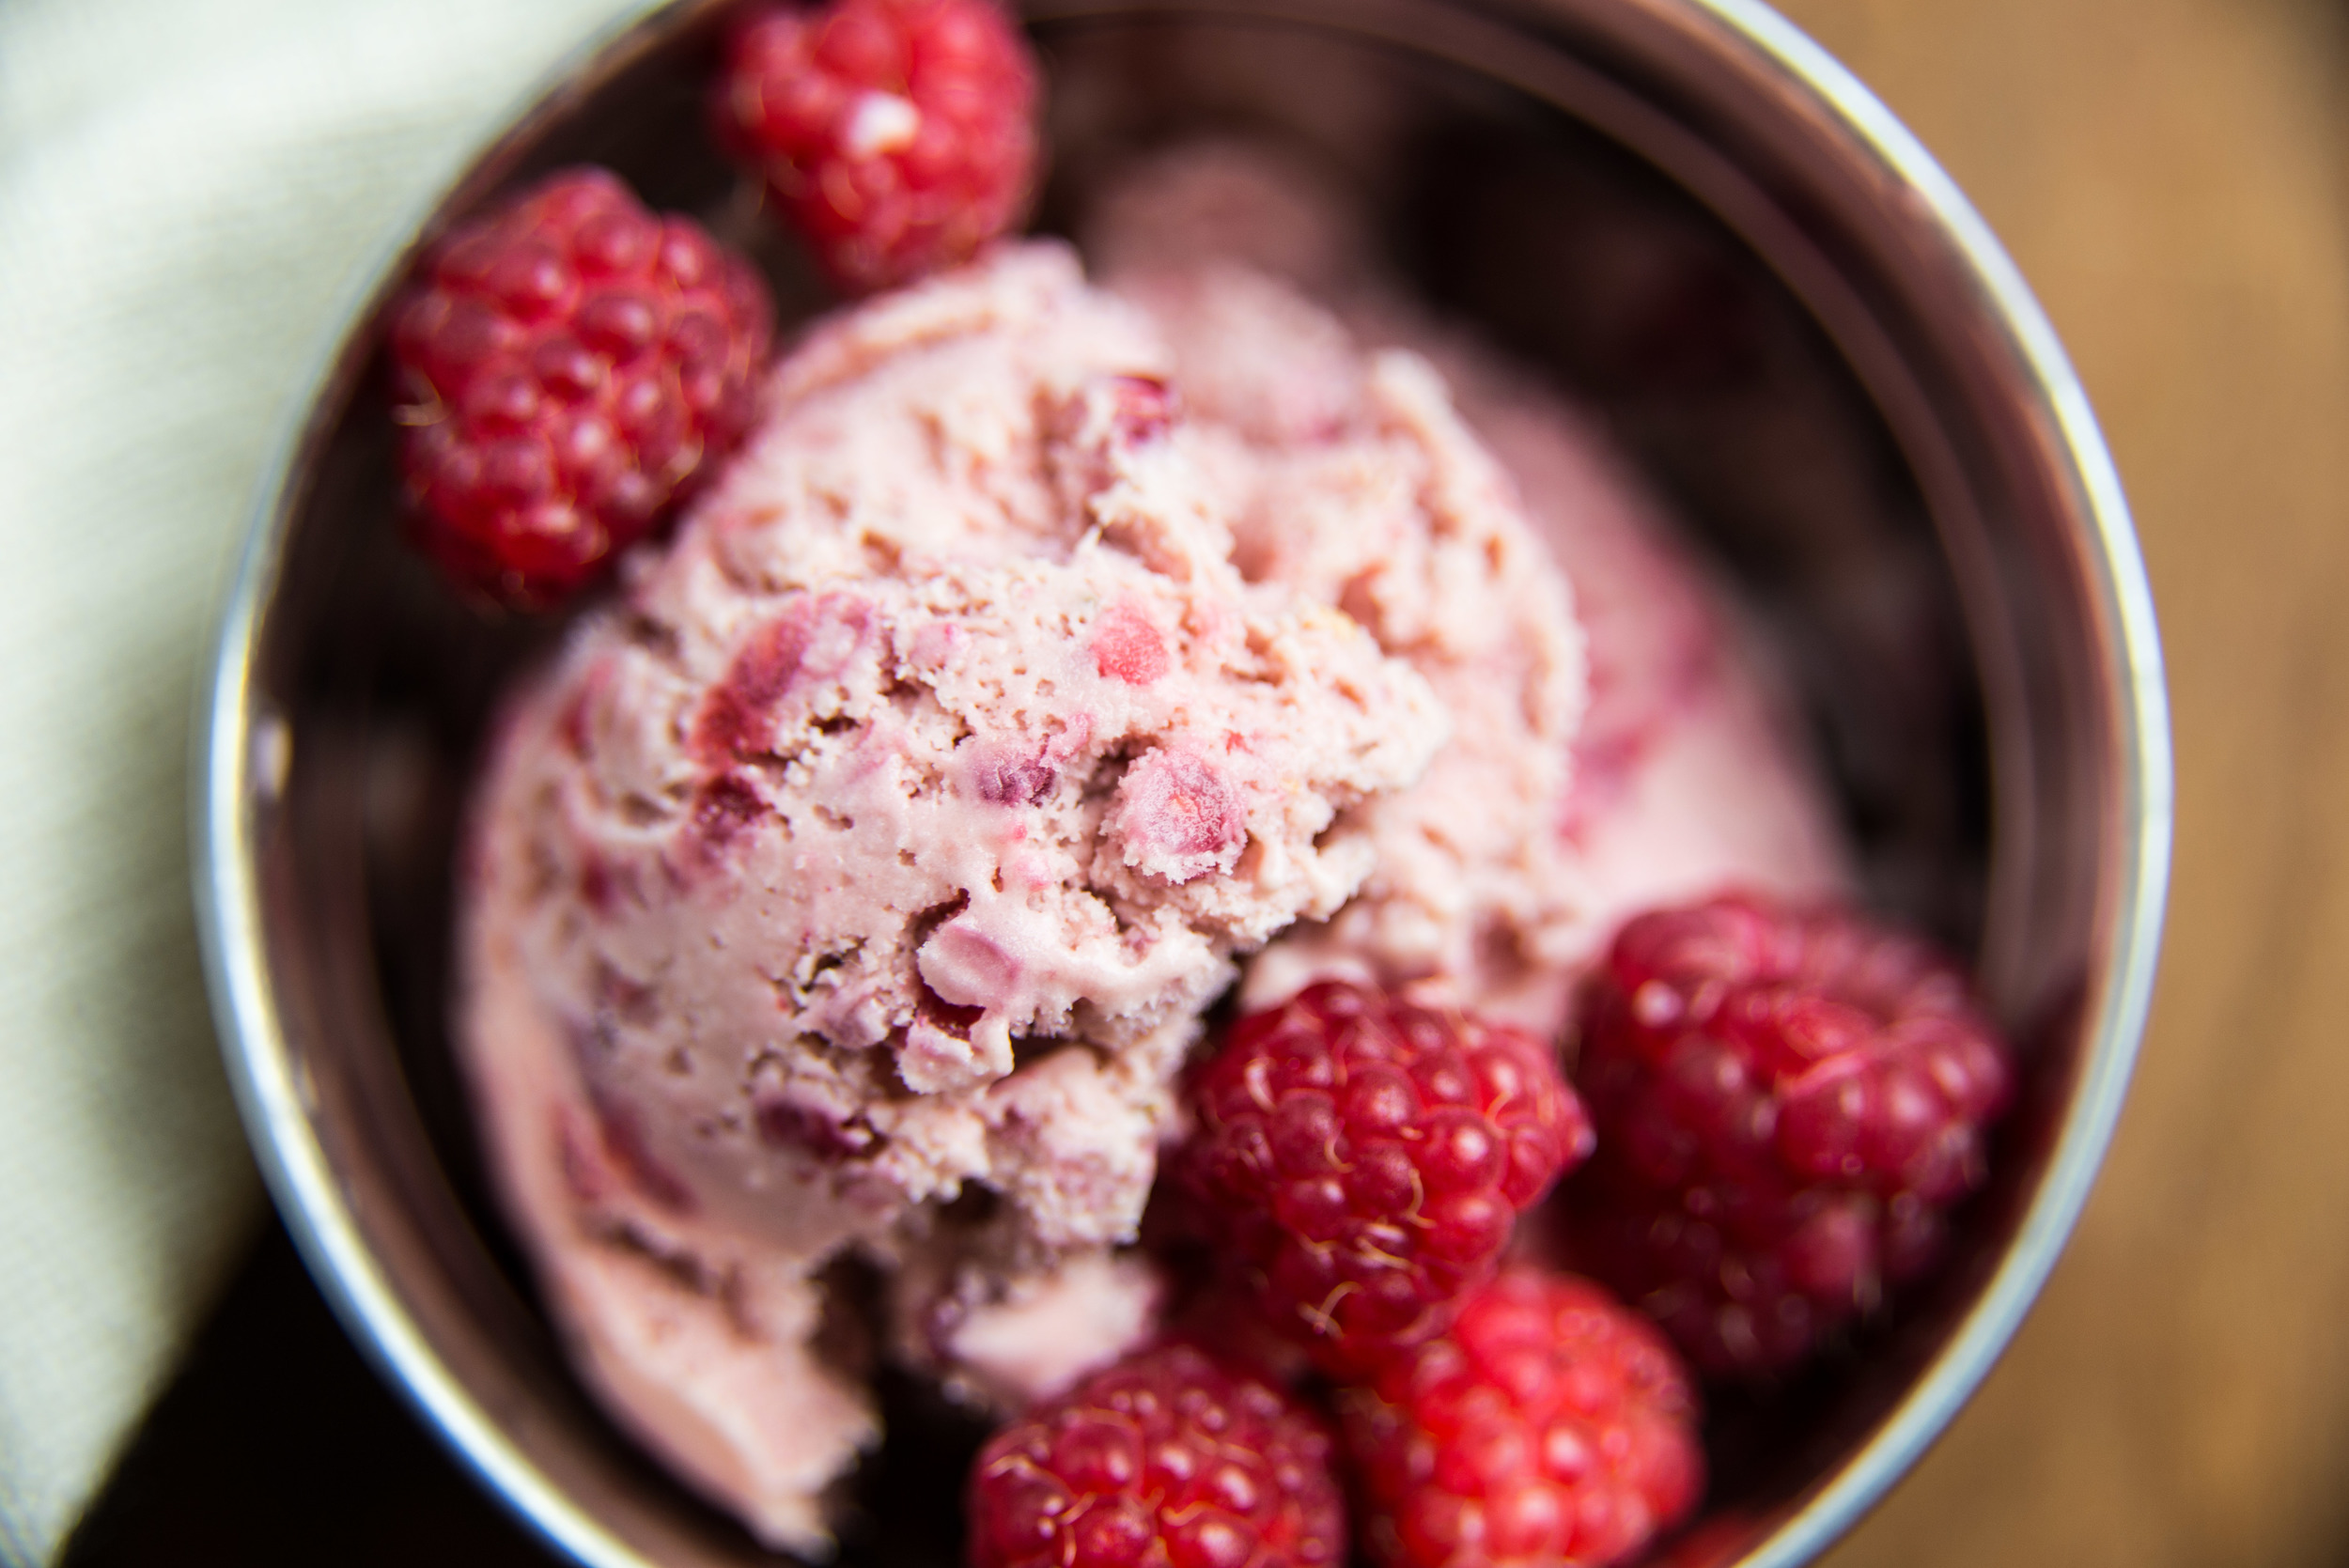
Ice cream season is back, friends! And I couldn't be more excited to share this incredible recipe with you. I've been slowly perfecting my fruit ice creams over the years and I have to say - perfection has arrived. 

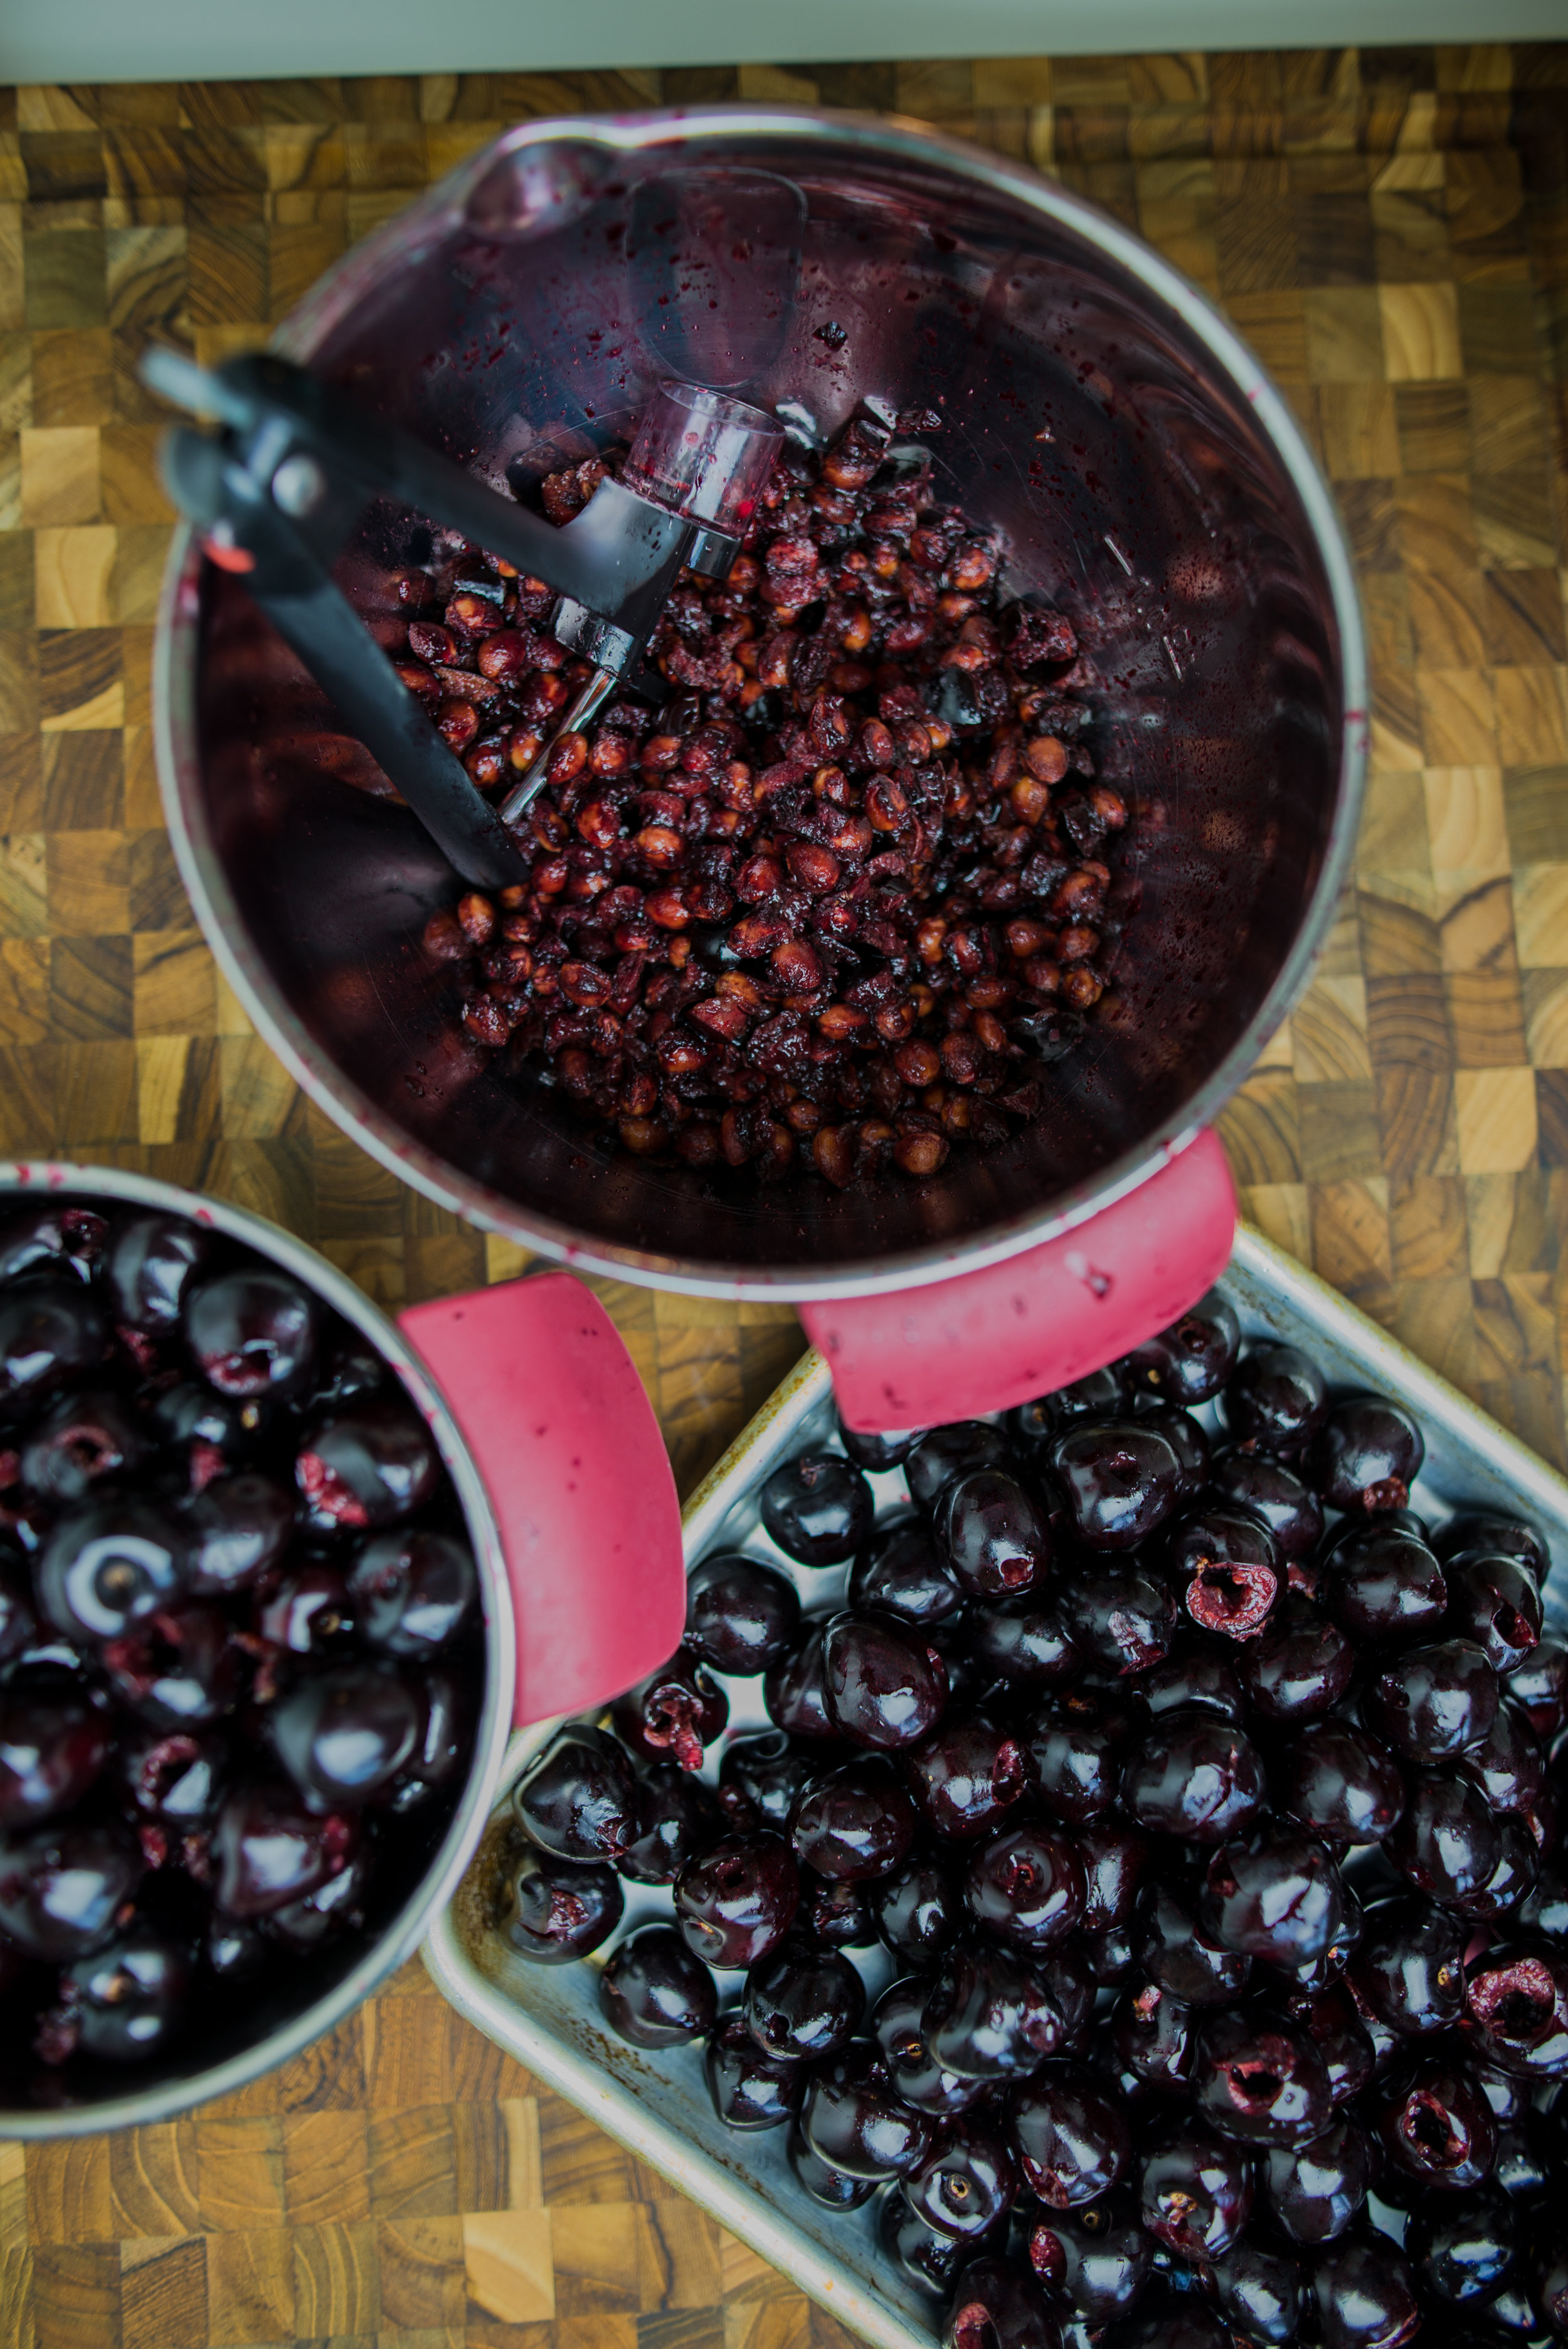
While I do live in the tart cherry capital of the world, sweet black cherries are grown here as well and it's damn near impossible to drive a mile down any road in the area without passing a stand selling those glorious bursts of flavor. Summer in northern Michigan is all about driving with the windows down, spitting cherry pits out the window as you down a whole bag, warmed by the sun. 

When some cherries do manage to make it back home and into the kitchen, I can't think of anything better to do with them than make this roasted cherry ice cream. 

I used black cherries to make my ice cream because I'm so drawn to the deep purple color they offer, but you could use any of the sweet cherry varieties dotting the orchard-filled hillsides to make this ice cream. The rainbow of sweet cherries available means you could make this ice cream any shade you like! 

I will say - for someone who calls this tart cherry capital home, my whole heart is with the sweet cherry. I'm a lover of sweets to the core and I can't get enough of how sweet this fruit is. So in addition to eating and cooking with all the sweet cherries I can manage, I also make a point to fill part of my freezer with these beauties in an effort to make the harvest last as much of the winter as possible. Sweet cherry smoothies while the snow flies are pure heaven.  

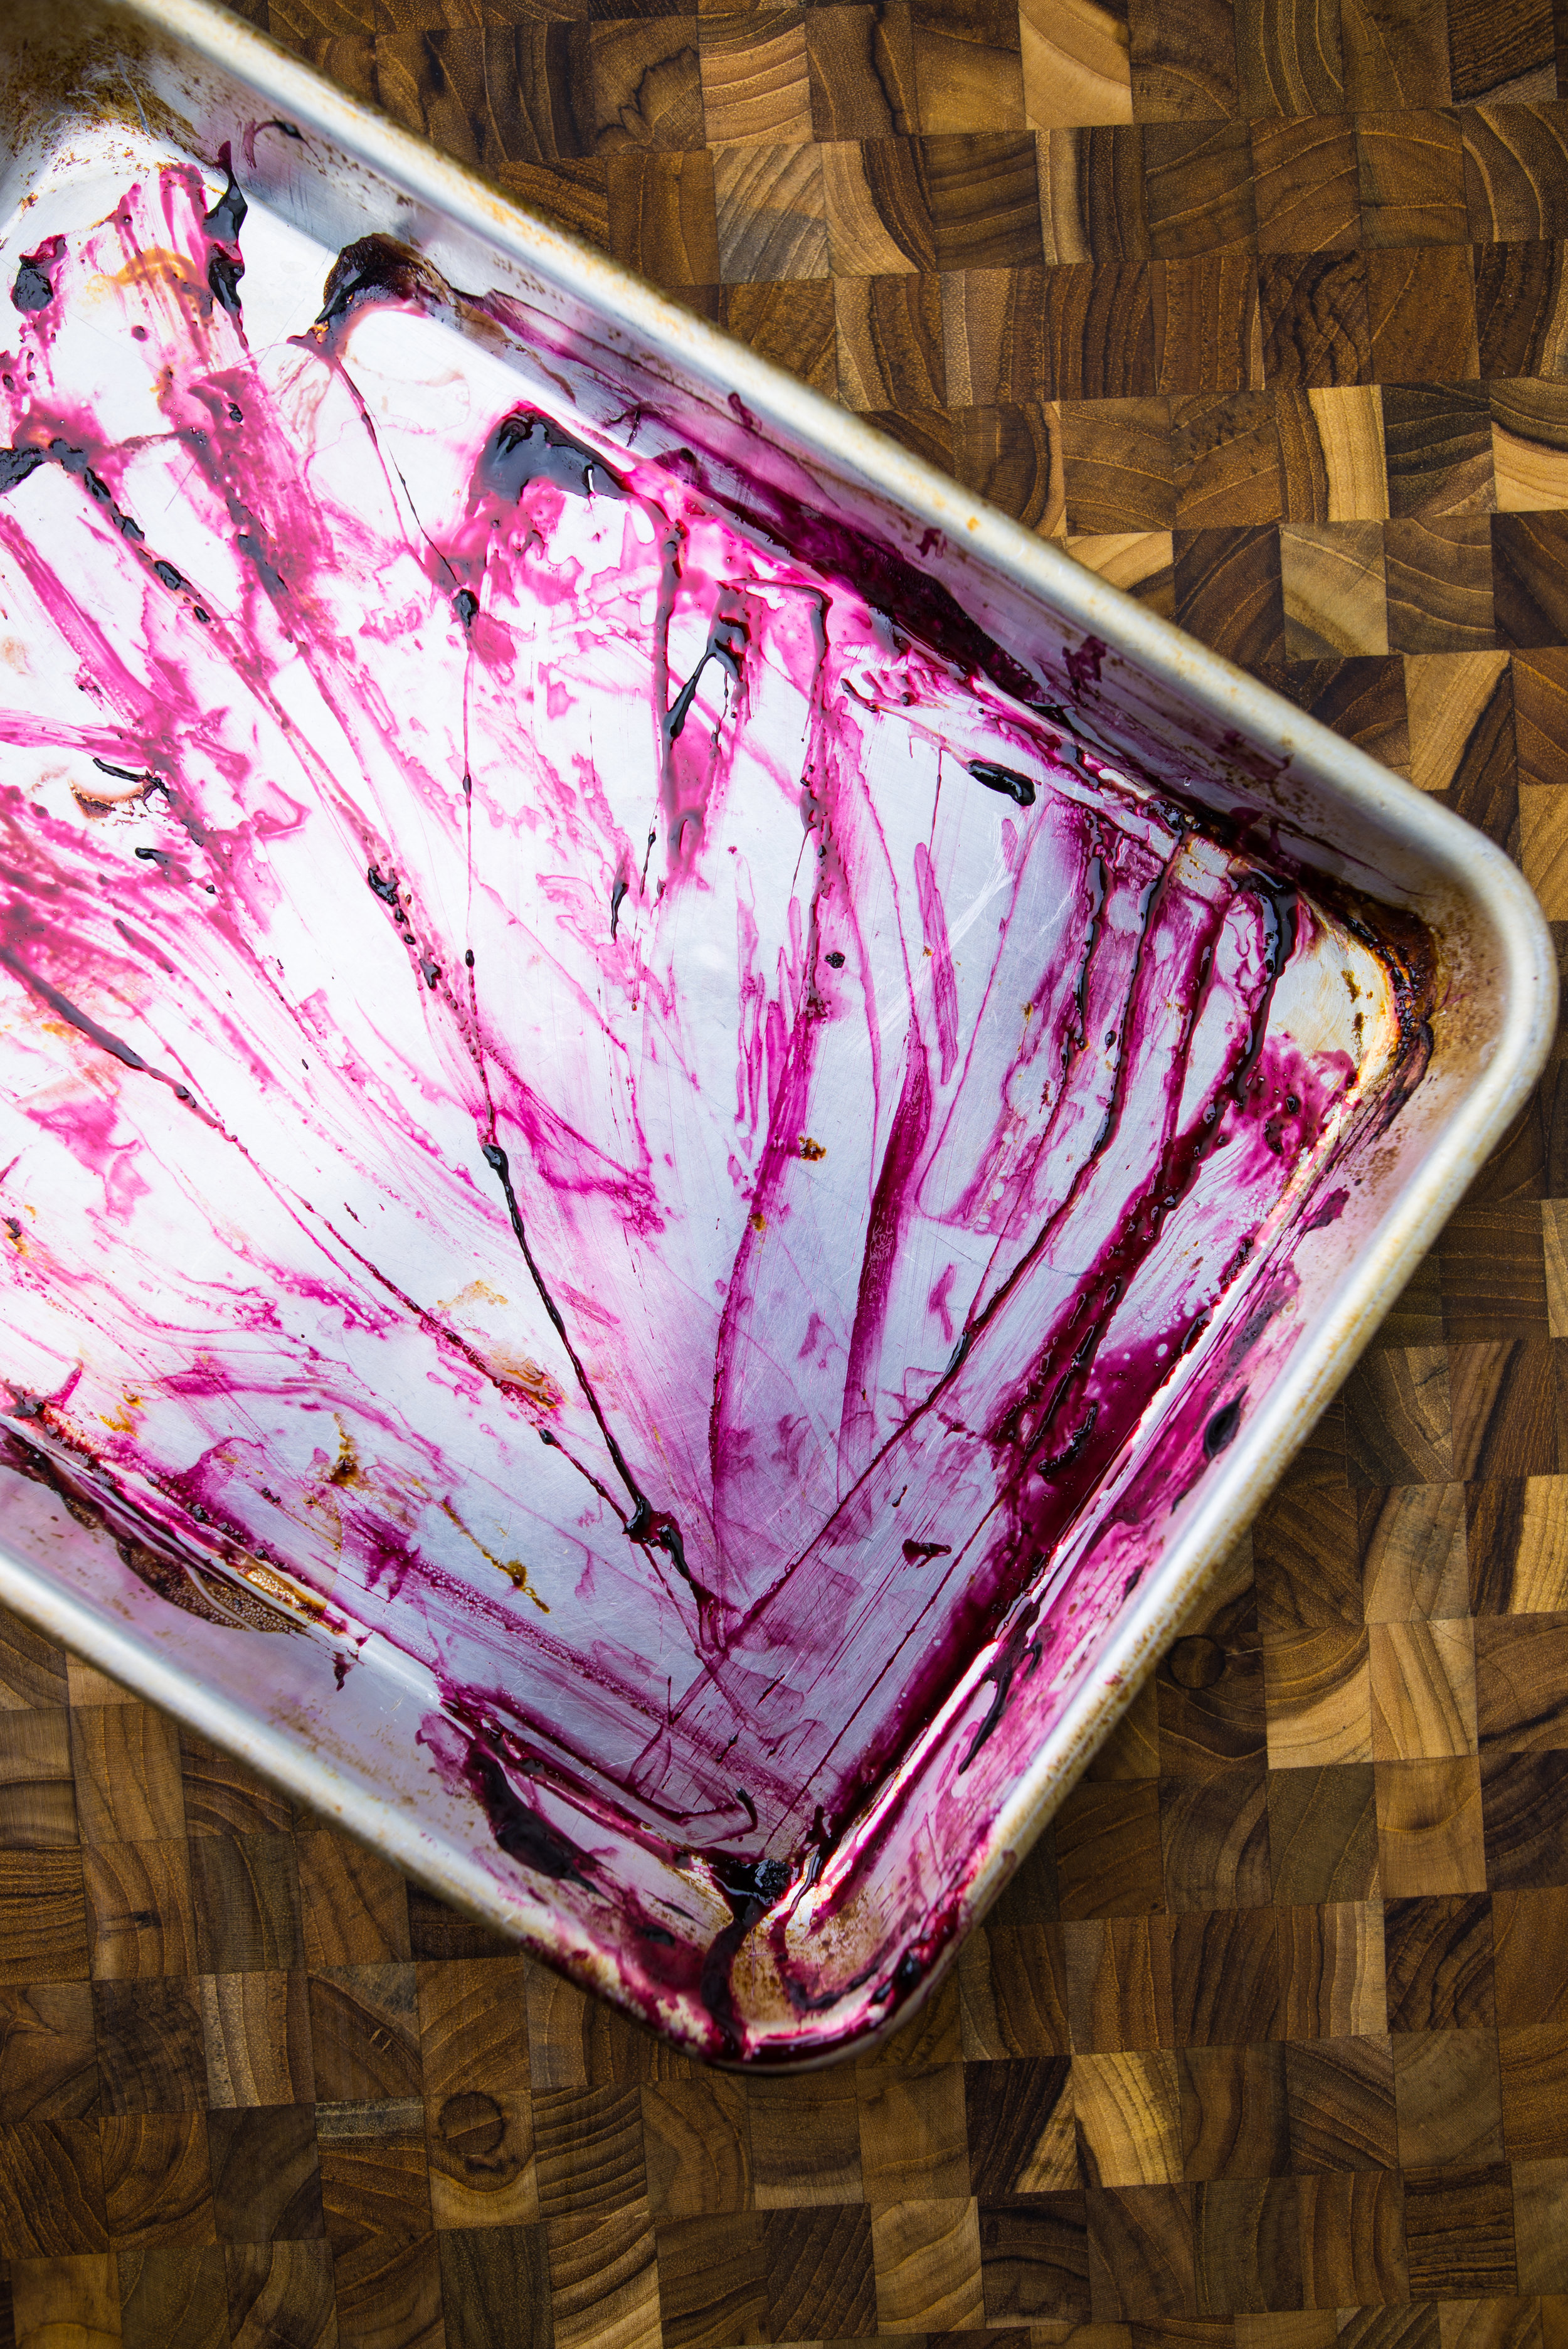
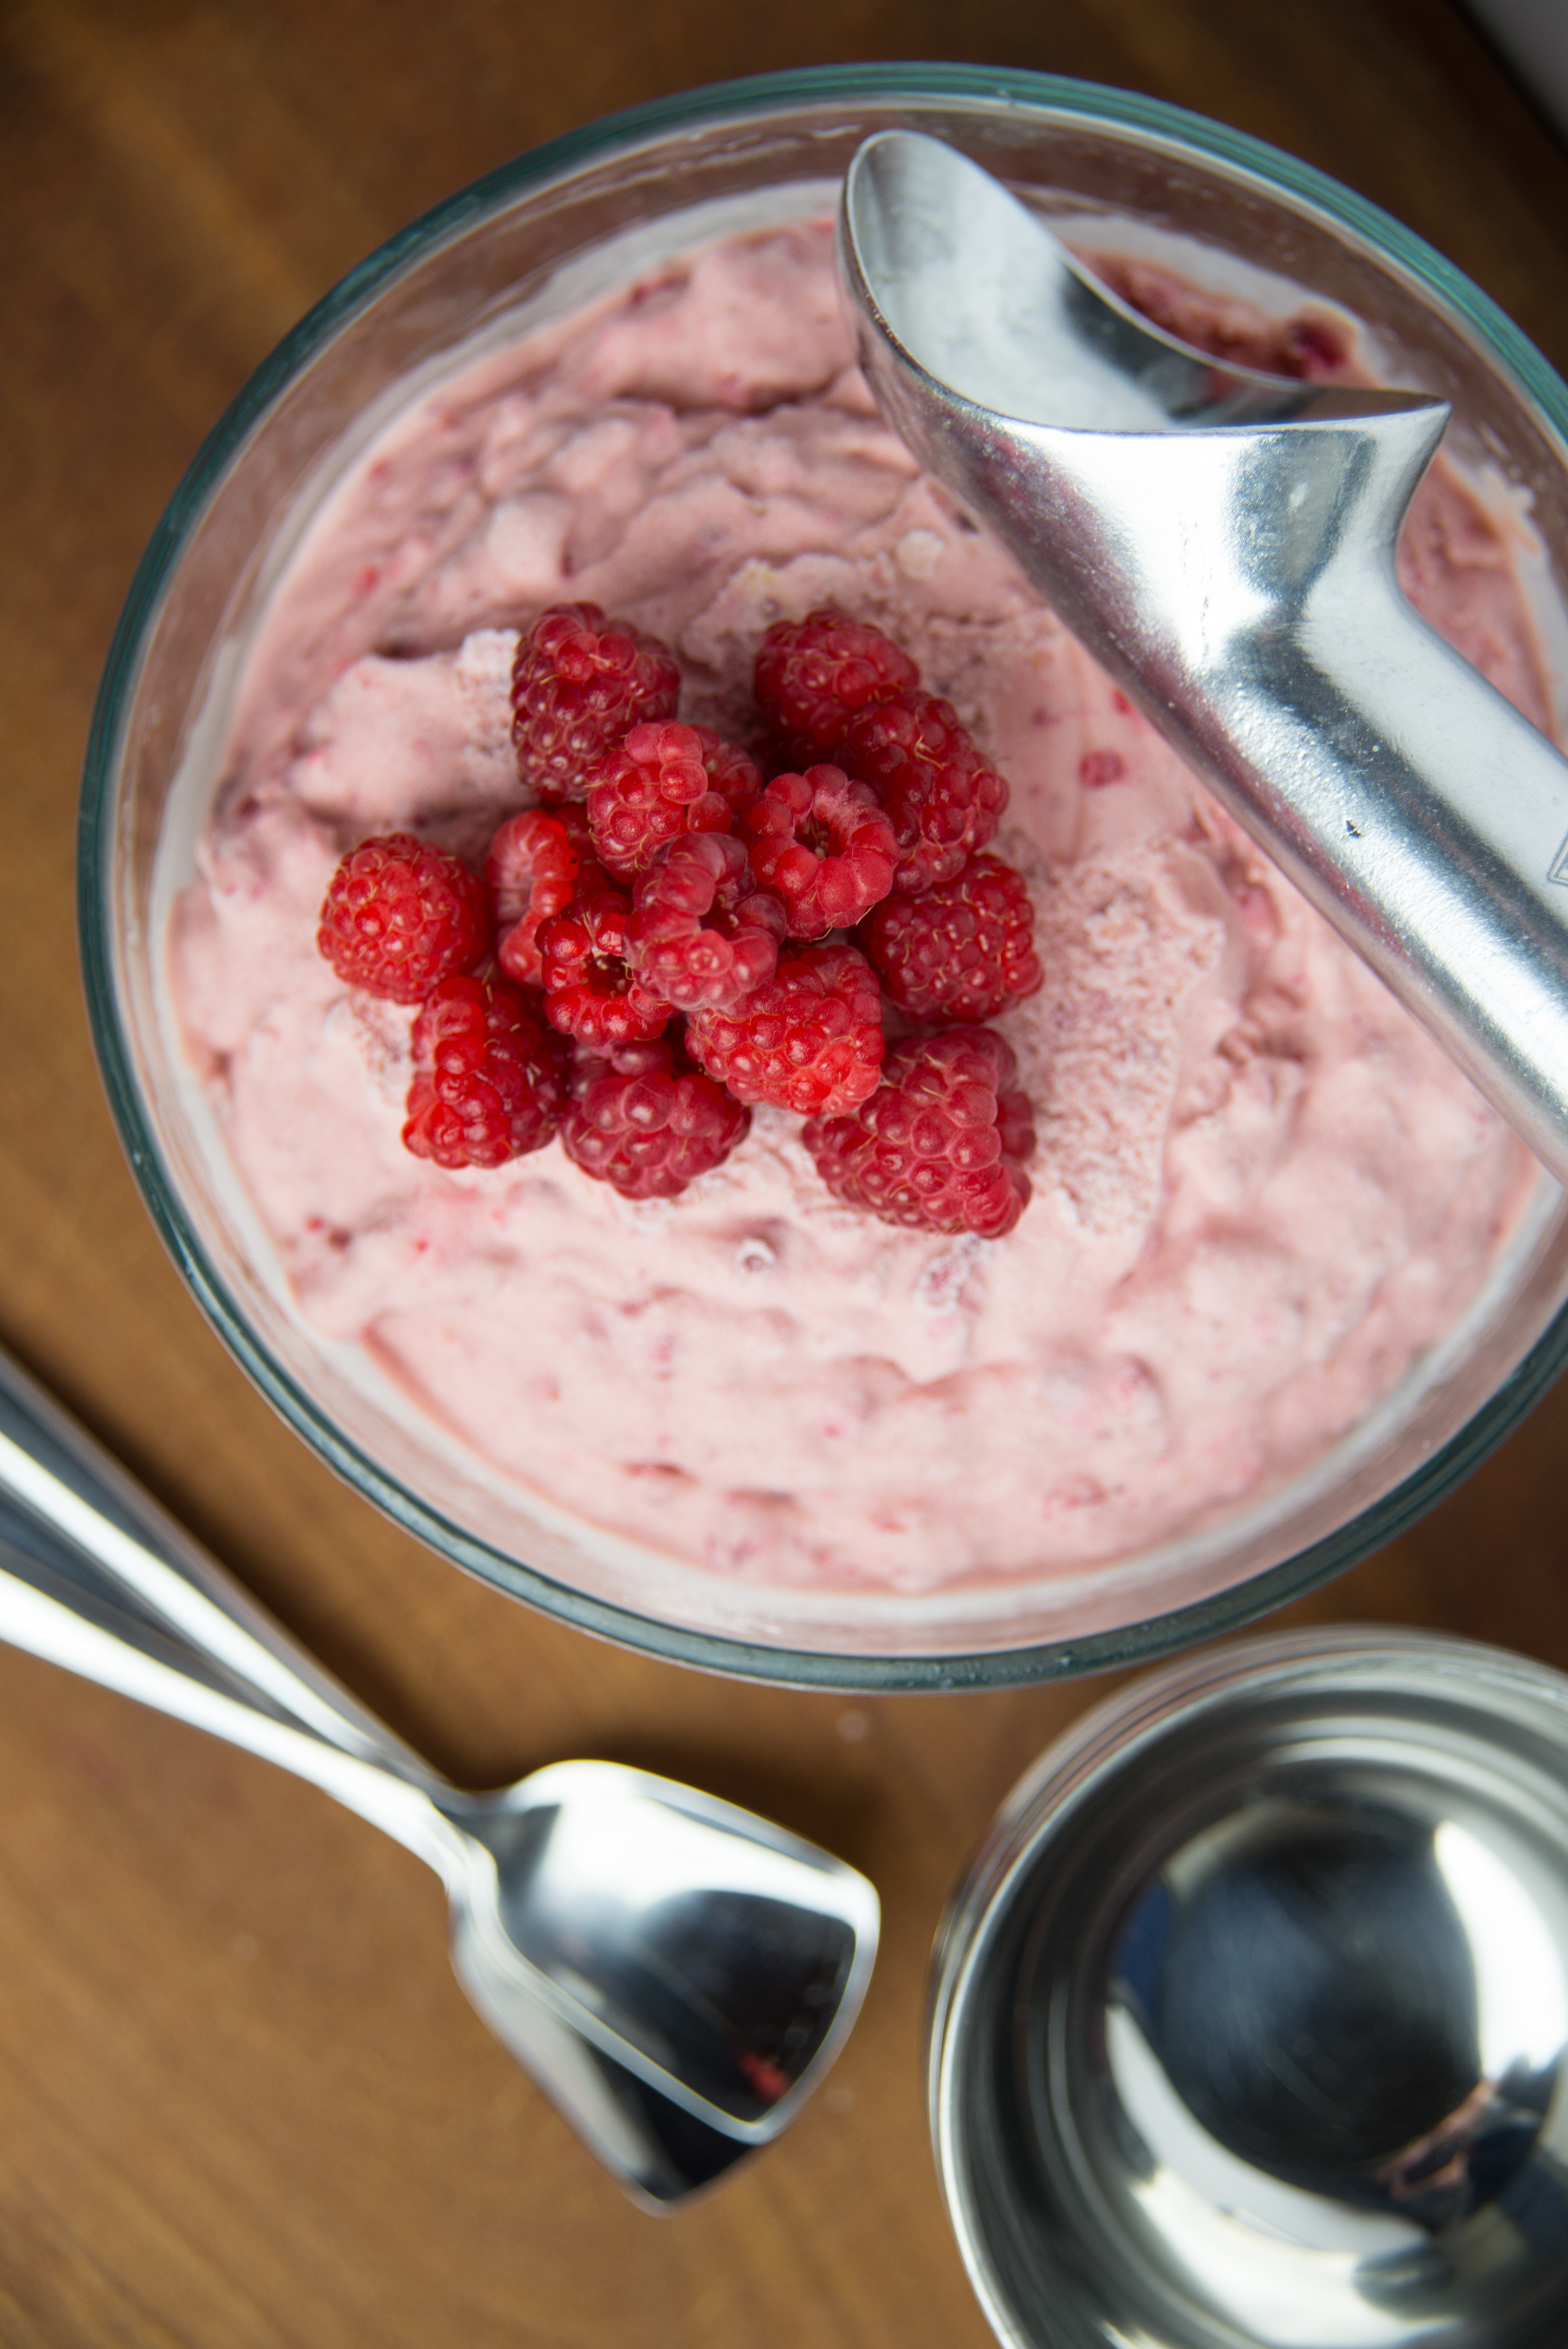
Once your cherries are roasted, coaxing out those sweet flavors, don't forget to scrape the pan into the blender. All the juices that have spilled out onto the pan are where the flavor magic lives. They're the answer to why this ice cream is so completely addicting. 

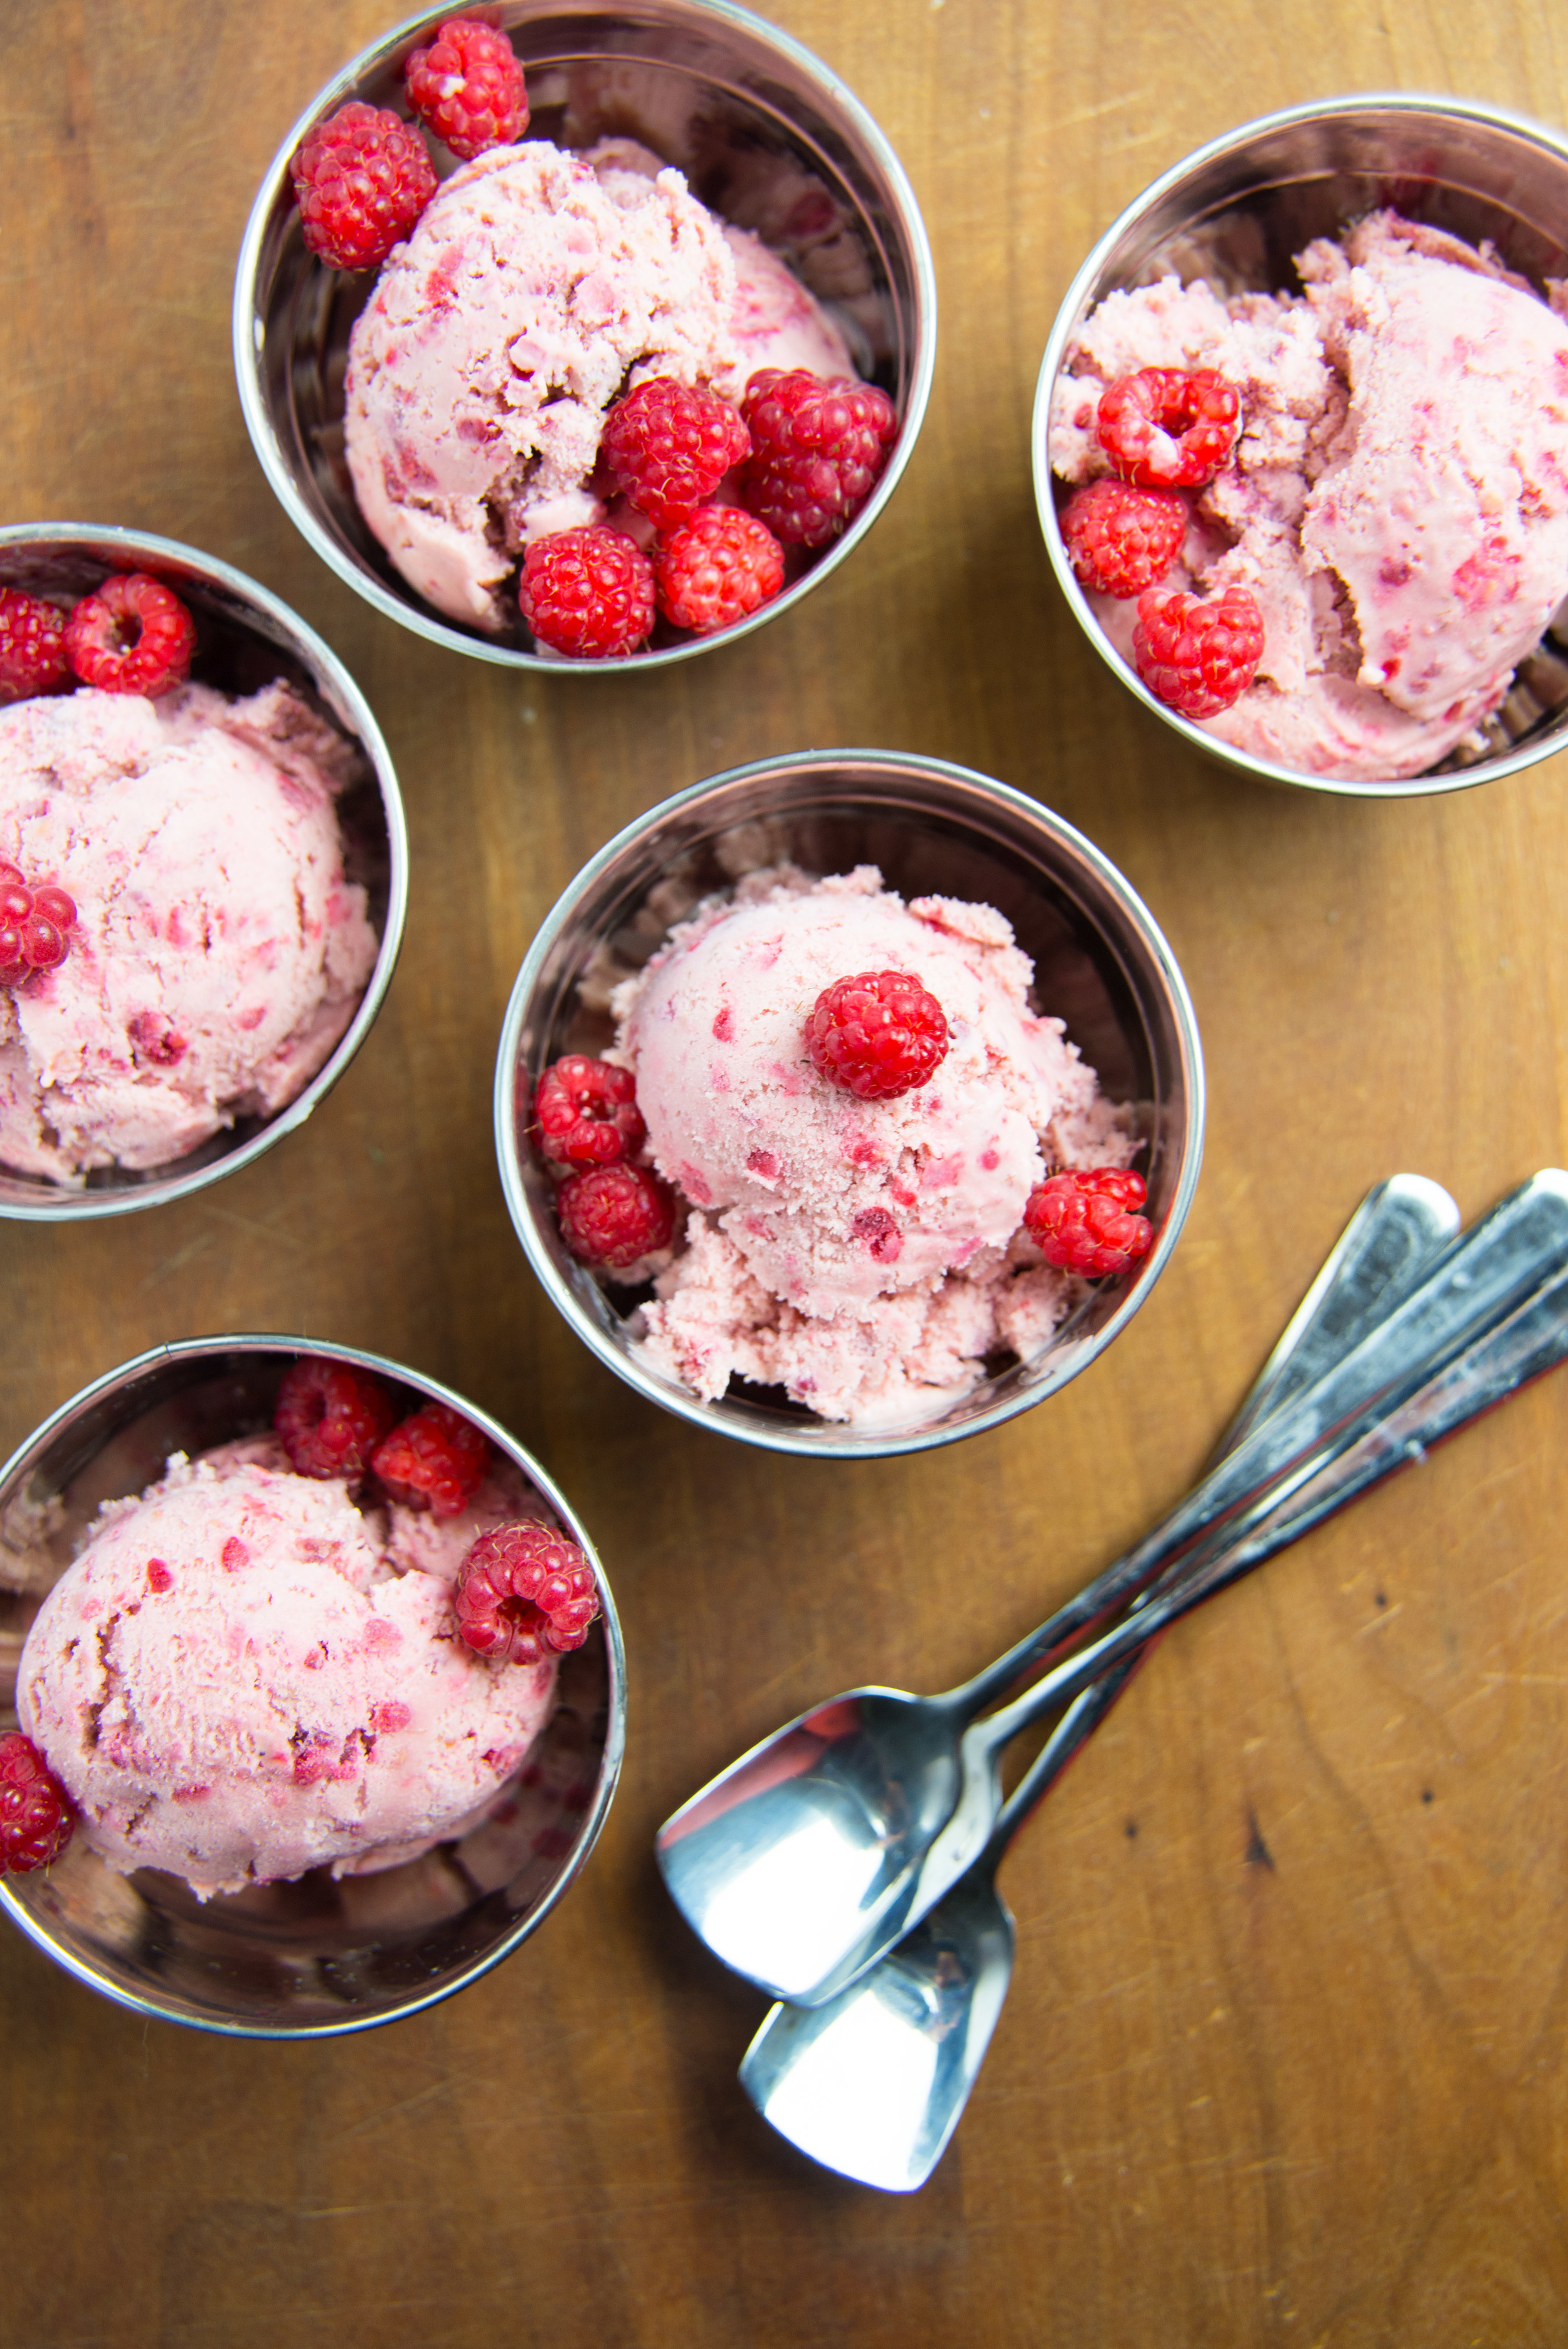
So pull out that ice cream maker, and get pitting - this ice cream is all you need to call this summer a success! 

Roasted Cherry Ice Cream

14oz sweet cherries, pitted

1 1/3 cup heavy cream 

1/4 cup + 2 Tbsp brown sugar

4 egg yolks

1 tsp vanilla 

1/2 tsp almond extract 

optional chocolate ganache: 

1 cup chocolate chips 

1/2 cup heavy cream 

  • Spread cherries on a baking sheet and roast at 400 degrees for about 15 minutes, until the juice oozes out onto the pan. 
  • Puree the cherries in a blender until smooth and set aside. 
  • Combine cream and 2Tbsp of the brown sugar in a saucepan and warm over medium heat until steaming. 
  • While the cream is warming, combine egg yolks and remaining 1/4 cup sugar in a medium bowl. Whisk until the yolks begin to lighten in color and take on a ribbony texture. This can be done in a stand mixer if you please, but I usually just do it by hand while the cream warms. Earn that ice cream! 
  • Once the cream is warm, slowly pour the warm cream into the yolks, whisking as you pour. Return the mixture to the saucepan. 
  • Continue cooking over medium heat for a few minutes, stirring gently, until the mixture starts to thicken a bit. 
  • Remove from heat and stir in the cherry puree, vanilla, and almond extract. 
  • Refrigerate the mixture until fully chilled before churning. 
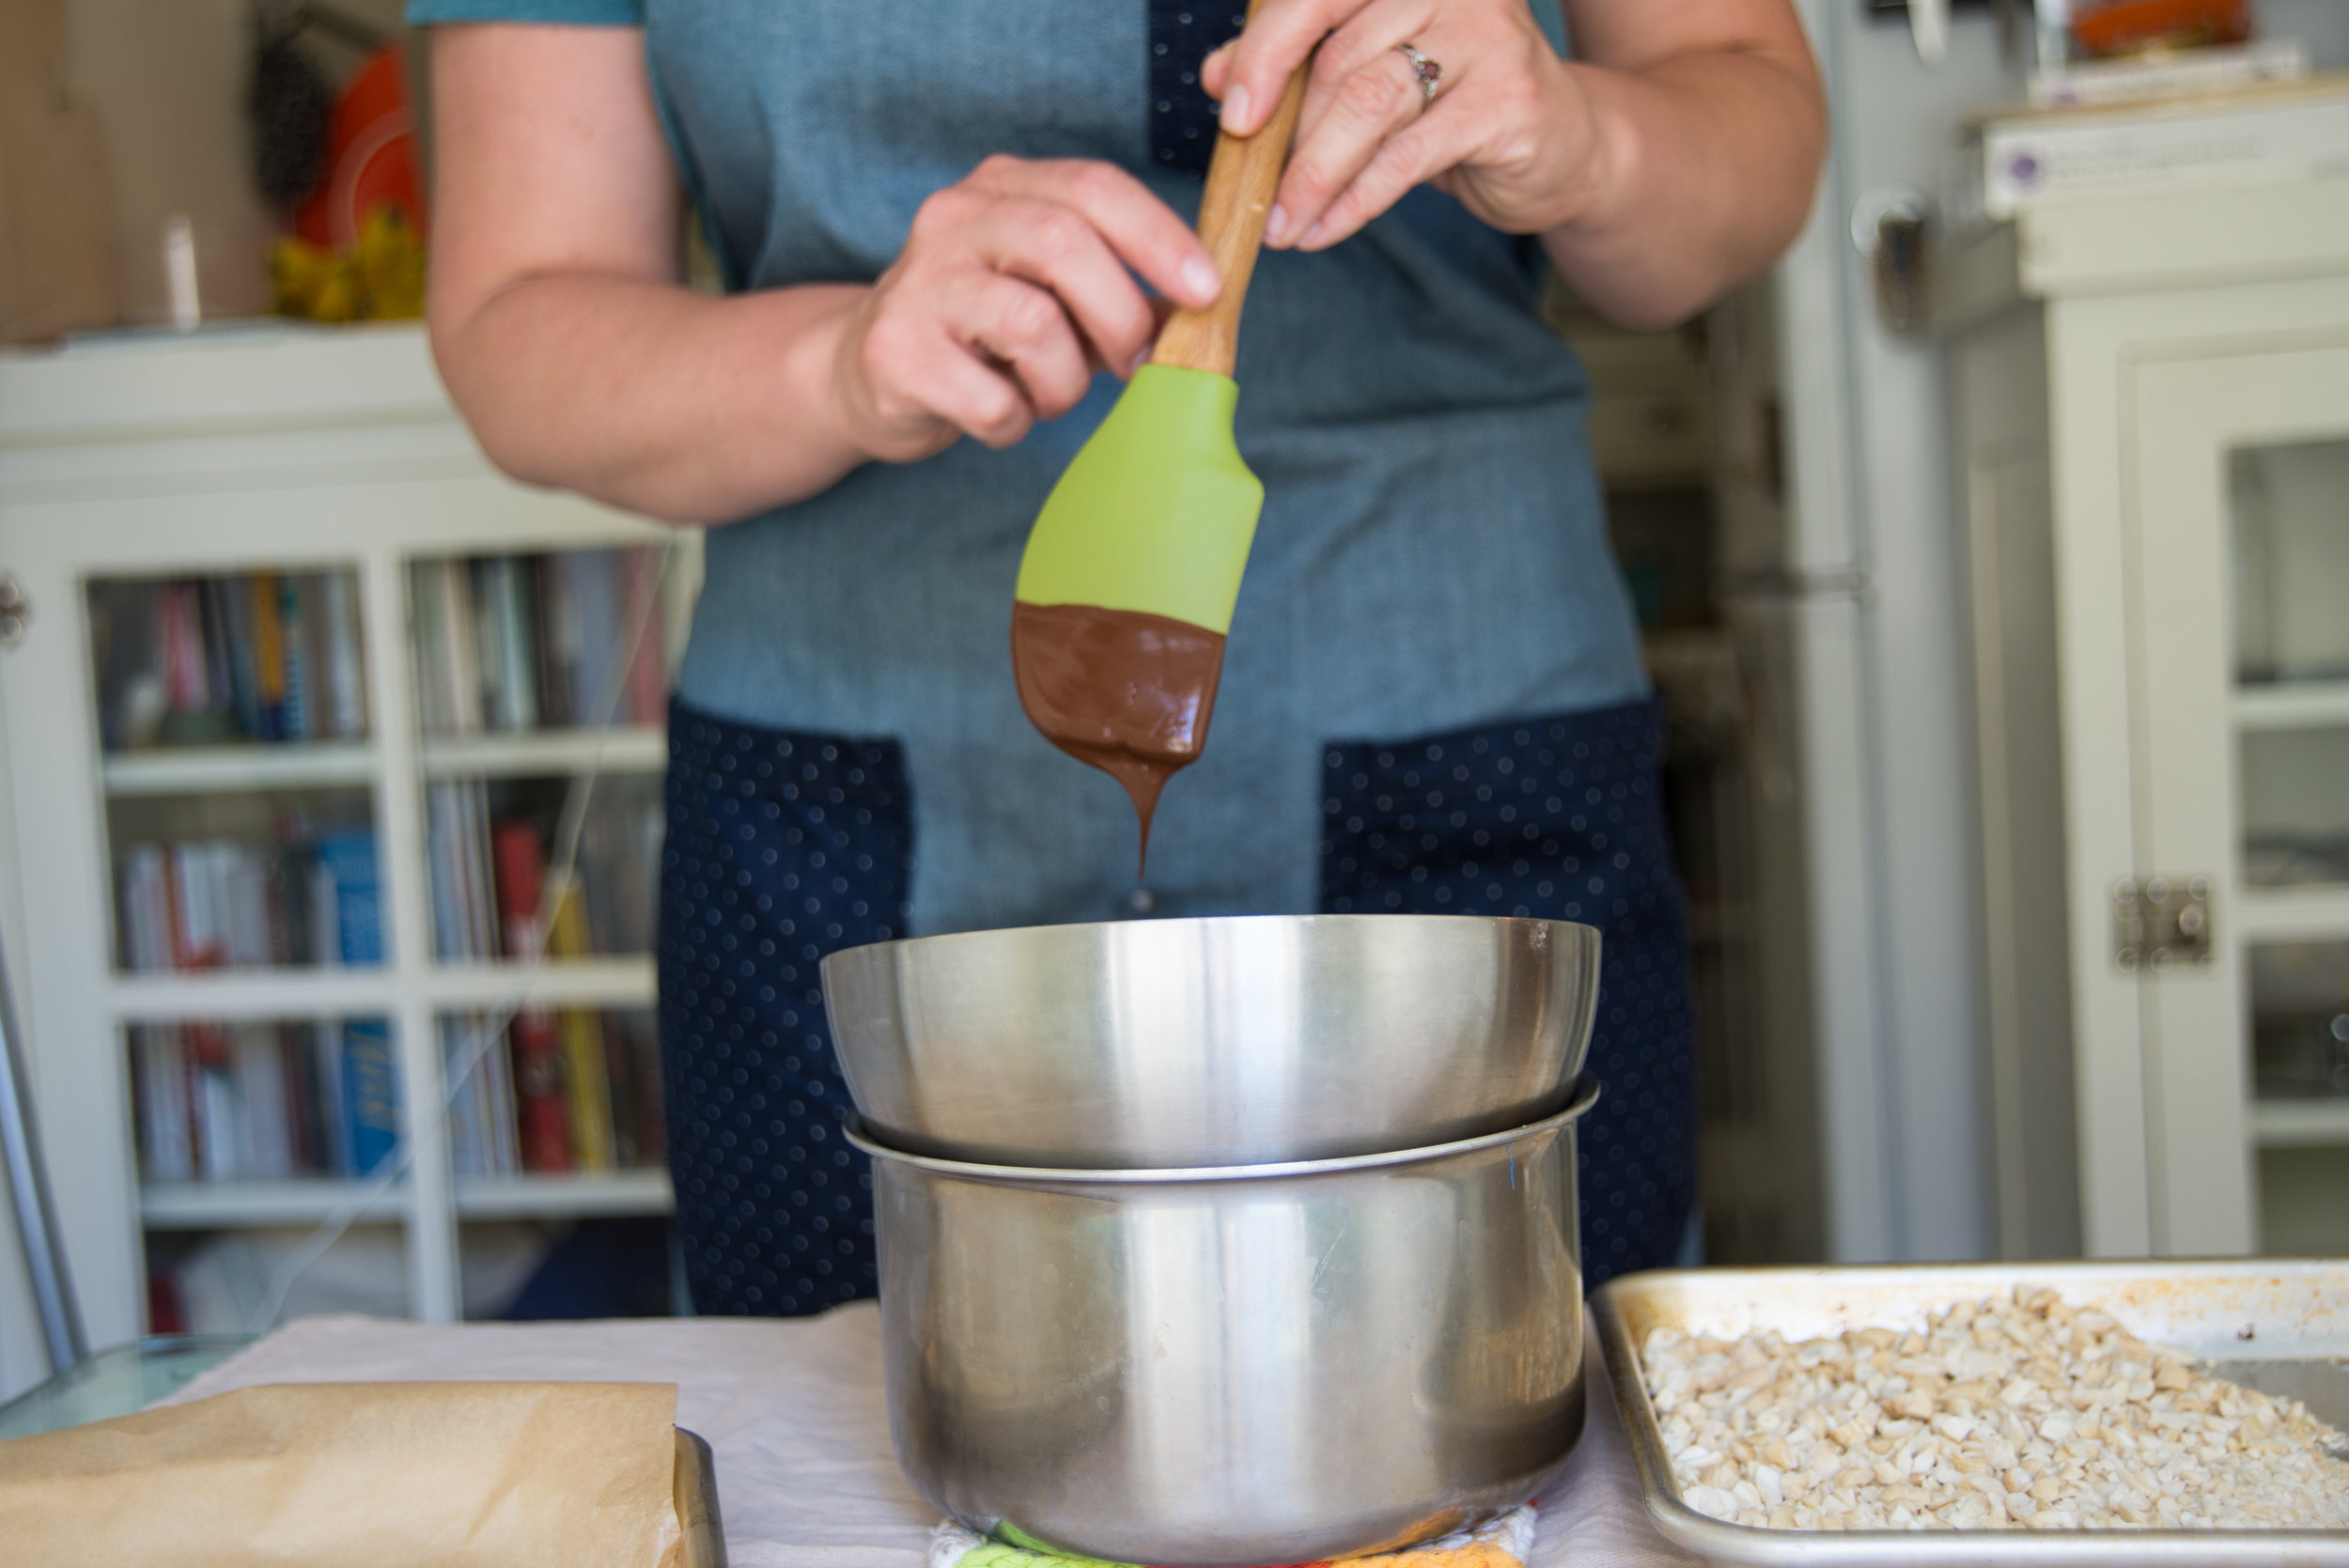
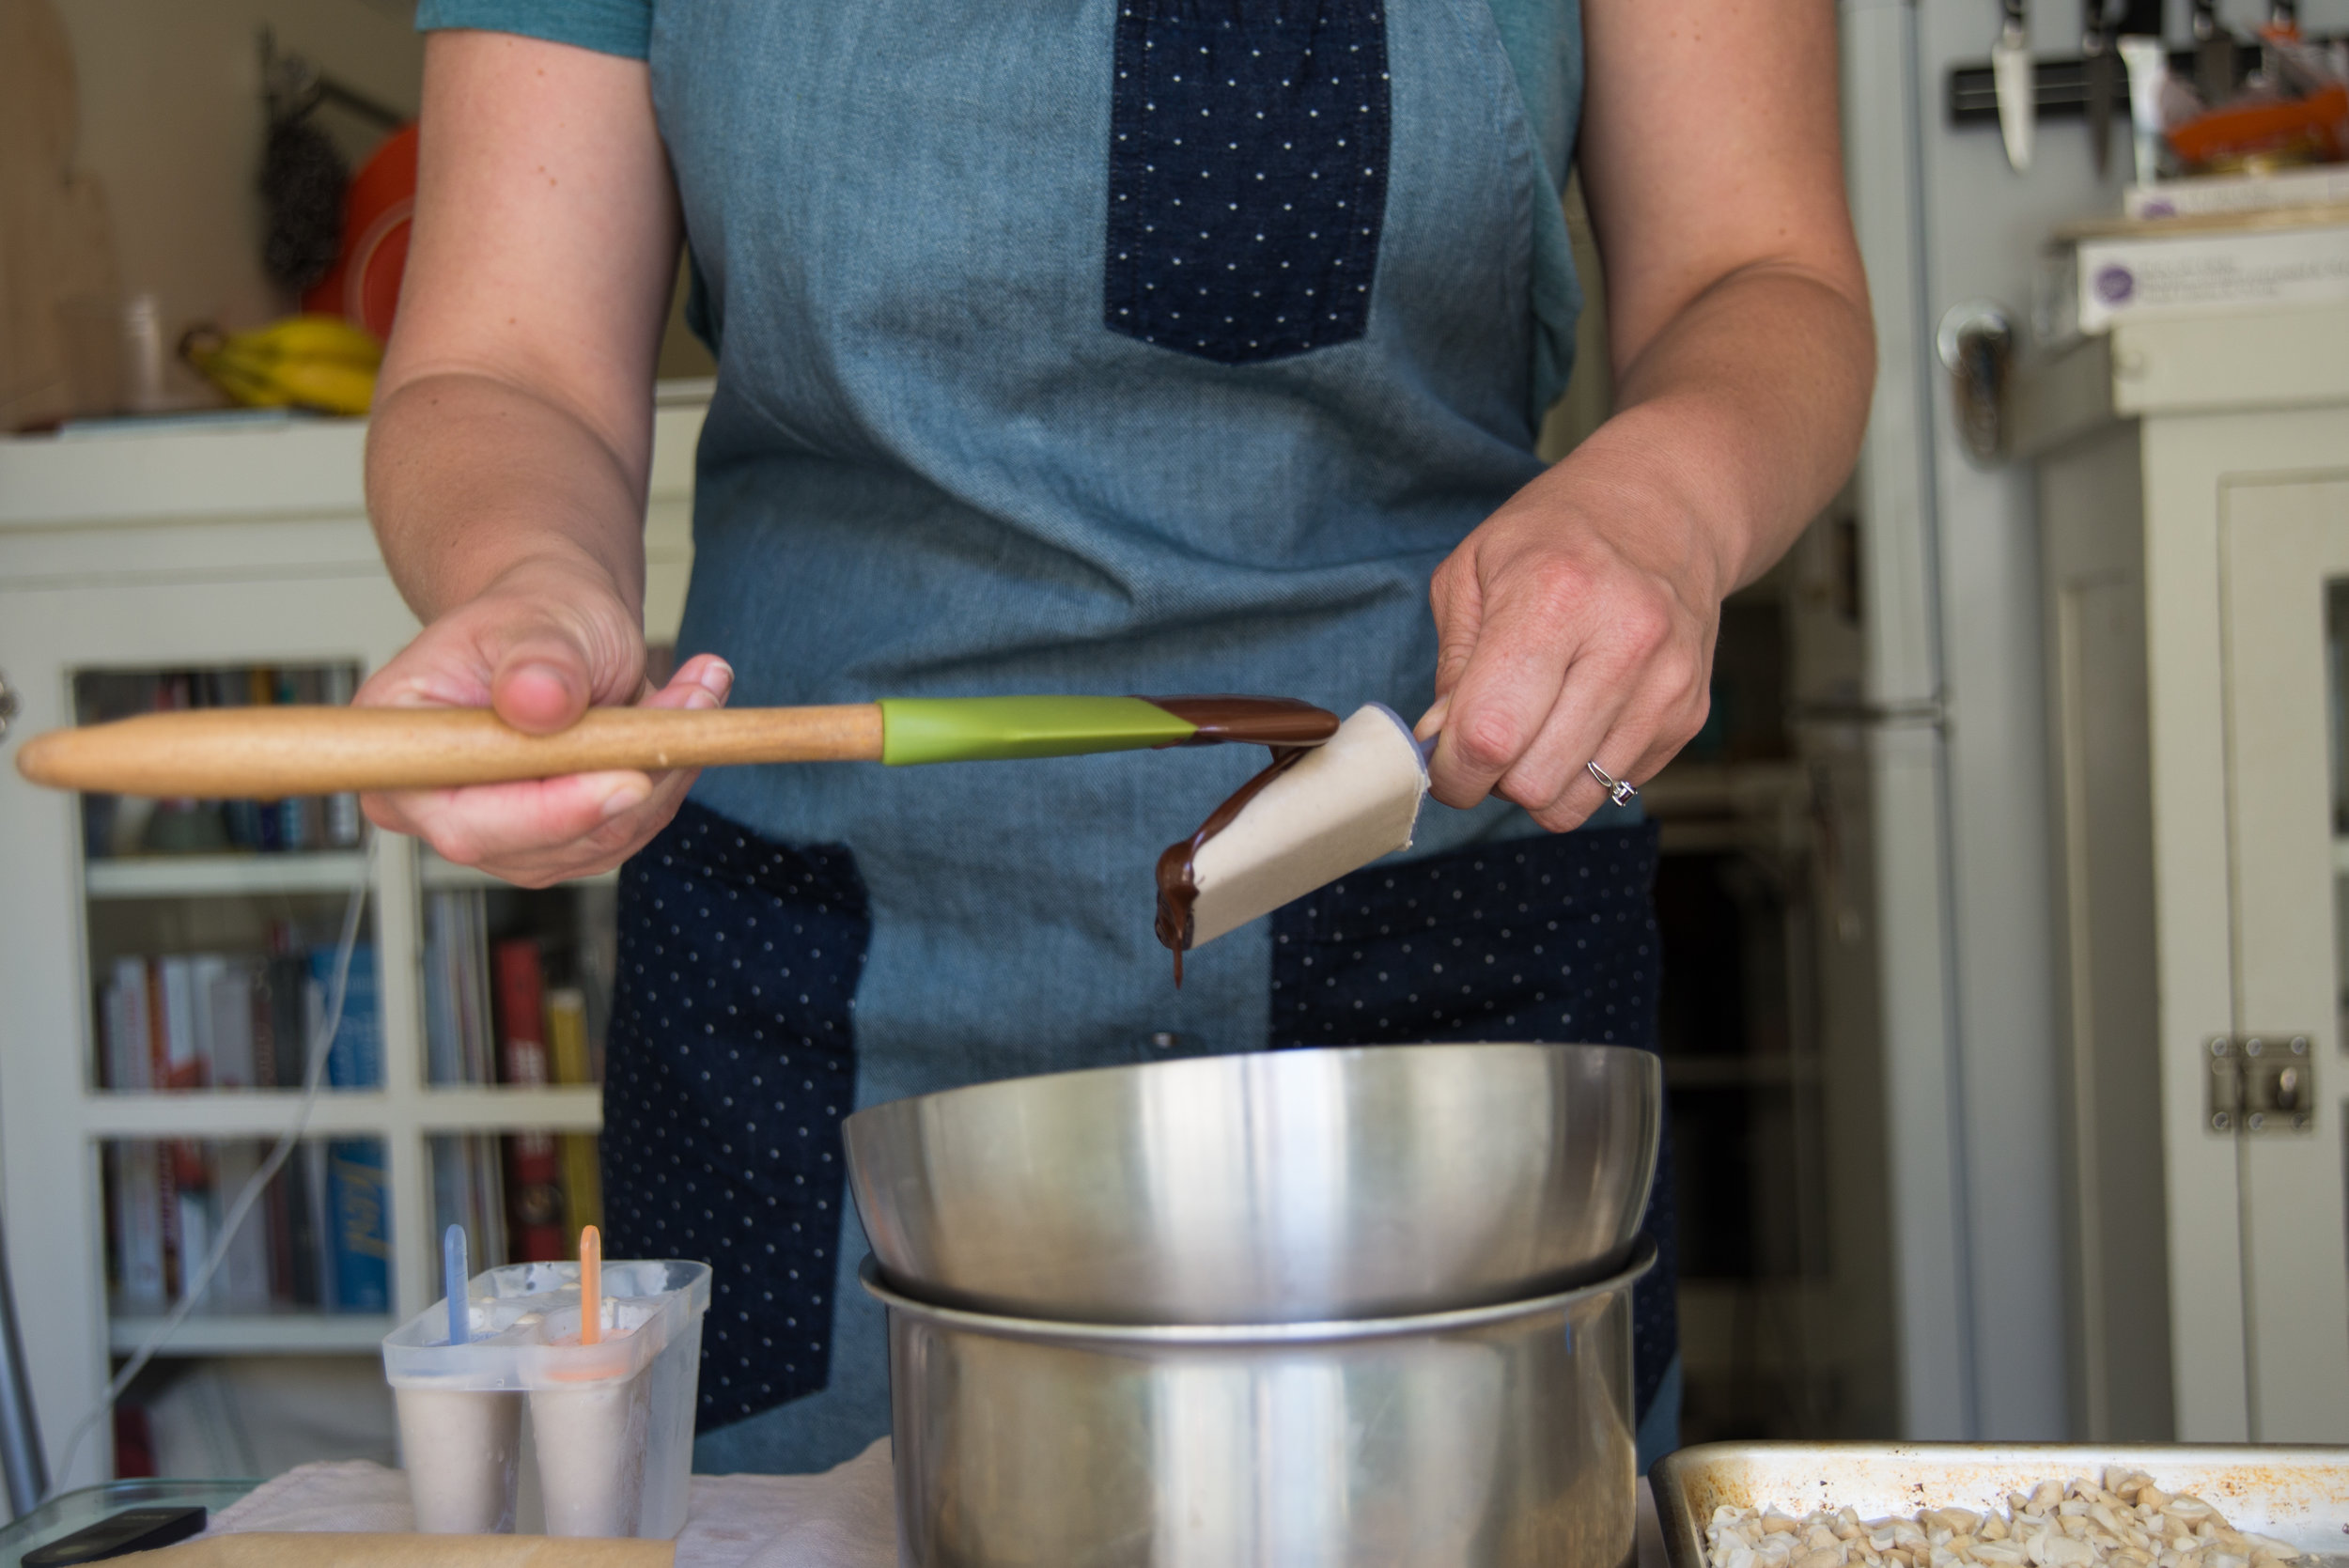
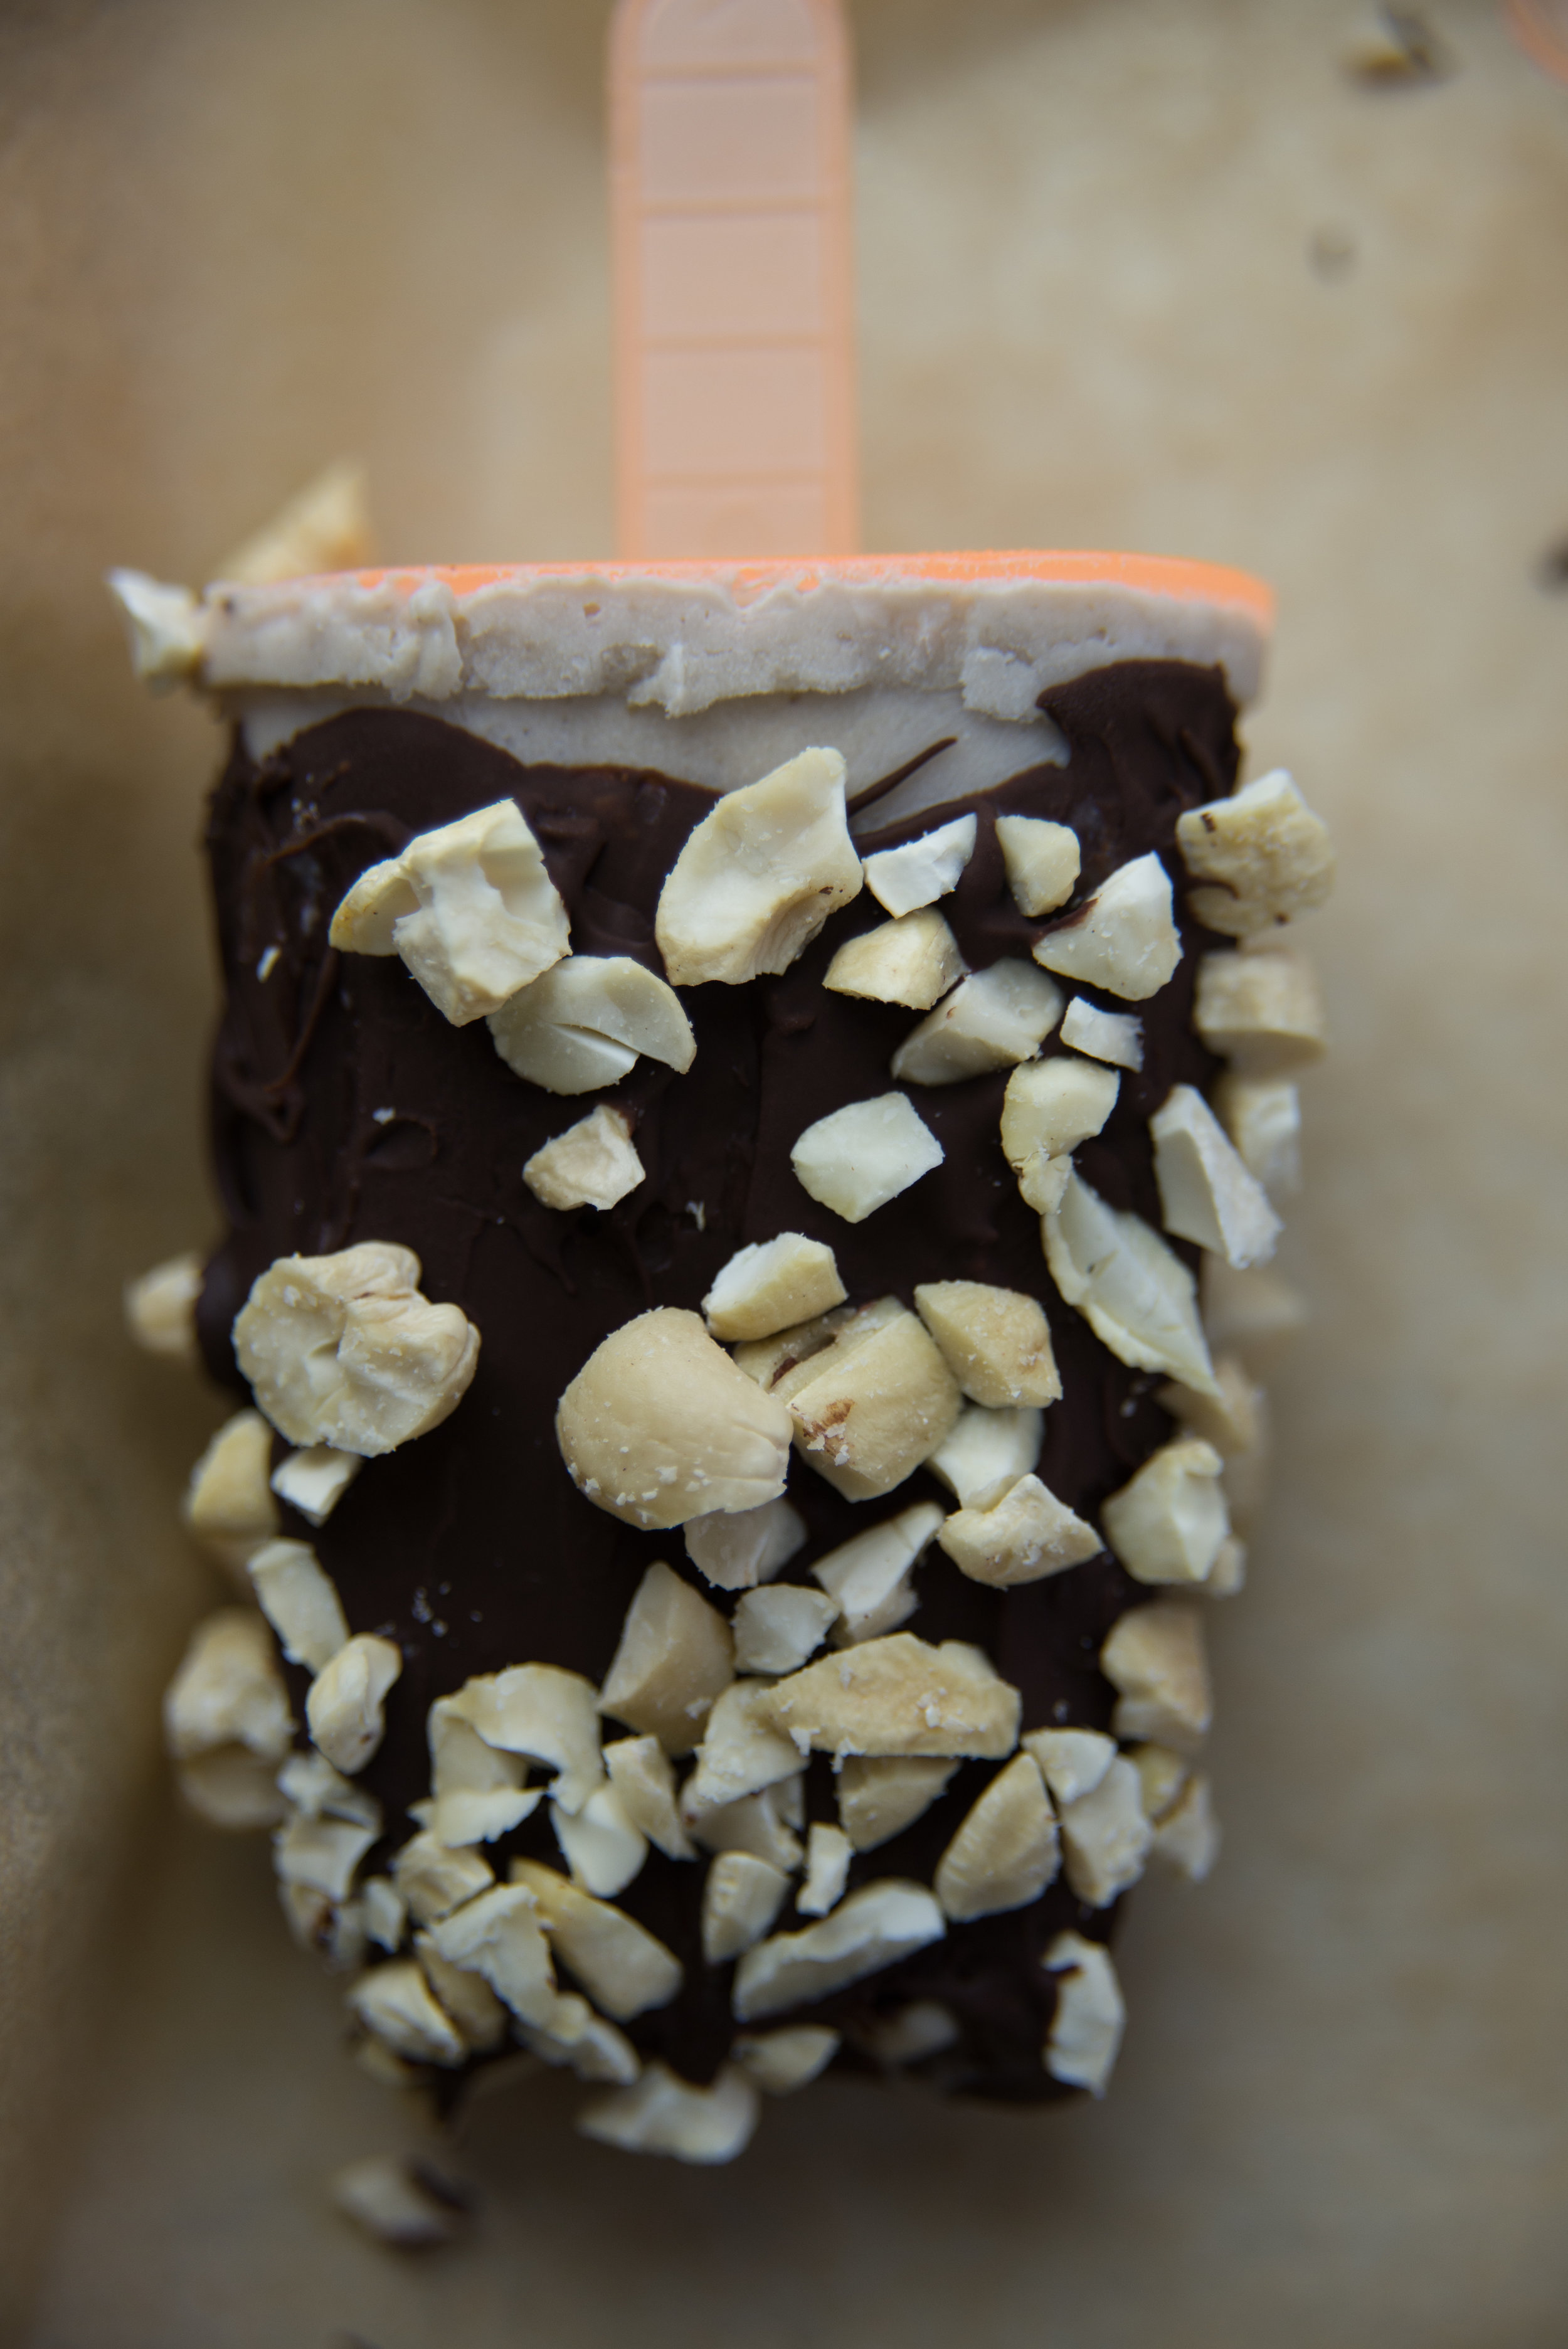
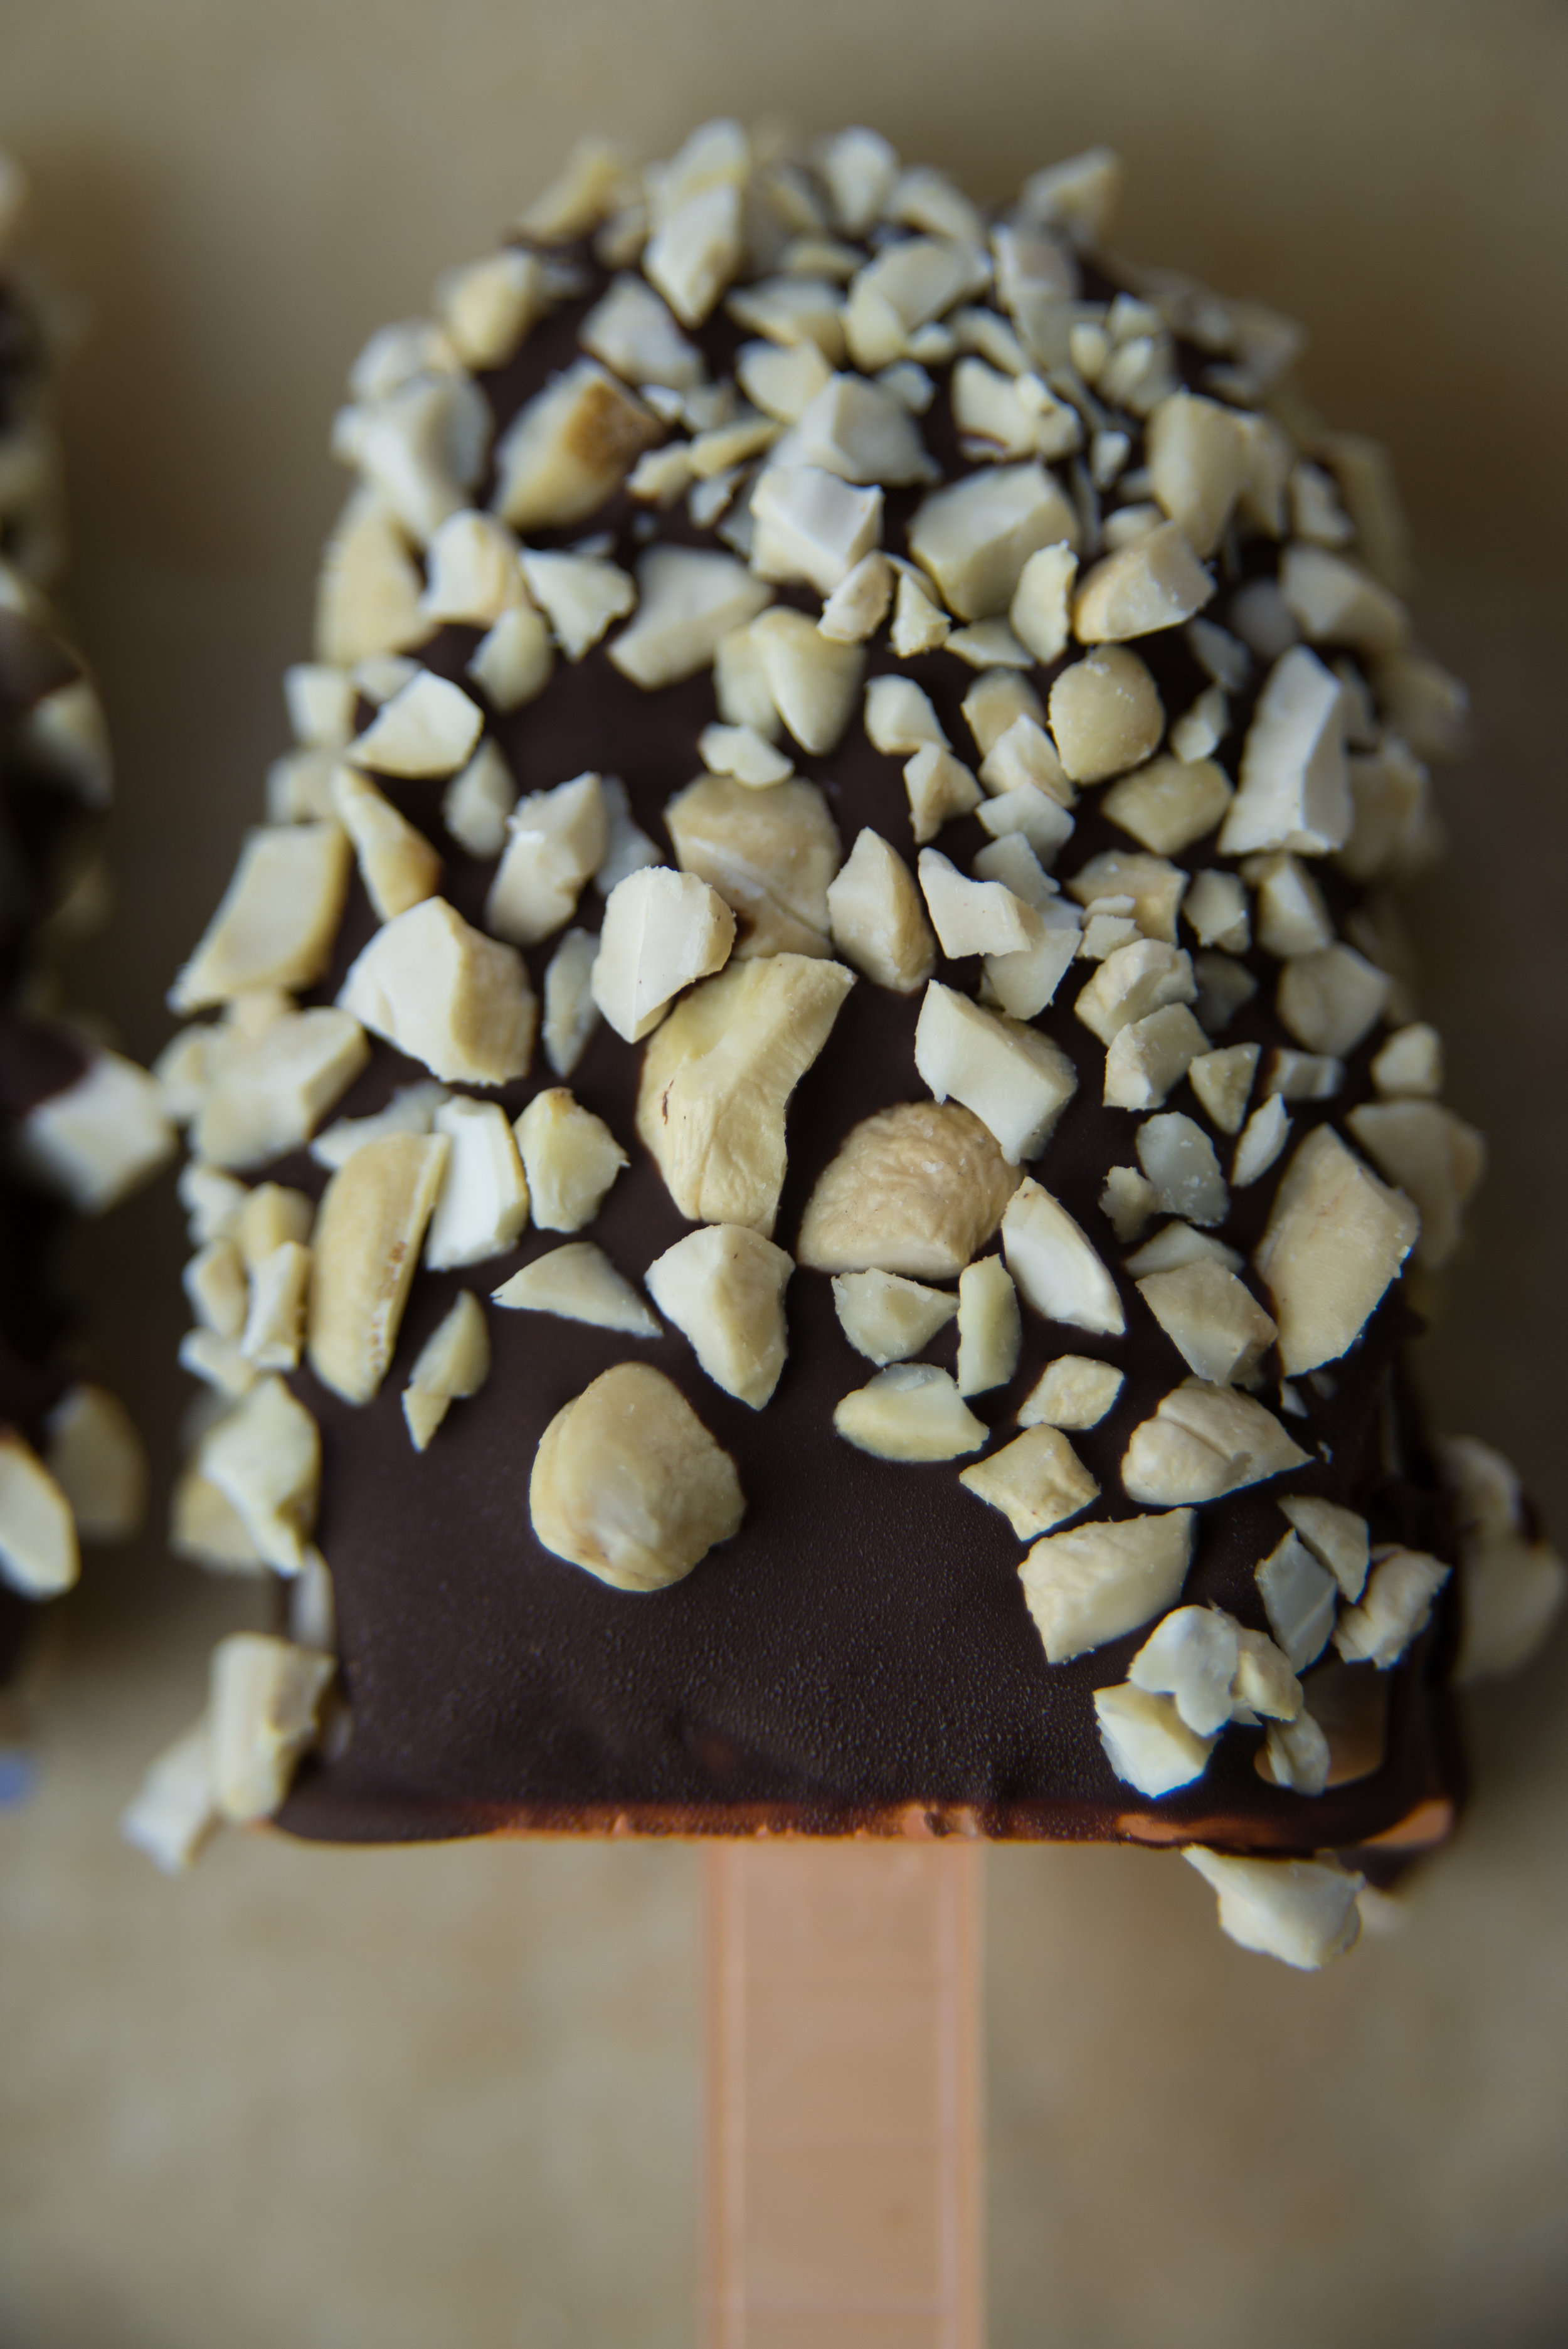
  • For the ganache, start by placing the chocolate in a small bowl. Warm the cream until it reaches a low boil, then pour it over the chocolate. Let it sit for a few minutes, then stir until smooth. Refrigerate until you're ready to churn the ice cream. 
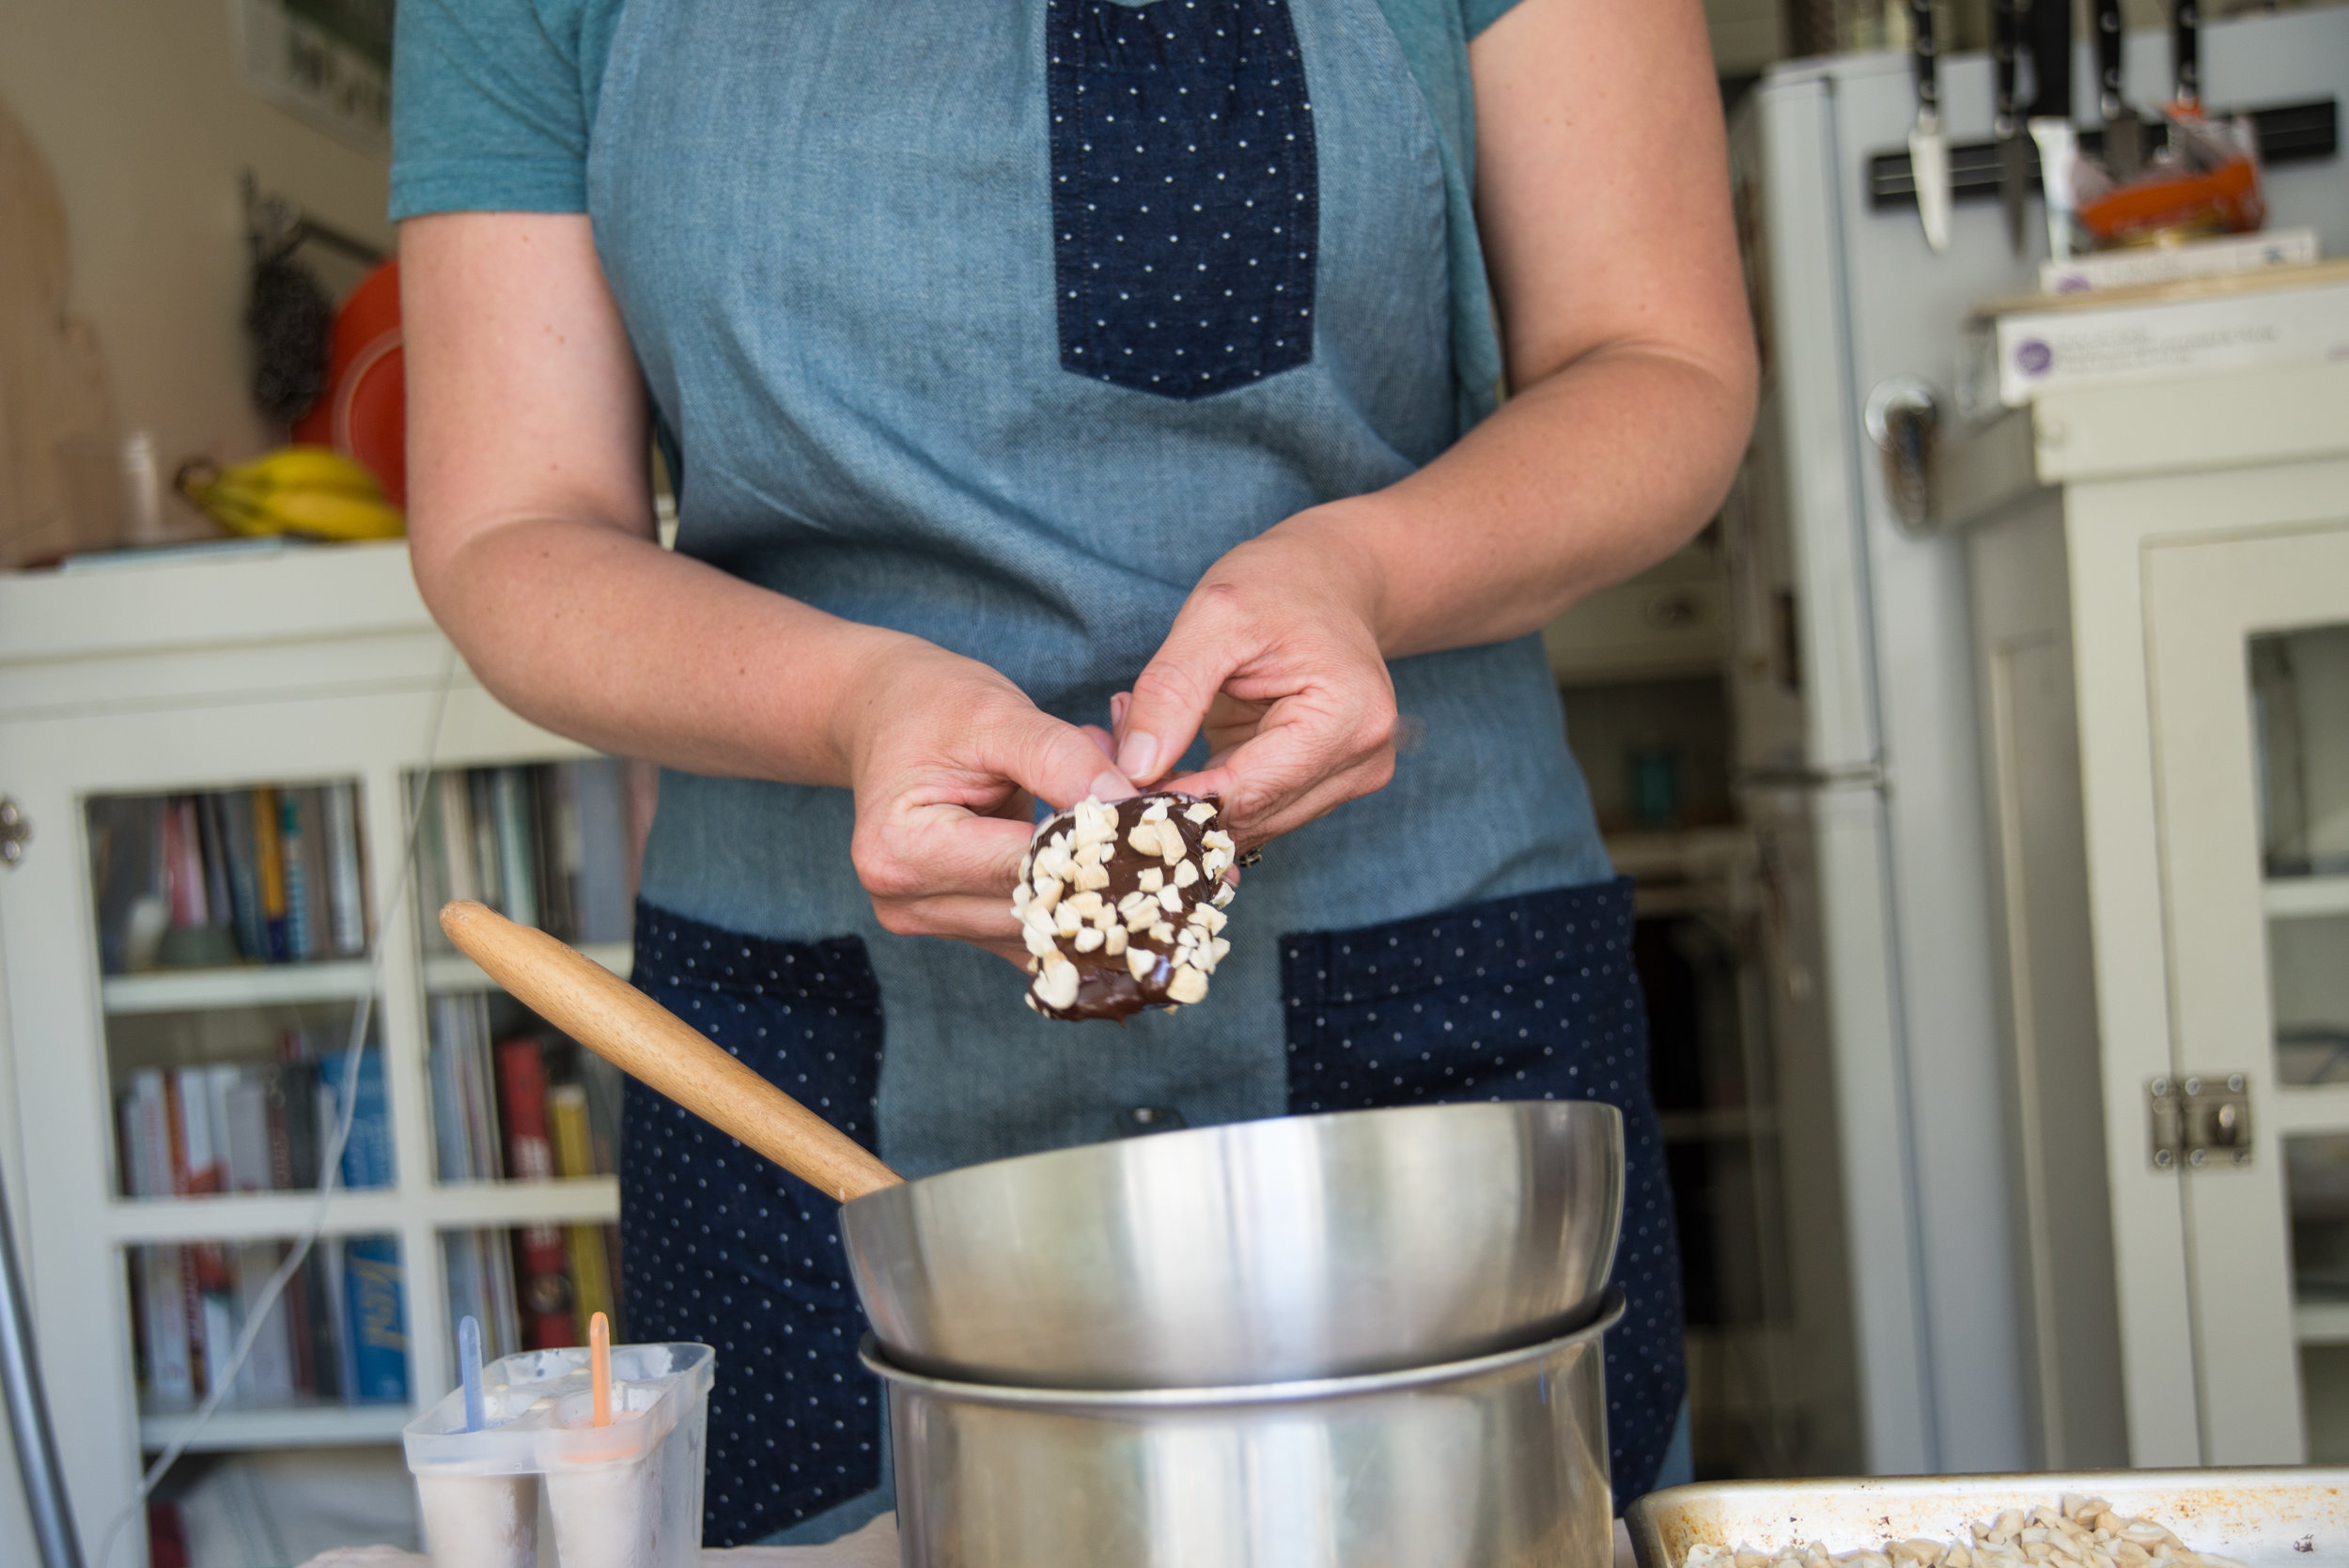
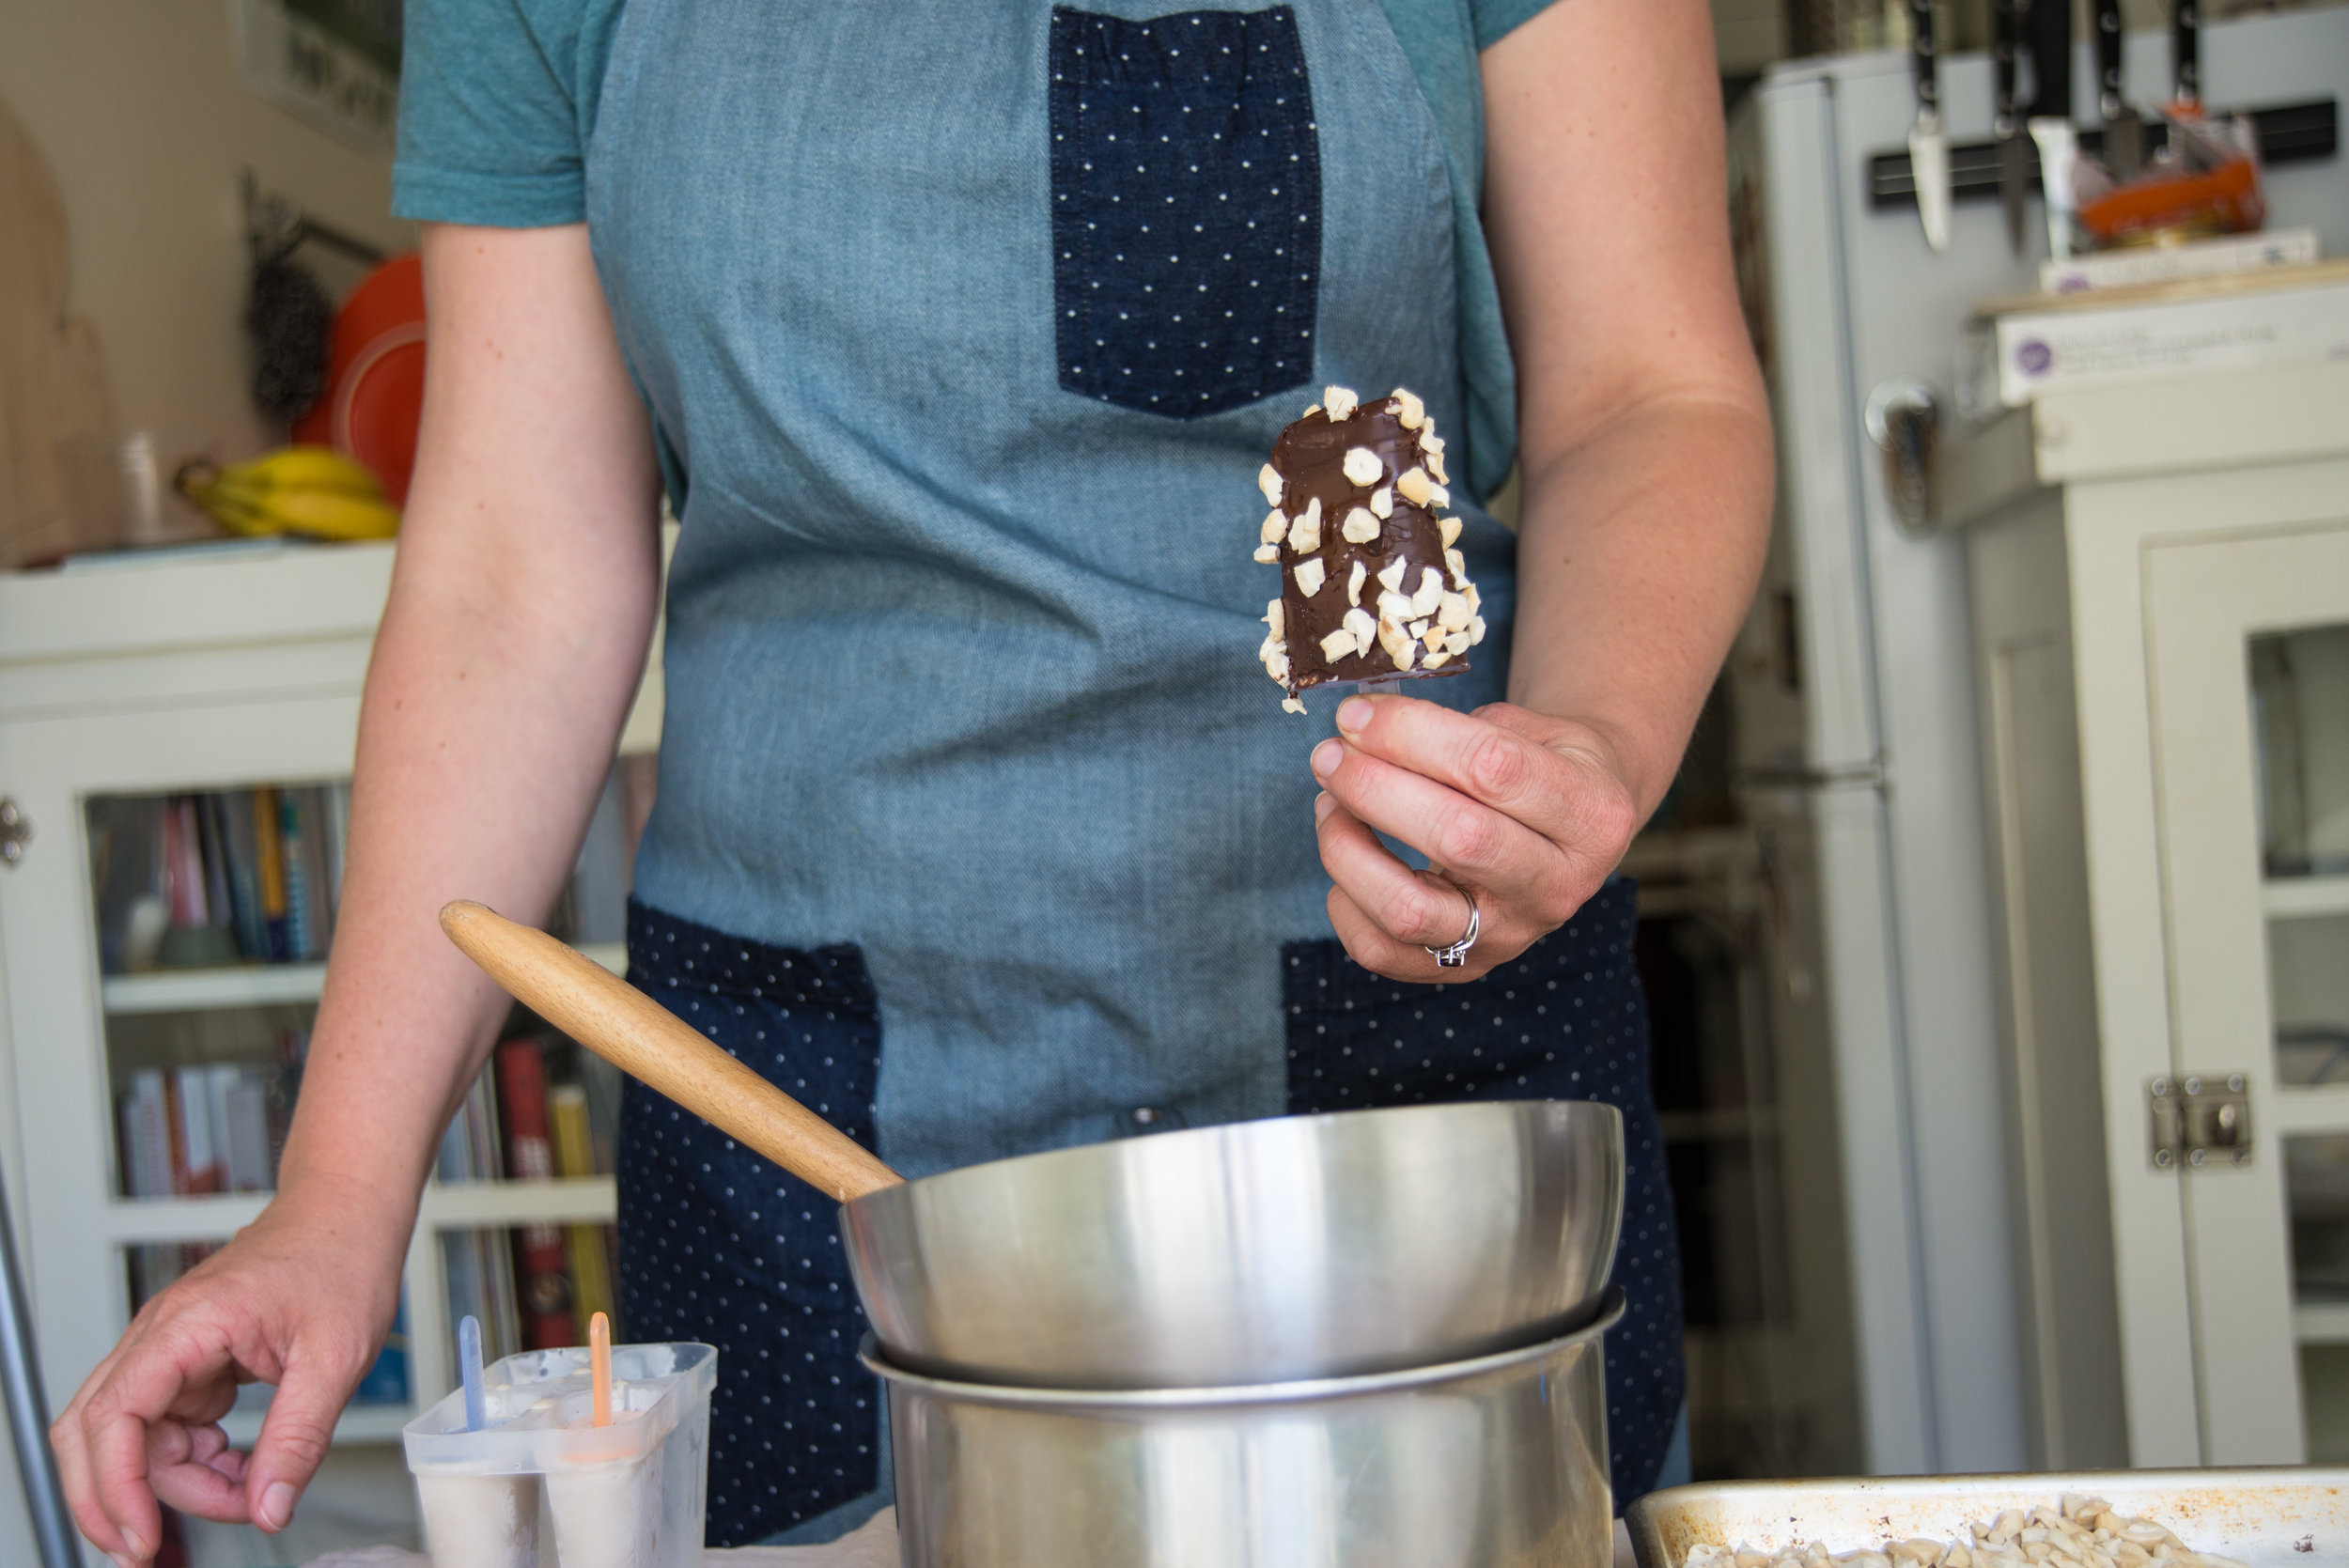
  • Churn ice cream according to your ice cream maker's instructions. When the ice cream is fully churned, add the ganache. I use a fork to crumble the ganache into small pieces before adding it to the ice cream maker. 
  • Freeze ice cream for at least 4 hours to solidify if you want it to be scoopable. 

1 Comment

Banana Coconut Cashew Popsicles

Comment

Banana Coconut Cashew Popsicles

Have you ever had chocolate-dipped frozen bananas? When I lived in Ecuador, you could buy them for the out-of-control tiny price of 10 cents in the banana growing regions of the country, and I very very quickly fell in love. If you haven't had them before, this is the time to try it out! 

This time around, I decided that it was time to dress up the simple chocolate covered frozen banana into a popsicle and these are what I settled on. With rich, creamy coconut milk, vanilla, and a coating of cashews, these popsicles and a perfectly creamy take on those classic bananas with a nice exterior crunch. 

While making these beauties, I kept the melted chocolate off my clothes with my Nomadic Wares apron. My friend Andrew (ironically, from my time in Ecuador where I fell in love with frozen chocolate banana treats) makes these aprons by hand with incredible fabrics for a durable, functional, and beautiful apron that treats me well at home and in professional kitchens. 

I'll leave it to that! It's summer, we're all busy, and it's time to start making some popsicles. Get these sweeties in the freezer so you can go have fun (and know there's a cold treat waiting for you when you return)! 

Banana Coconut Cashew Popsicles 

makes about 8 medium popsicles, depending on your popsicle mold size

3 very ripe bananas 

1/2 tsp vanilla 

14oz can of coconut milk 

2 Tbsp honey (optional or to taste) 

10oz chocolate

1/2 cup cashews, chopped

  • In a blender, combine bananas, vanilla, coconut cream, and honey (if using). Puree until the mixture is smooth. 
  • Pour the mixture into popsicle molds, insert the popsicle sticks, and put into the freezer. 
  • Once the popsicles are frozen (I just wait until the next day, to be sure they're solid), melt the chocolate in a double boiler, or a heatproof bowl over a pot with a little water in the bottom. 
  • When the chocolate is melted, remove the popsicles from the freezer (as few at a time as possible!). Quickly cover each one in as thin a layer of chocolate as possible and roll in the chopped cashews. 
  • Place the popsicles on a baking sheet, and return to the freezer until the chocolate has hardened. Transfer into an airtight bag or container for storage. 

Comment

Raspberry Ice Cream

Comment

Raspberry Ice Cream

About a month ago, my babes and I got the most exciting email - a note saying we had finally been taken off of the waitlist and offered a community garden plot not too far from home! Knowing how long the wait lists were, I had half expected that we wouldn't make it off the list until we were long gone from Portland (we had already been on it for a year!) - so this was a much welcomed surprise! 

The best part? Not only do we have a little slice of land to grow some veggies as we so love to do (more about that later!), but the garden includes a little fenced in park area just for gardeners and a hearty supply of shared blueberry and raspberry bushes which are producing like nuts right now. Hello Jackpot!!  

I spent the first few trips to the garden just stuffing my face with the joy of sweet sweet raspberries.  After a number of trips, I realized I should probably take some home and make ice cream! I have an amazing ability to get-out-of control excited about a number of fruits as they start to ripen and come into season. Strawberries win my heart for a few weeks, then raspberries and blueberries, thimbleberries, cherries, plums, and the list goes on. I was lucky to grow up in northwest Michigan's fruit haven and I am lucky again here in the fruit-rich Oregon. 

So get on ready for a summer of fruit filled recipes and my gushing over how delicious whatever fruit is currently abundant is. 

I opted for a super simple approach to raspberry ice cream this time, tossing whole fresh raspberries right into the ice cream maker while it was churning. This results in this amazingly polka dotted ice cream - speckled with little spheres of raspberry goodness. It also means that all those seeds are in your ice cream. I for one love this as an added texture wonder. But if seeds aren't so much your thing, feel free to puree and strain your raspberries then stir in the puree just before churning. 

We couldn't help but giggle in being reminded of dippin' dots - a classic obsession of my younger years. The little icy raspberry spheres a joyful reminder of those crazy tiny balls of ice cream! 

It is officially summer today, so go ahead - dive right into some summertime love with raspberry ice cream! 

Raspberry Ice Cream 

1 cup heavy cream 

1/2 cup whole milk 

3 large egg yolks 

1 1/2 tsp vanilla extract (or the seeds from half of a vanilla bean) 

1/4 cup plus 2 Tbsp brown sugar 

1 pint fresh raspberries (that's 2 cups) 

  • Using a stand mixer with the whisk attachment, a hand mixer, or a really super strong arm - whisk together the egg yolks and 1/4 cup of the sugar until it doubles in size, lightens to a pale yellow, and gains a silky ribbony texture. This will take a few minutes. 

  • Heat the cream and remaining 2 Tbsp sugar (and vanilla bean seeds if you're using it) to a scald, which is before a simmer but nice and steamy. 

  • With the mixer running, slowly pour the cream mixture into the yolks until fully combined to temper your eggs. Then pour the mixture back into the pot and heat over medium heat until your custard has formed (if you don't feel comfortable knowing when that is, use a thermometer and look for 180 degrees). While it's heating, use a silicone spatula to gently scrape the bottom of the pan and stir slowly. 

  • When you've reached 180 degrees, strain the custard through a fine mesh sieve into a medium bowl, and set that bowl into a larger one with a bit of ice and water in it to create a cooling water bath. Spin the inner bowl with one hand, while holding your spatula in the custard like a rudder to help the mixture cool evenly. If you're in a rush, you can just pop the custard in the fridge (and you don't have to strain it if there aren't any lumpy bits of egg), but these steps help to create the smoothest ice cream possible. 

  • Refrigerate the custard for at least a few hours, until completely chilled, before churning. 

  • Churn the ice cream base based on your machine's instructions, adding the raspberries just when the ice cream is starting to thicken. and stir as needed to help them break apart. 

  • While you're churning, chill a container to put the ice cream into. Once it has thickened, scoop the ice cream into the container and freeze. 

Comment